1、安装Apache
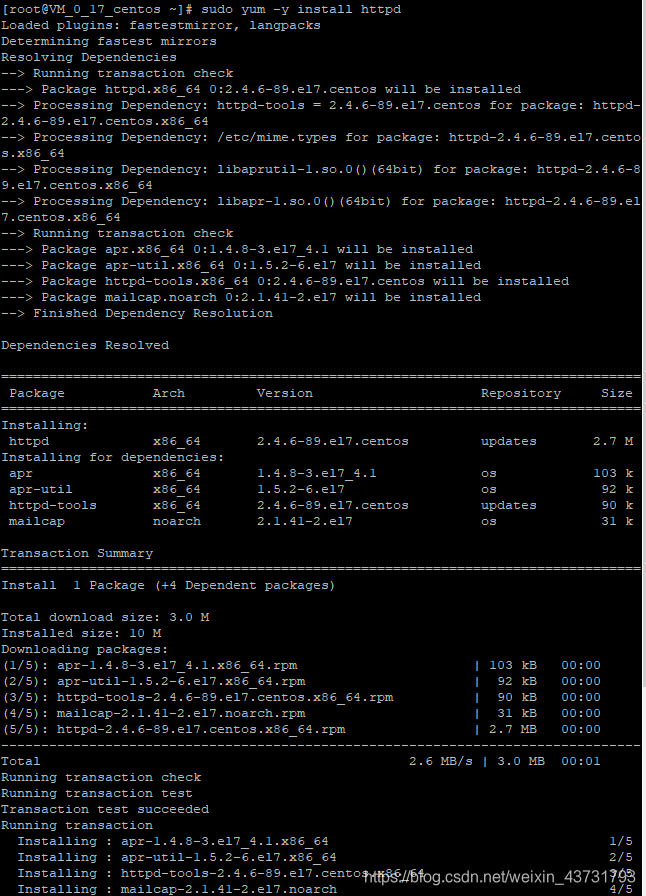
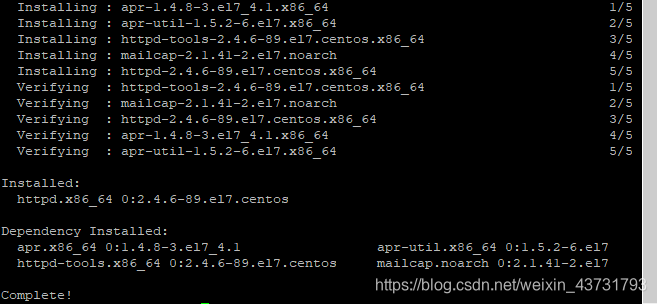
1.1、安装
sudo yum -y install httpd
1.2、在服务器上上启动 Apache
sudo systemctl start httpd.service
1.3、使 Apache 能够开机启动
sudo systemctl enable httpd.service

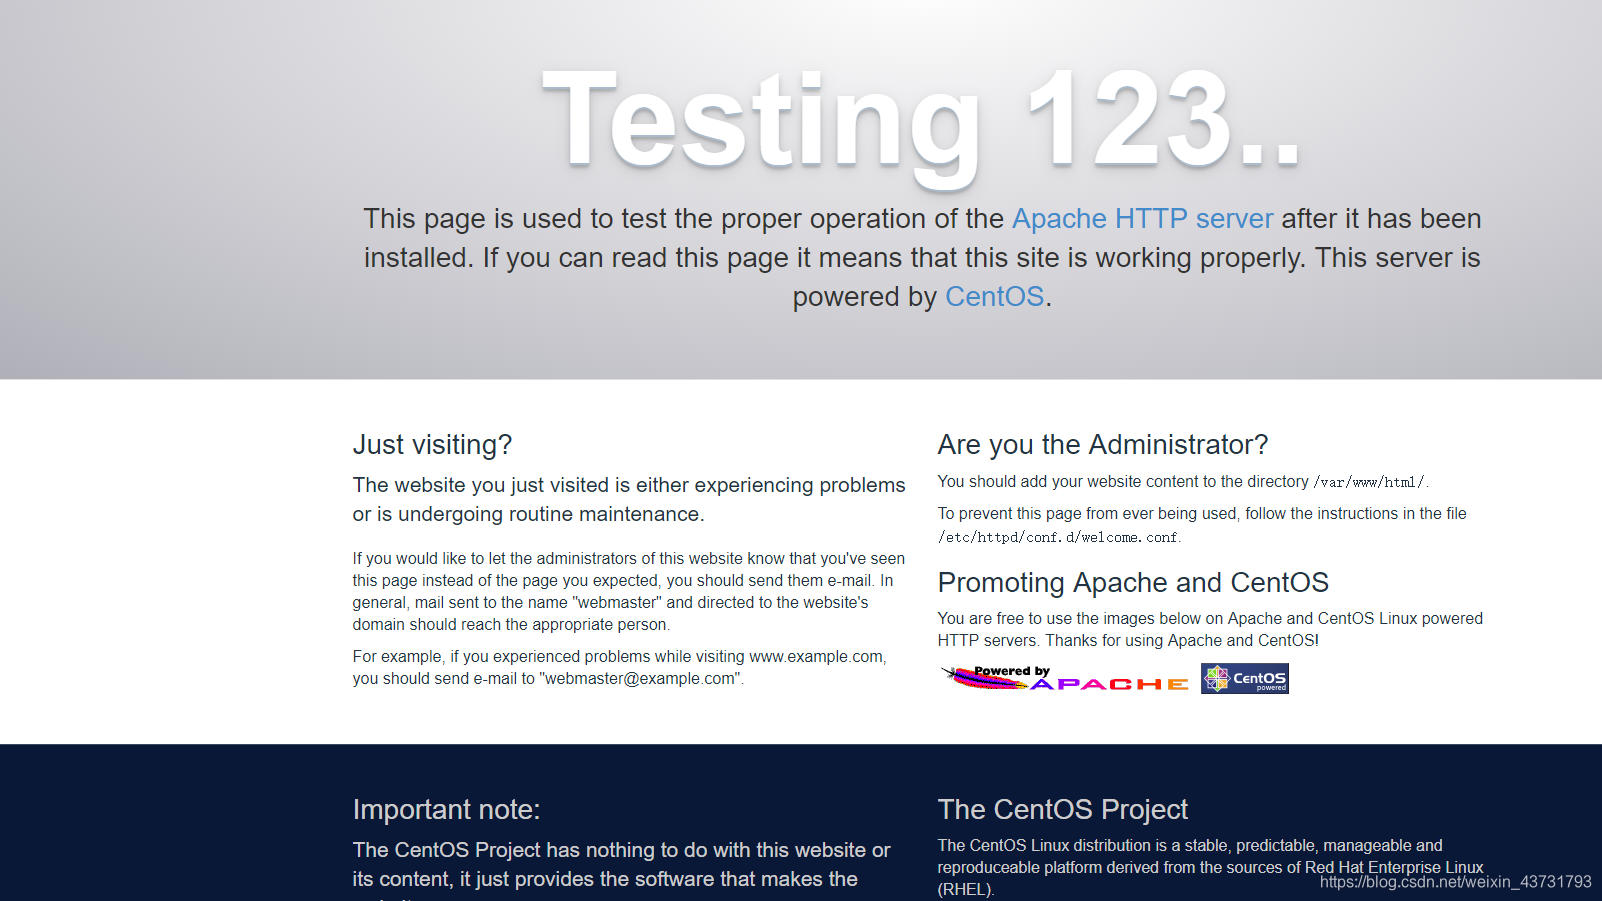
1.4、在浏览器输入您的 IP或者网站, 即可看到 Apache 的欢迎页面
2、安装MySQL(MariaDB)
MariaDB 是一个开源版本的 MySQL 数据库管理系统的分支。基本上,它将组织和访问我们的网站可以存储信息的数据库。
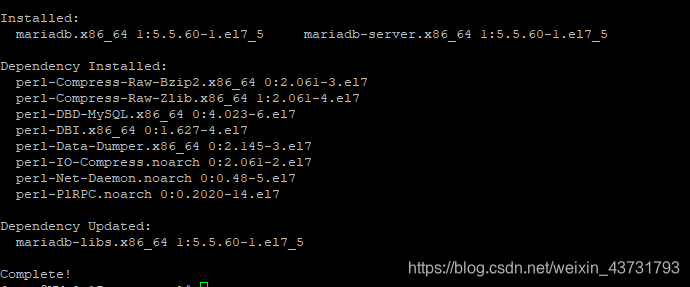
2.1、安装
sudo yum install mariadb-server mariadb
2.2、启动
sudo systemctl start mariadb
2.3、设置密码
2.3.1、现在我们的 MySQL 数据库正在运行,我们希望运行一个简单的安全脚本,它将删除一些危险的默认值,并锁定对我们的数据库系统的访问。运行以下操作启动交互式脚本:
sudo mysql_secure_installation
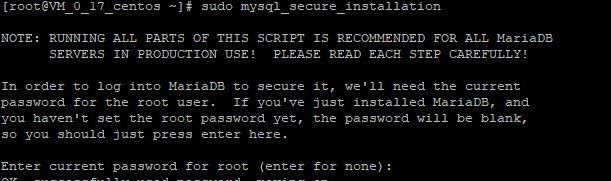
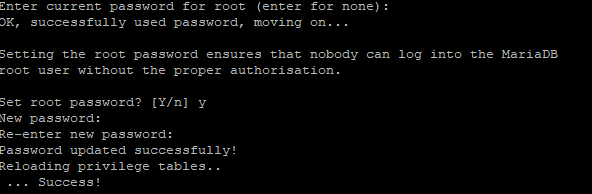
2.3.2、提示将询问您当前的 root 密码。既然你刚刚安装了 MySQL,你很可能没有一个,所以按 Enter 键留空。然后提示将询问您是否要设置 root 密码。继续输入Y,并按照说明进行设置密码:
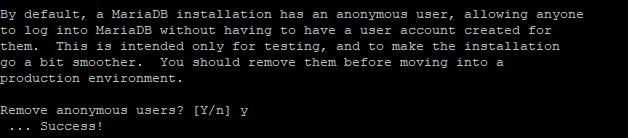
2.3.3、移除默认匿名用户
By default, a MariaDB installation has an anonymous user, allowing anyone
默认情况下,Mariadb安装有匿名用户,允许任何人
to log into MariaDB without having to have a user account created for
登录Mariadb而不必为其创建用户帐户
them. This is intended only for testing, and to make the installation
他们。仅用于测试和安装
go a bit smoother. You should remove them before moving into aproduction environment.
稍微平稳一点。在进入生产环境之前,应将其移除
2.3.4、是否关闭远程连接mysql数据库
Normally, root should only be allowed to connect from ‘localhost’. This
通常,只允许根目录从“localhost”连接。这个
ensures that someone cannot guess at the root password from the network.
确保有人无法猜测网络中的根密码。

2.3.5、删除默认测试数据库
By default, MariaDB comes with a database named ‘test’ that anyone can
默认情况下,Mariadb提供了一个名为“test”的数据库,任何人都可以
access. This is also intended only for testing, and should be removed
访问。这也仅用于测试,应将其移除。
before moving into a production environment.
在进入生产环境之前。

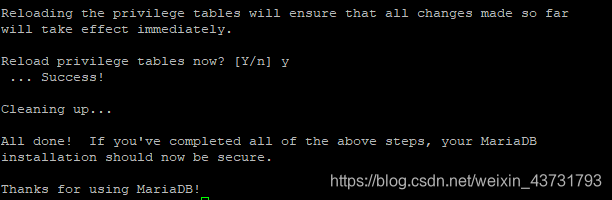
2.3.6、重新加载,立刻生效
Reloading the privilege tables will ensure that all changes made so far
重新加载特权表将确保到目前为止所做的所有更改
will take effect immediately.
将立即生效。
2.4、最后一件事就是让 MariaDB 开机启动
sudo systemctl enable mariadb.service

3、安装PHP
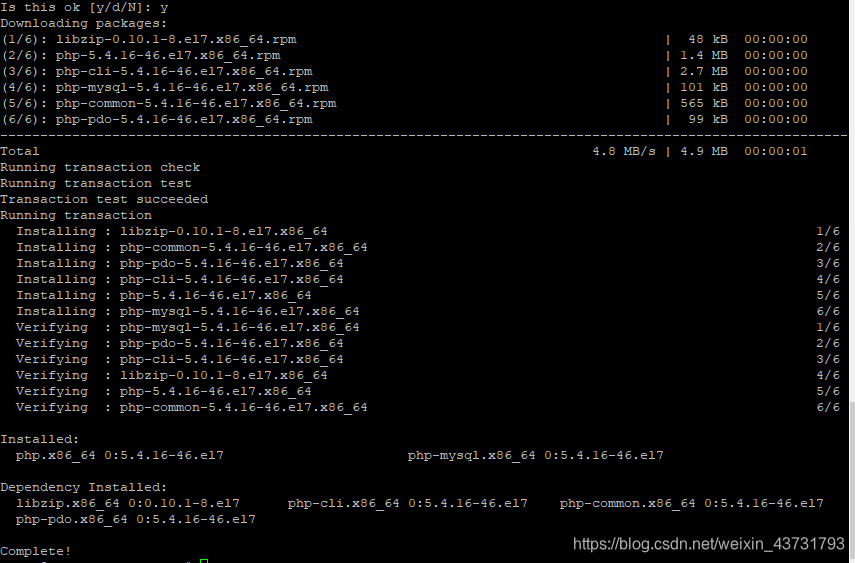
3.1、安装
sudo yum install php php-mysql

3.2、重新启动 Apache Web 服务器才能使用 PHP
sudo systemctl restart httpd.service
3.3、安装PHP模块
为了增强 PHP 的功能,我们可以选择安装一些其他模块。
要查看 PHP 模块和库的可用选项,可以在系统中键入:
yum search php-
结果都是您可以安装的可选组件。它会给你一个简短的描述:
php-bcmath.x86_64 : A module for PHP applications for using the bcmath library
php-cli.x86_64 : Command-line interface for PHP php-common.x86_64 : Common files for PHP php-dba.x86_64 : A database abstraction layer module for PHP applications php-devel.x86_64 : Files needed for building PHP extensions php-embedded.x86_64 : PHP library for embedding in applications php-enchant.x86_64 : Enchant spelling extension for PHP applications php-fpm.x86_64 : PHP FastCGI Process Manager php-gd.x86_64 : A module for PHP applications for using the gd graphics library . . .
要获得有关每个模块的更多信息,您可以搜索互联网,也可以通过键入以下内容查看包中的长描述:
yum info package_name
会有很多输出,一个字段称为Description的提供的功能的详细解释。
例如,要了解 php-fpm 模块的功能,我们可以键入:
yum info php-fpm
除了大量的其他信息,您会发现如下所示:
. . .
Summary : PHP FastCGI Process Manager URL : http://www.php.net/ License : PHP and Zend and BSD Description : PHP-FPM (FastCGI Process Manager) is an alternative PHP FastCGI : implementation with some additional features useful for sites of : any size, especially busier sites.
如果在研究之后,您决定要安装一个软件包,可以使用 yum install 像我们一直在为其他软件做的命令这样做。
如果我们决定这 php-fpm 是我们需要的,我们可以输入:
sudo yum install php-fpm
如果要安装多个模块,可以按照以下 yum install 命令,列出每个模块,按空格分隔:
sudo yum install 模块1 模块2 …
此时,您的 LAMP 已安装并配置。我们仍然应该测试我们的 PHP。
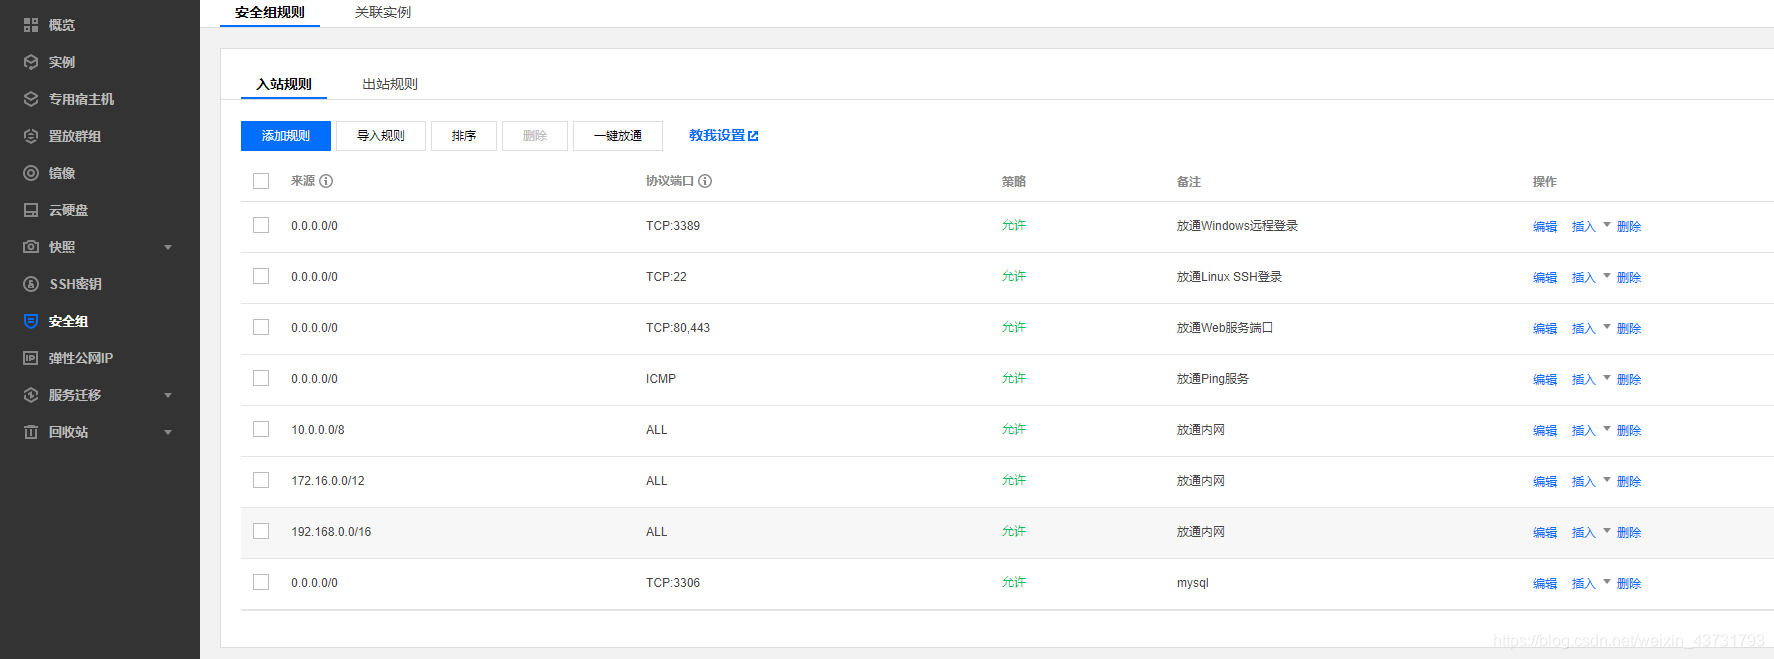
4、配置防火墙-(安全组)
4.1、填写端口
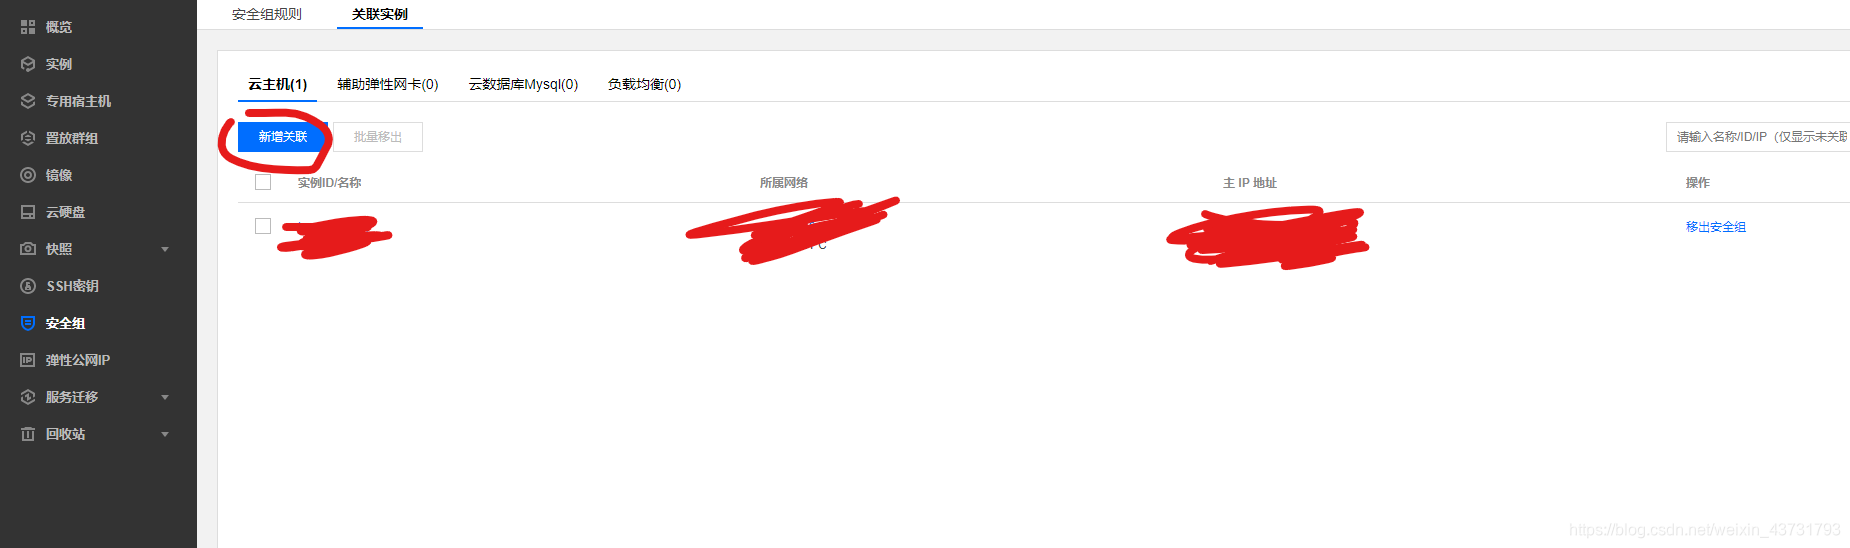
4.2、关联实例
5、在Web服务器上测试PHP处理
为了测试我们的系统正确配置 PHP,我们可以创建一个非常基本的 PHP 脚本。
我们将调用这个脚本info.php。为了使Apache能够找到文件并正确地提供该文件,它必须保存到一个特定的目录,称为“Web根目录”。
在 CentOS 7 中,此目录位于 /var/www/html/。我们可以通过键入以下内容在该位置创建文件:
sudo vi /var/www/html/info.php
这将打开一个空白文件。我们想在文件中放入以下文本,这是有效的PHP代码:
完成后,保存并关闭文件。
6、安装phpMyAdmin
phpMyAdmin 是一个以PHP为基础,以Web-Base方式架构在网站主机上的MySQL的数据库管理工具,让管理者可用Web接口管理MySQL数据库。安装方式如下:
yum –y install phpmyadmin