创建spring boot的方式有非常多,今天我们使用maven来进行创建spring boot项目,因为maven使用的非常广泛,也很好用,很多IDE也都支持maven。
1 创建maven项目
1.1 使用eclipse创建maven项目
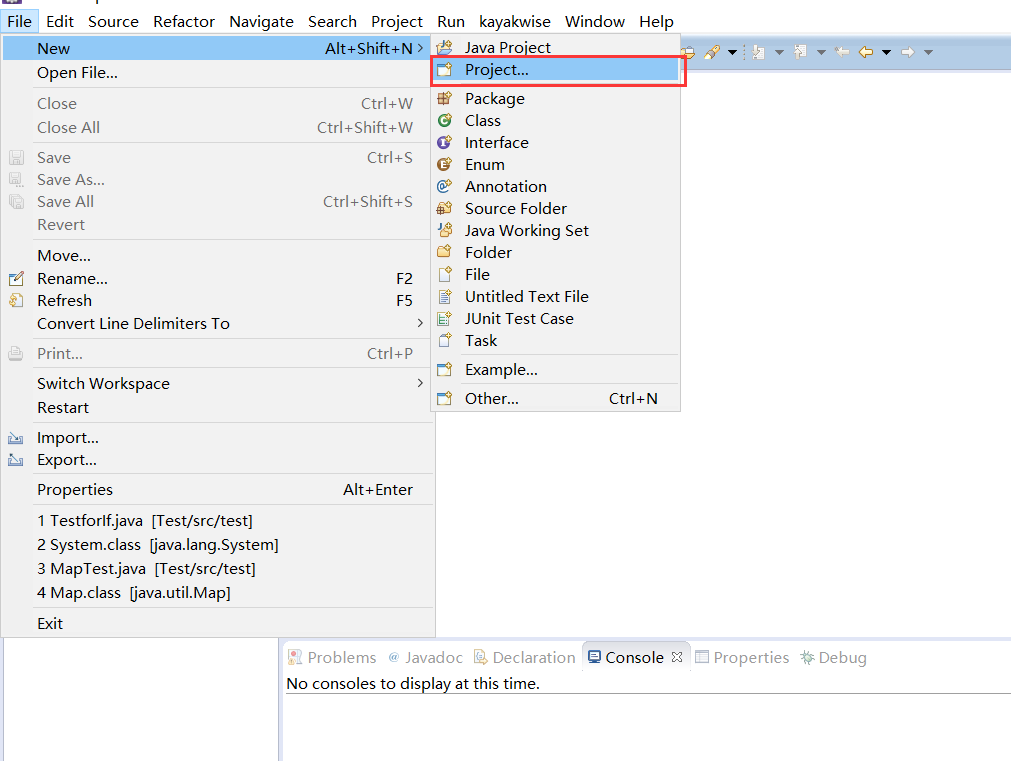
(1)File —>New —> Project...
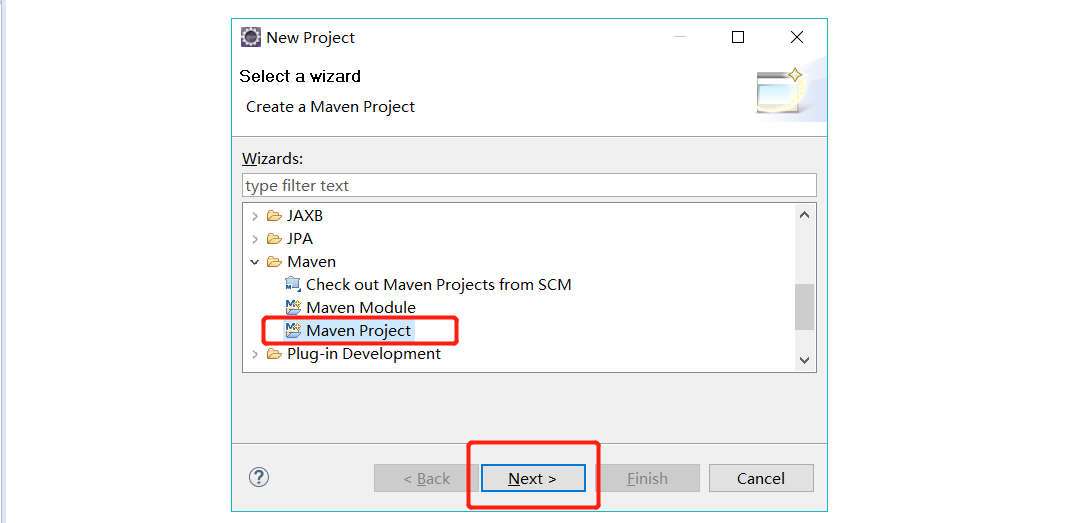
(2)选中Maven Project ,点击下一步
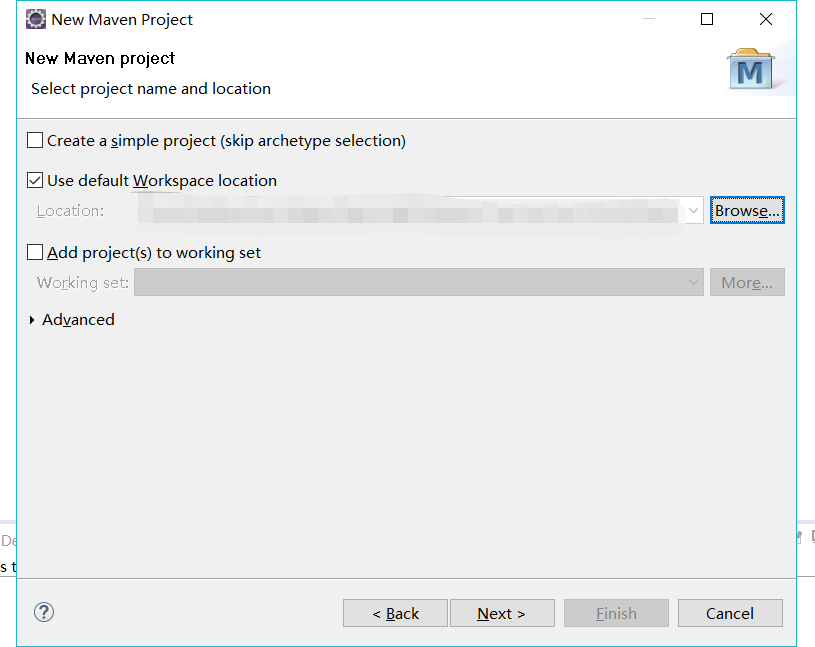
(3)默认设置 点击下一步
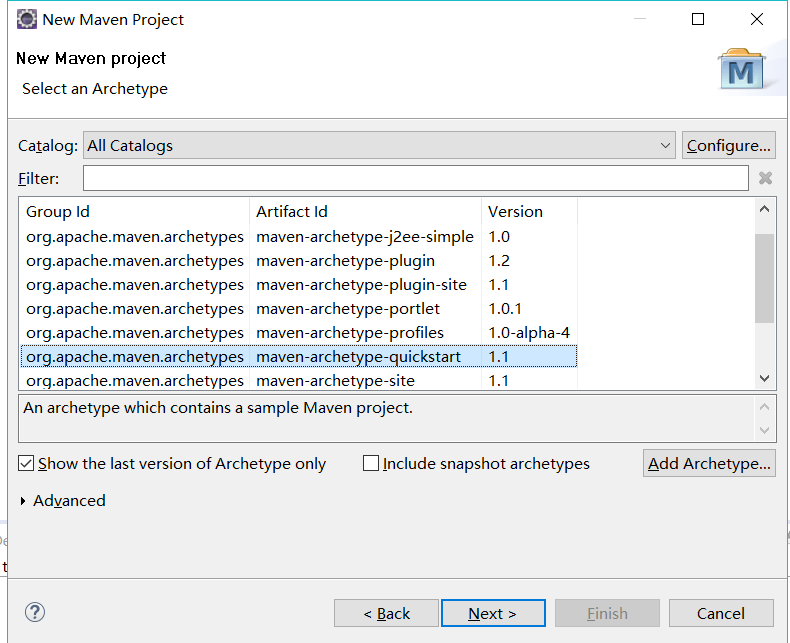
(4)继续点击 下一步

(5)如下图设置Group Id(组织Id/项目包名) 和Artifact Id(项目名称或者模块名称),然后点击Finish。到此我们就完成了用eclipse创建maven项目。

1.2 使用IntelliJ IDEA 创建maven项目
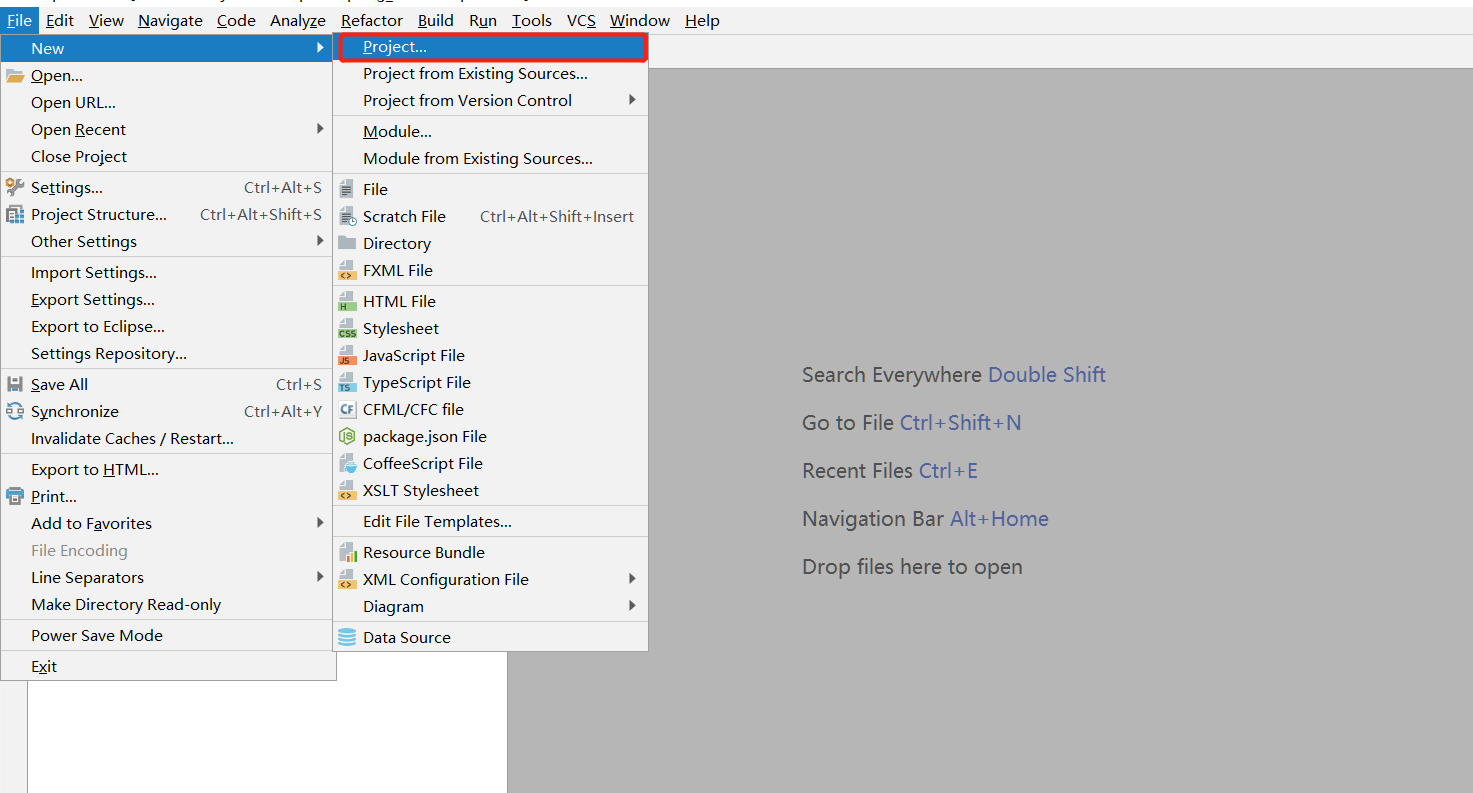
(1)File —> New —>Project
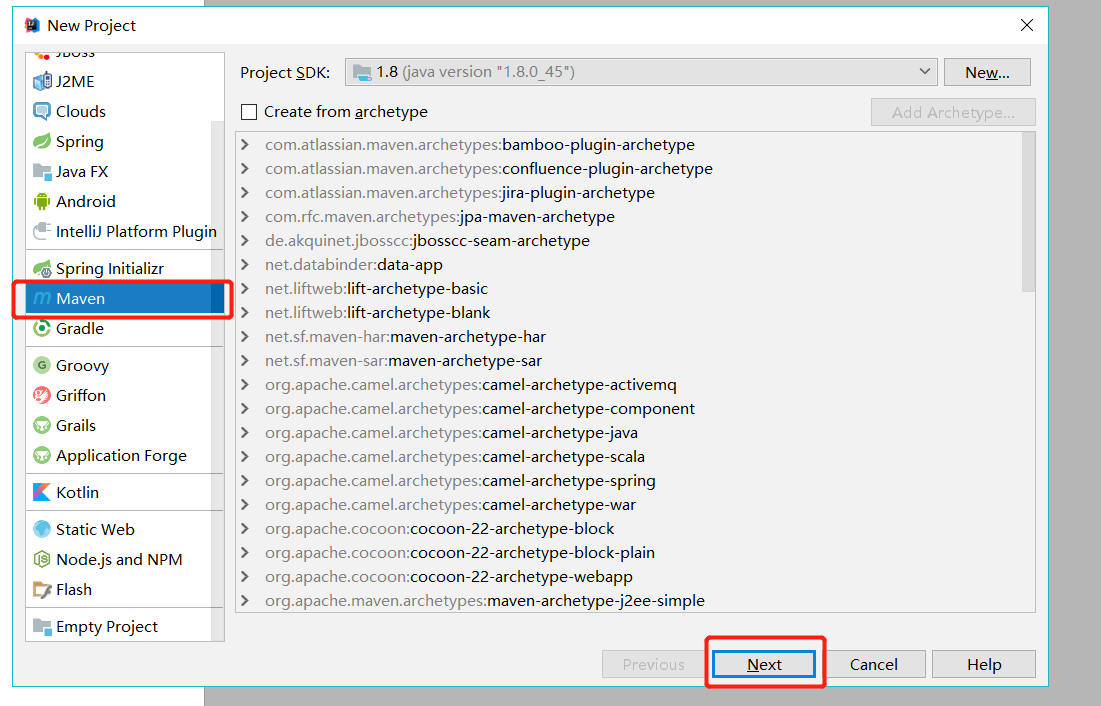
(2)选中maven点击下一步
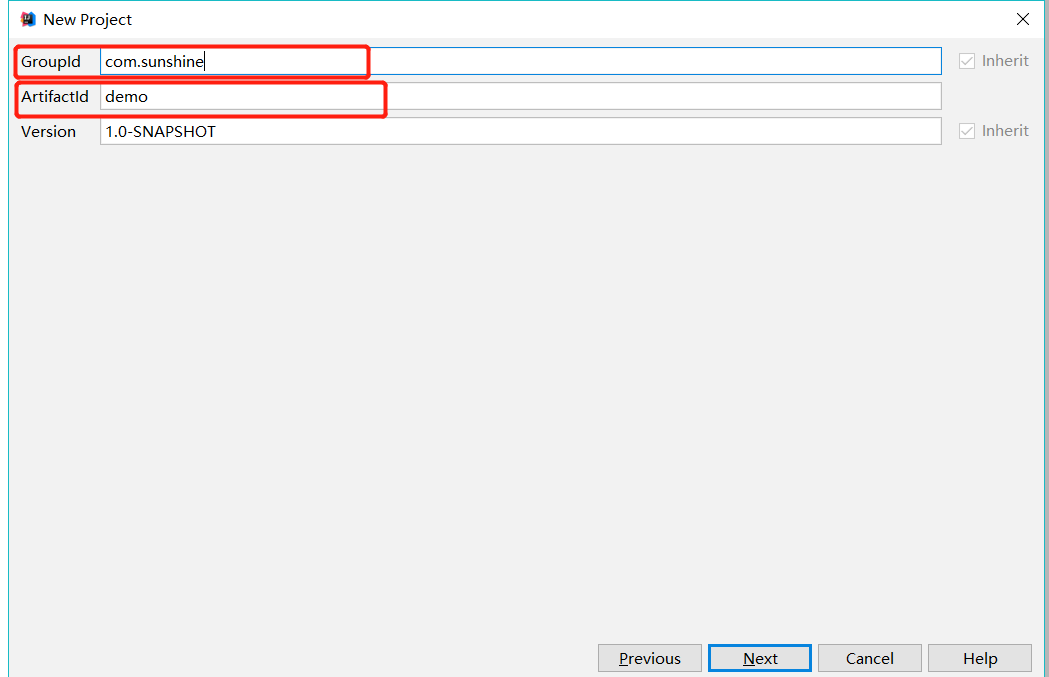
(3) 如下图设置Group Id(组织Id/项目包名) 和Artifact Id(项目名称或者模块名称),然后点击下一步。
(4)IDEA会根据上一步的设置默认project name和project location,如果不需要变更则点击Finish。
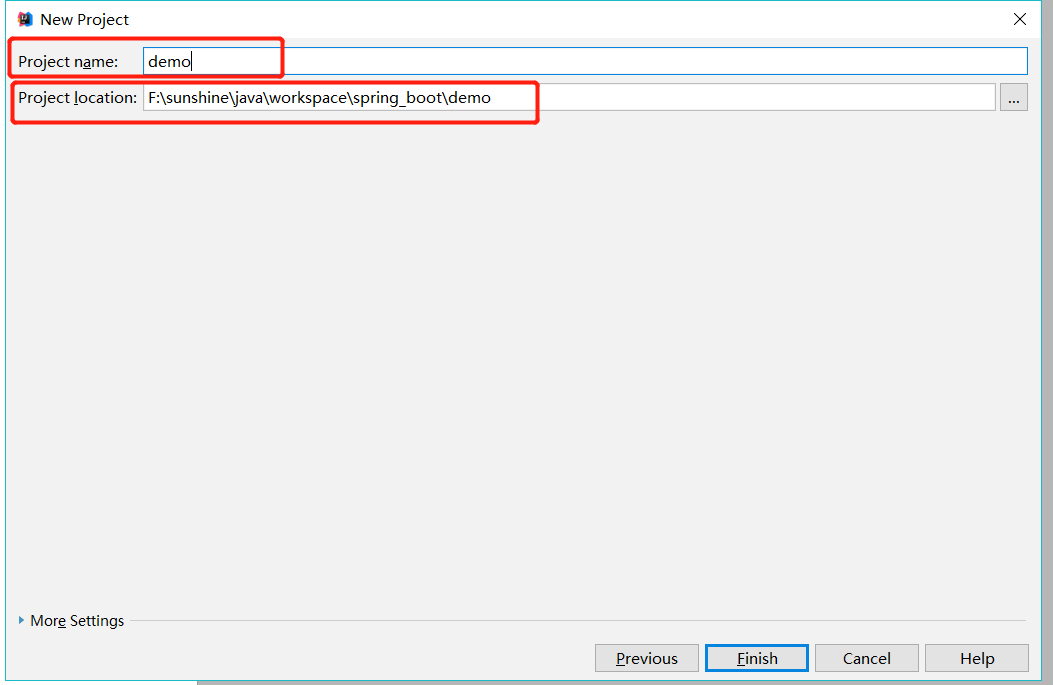
(5)到此为止,我们就完成了使用IntelliJ IDEA创建maven项目。
2 项目构建
2.1 添加maven依赖
(1)在pom文件中添加以下依赖:
1     <parent>
2         <groupId>org.springframework.boot</groupId>
3         <artifactId>spring-boot-starter-parent</artifactId>
4         <version>2.0.4.RELEASE</version>
5     </parent>
spring-boot-starter-parent 是一个特殊的starter,主要是给项目提供一些默认配置:
- Java版本默认使用1.8;
- 编码格式默认使用utf-8;
- 提供了Dependency Management进行项目依赖的版本管理;
- 默认资源过滤和插件配置。
(2)我们现在要开发一个web项目,则需要引入一个web的starter的依赖:
1     <dependencies>
2         <dependency>
3             <groupId>org.springframework.boot</groupId>
4             <artifactId>spring-boot-starter-web</artifactId>
5         </dependency>
6     </dependencies>
2.2 编写启动类
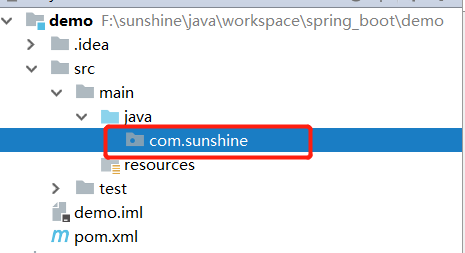
(1)在maven工程的java目录下创建包名为com.sunshine的包
(2)在上面的包下面创建一个 Application的类,并给Application类添加 @EnableAutoConfiguration 注解,如下所示:
1 @EnableAutoConfiguration
2 public class Application {
3
4     public static void main(String[] args){
5         SpringApplication.run(Application.class,args);
6     }
7 }
- @EnableAutoConfiguration ,顾名思义,就是开启自动化配置。我们在设置pom依赖的时候添加了 spring-boot-starter-web依赖,所以开启自动化配置之后,会自动进行spring和spring MVC配置。
- 在Java的main方法中,通过SpringApplication的 run()方法启动项目,第一个参数是Application.class,告诉spring是哪个主要组件,第二个参数是运行时输入的其他参数。
(3)创建spring MVC的controller,我们现在com.sunshine包下面创建包名为 controller 的包,在该包下面创建名为DemoController的controller类。如下所示:
1 @RestController
2 public class DemoController {
3
4     @GetMapping("/demo")
5     public String demo(){
6         return "Hello,this is a spring boot demo.";
7     }
8 }
(4)因为我们创建的一个DemoController类,在该类下创建了一个“/demo”接口,我们需要把DemoController注册到spring MVC容器中,则需要在启动类Application上面添加注解 @ComponentScan进行扫描包扫描,代码如下:
1 @EnableAutoConfiguration
2 @ComponentScan
3 public class Application {
4
5     public static void main(String[] args){
6         SpringApplication.run(Application.class,args);
7     }
8 }
在这里需要注意的是 @ComponentScan注解只能扫描启动类所在的包下面的类文件,所以通常我们都把启动类放在根包路径,比如我们现在的根包路径就是com.sunshine。
我们也可以使用 @SpringBootApplication注解代替 @EnableAutoConfiguration和@ComponentScan两个注解,如下所示:
1 @SpringBootApplication
2 public class Application {
3
4     public static void main(String[] args){
5         SpringApplication.run(Application.class,args);
6     }
7 }
2.3 启动项目
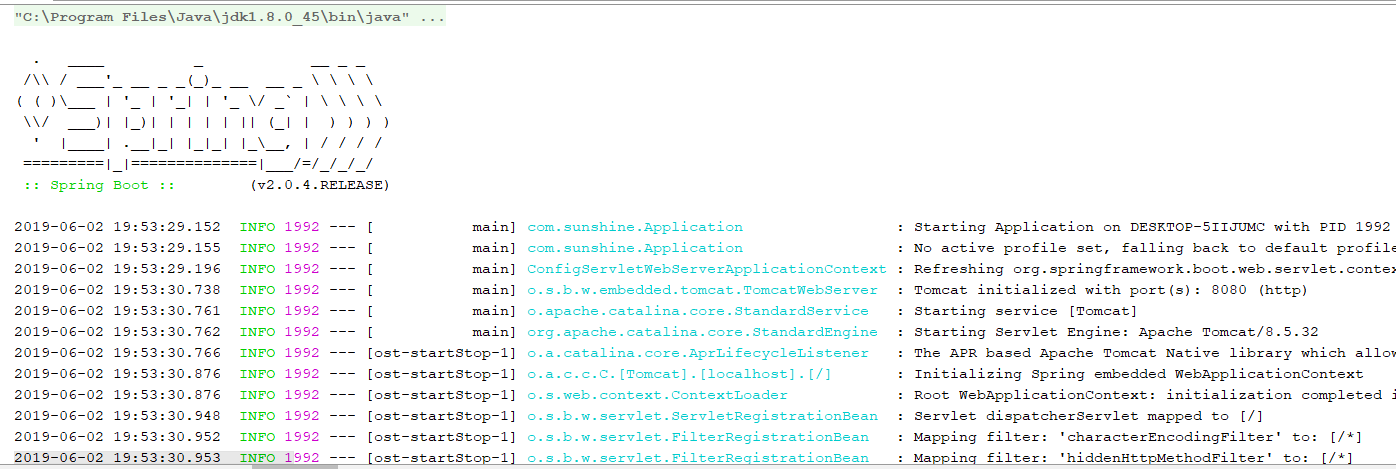
(1)在启动类中直接运行main方法即可,如下图所示就是启动成功了:
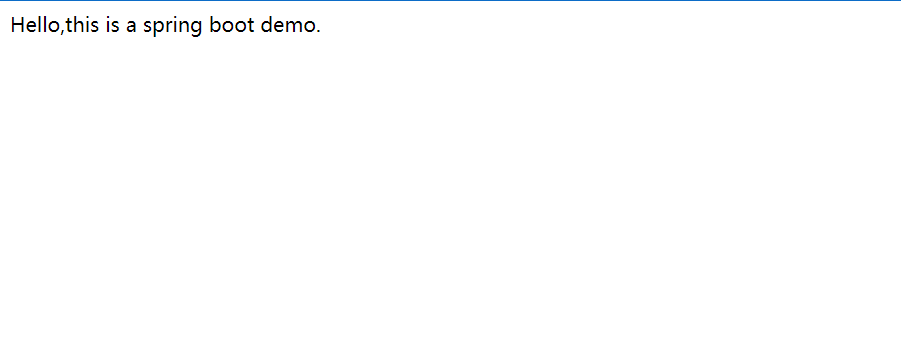
(2)在浏览器中输入http://localhost:8080/demo进行访问我们刚刚编写的"/demo"接口,效果如下图所示:
3 总结
到此为止,已经完成创建spring boot项目。
- 首先用eclipse或IntelliJ IDEA创建maven项目;
- 其次添加spring boot项目的maven依赖:添加默认配置用的spring-boot-starter-parent 依赖和 web项目的 spring-boot-starter-web依赖;
- 在maven项目下的java目录创建根路径包,在包下面创建启动类 Application,并添加@EnableAutoConfiguration和@ComponentScan 或@SpringBootApplication注解,用于开启自动配置和包扫描;
- 创建controller(控制器)类DemoController,并编写"/demo"接口,记得在DemoController上面添加@RestController注解。在接口方法上添加@GetMapping("/demo"),并指定访问接口路径;
- 允许启动类main方法,并在浏览器访问验证。
如果有什么问题欢迎留言指出,如果有什么疑问欢迎留言评论。