1、环境准备
| 服务 | 版本 |
|---|---|
| Linux | CentOS release 6.5 (Final) |
| Oracle | linux.x64_11gR2_database_1of2.zip linux.x64_11gR2_database_2of2.zip |
2、用户及安装环境设置
2.1 切换用户
su root
2.2 创建组、用户、将用户加入组里
groupadd oinstall
groupadd dba
useradd -g oinstall -g dba -m oracle
2.3 设置密码
passwd oracle
具体操作如下:
[root@node4 database]# groupadd oinstall
[root@node4 database]# groupadd dba
[root@node4 database]# useradd -g oinstall -g dba -m oracle
[root@node4 database]# passwd oracle
Changing password for user oracle.
New password:
BAD PASSWORD: it is based on a dictionary word
BAD PASSWORD: is too simple
Retype new password:
passwd: all authentication tokens updated successfully.
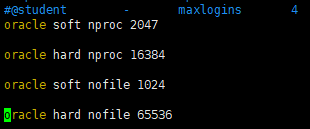
3、修改用户的SHELL的限制,修改/etc/security/limits.conf文件
vi /etc/security/limits.conf
##添加如下内容
oracle soft nproc 2047
oracle hard nproc 16384
oracle soft nofile 1024
oracle hard nofile 65536
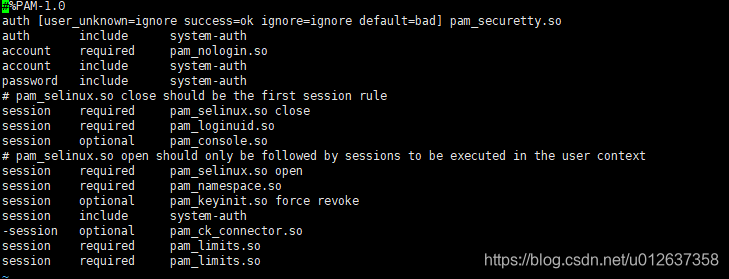
4、修改/etc/pam.d/login 文件
vi /etc/pam.d/login
##添加如下内容
session required /lib/security/pam_limits.so
session required pam_limits.so
5、修改linux内核,修改/etc/sysctl.conf文件
vi /etc/sysctl.conf
##添加如下内容
fs.file-max = 6815744
fs.aio-max-nr = 1048576
kernel.shmall = 2097152
kernel.shmmax = 2147483648
kernel.shmmni = 4096
kernel.sem = 250 32000 100 128
net.ipv4.ip_local_port_range = 9000 65500
net.core.rmem_default = 4194304
net.core.rmem_max = 4194304
net.core.wmem_default = 262144
net.core.wmem_max = 1048576
6、编辑 /etc/profile
vi /etc/profile
##添加如下内容
if [ $USER = "oracle" ]; then
if [ $SHELL = "/bin/ksh" ]; then
ulimit -p 16384
ulimit -n 65536
else
ulimit -u 16384 -n 65536
fi
fi
7、创建数据库软件目录和数据文件存放目录,目录的位置
mkdir /home/oracle/app
mkdir /home/oracle/app/oracle
mkdir /home/oracle/app/oradata
mkdir /home/oracle/app/oracle/product
8、更改目录属主为Oracle用户所有
chown -R oracle:oinstall /home/oracle/app
9、配置oracle用户的环境变量
#切换用户
su - oracle
#编辑文件.bash_profile
vi ~/.bash_profile
#增加如下内容
export ORACLE_BASE=/home/oracle/app
export ORACLE_HOME=$ORACLE_BASE/oracle/product/11.2.0/dbhome_1
export ORACLE_SID=orcl
export PATH=$PATH:$HOME/bin:$ORACLE_HOME/bin
export LD_LIBRARY_PATH=$ORACLE_HOME/lib:/usr/lib
10、关闭防火墙
su - root
##关闭防火墙
service iptables stop  //临时关闭
chkconfig iptables off  //永久关闭(重启也不会开启)
##关闭selinux(需重启生效)
vi /etc/selinux/config
service iptables stop  //临时关闭
chkconfig iptables off  //永久关闭(重启也不会开启)修改为SELINUX=disabled

##重启
reboot
11、Oracle安装
11.1 切换用户
su - oracle
11.2 创建临时目录
mkdir /home/oracle/tmp
11.3 上传oracle安装包到tmp目录下
11.4 解压安装包
cd /home/oracle/tmp
unzip linux.x64_11gR2_database_1of2.zip
unzip linux.x64_11gR2_database_2of2.zip
11.5 开始oracle安装
 cd /home/oracle/tmp/database
 ./runInstaller
异常
[oracle@node4 database]$ ./runInstaller
Starting Oracle Universal Installer...

Checking Temp space: must be greater than 120 MB.   Actual 150980 MB    Passed
Checking swap space: 109 MB available, 150 MB required.    Failed <<<<
Checking monitor: must be configured to display at least 256 colors
    >>> Could not execute auto check for display colors using command /usr/bin/xdpyinfo. Check if the DISPLAY variable is set.    Failed <<<<

Some requirement checks failed. You must fulfill these requirements before

continuing with the installation,
解决方法
在这种情况是不能直接安装,因为Oracle的安装需要图形化界面,可以通过Xmanager实现,添加配置如下:
(1)安装Xmanager,打开Xmanager下的Xmanager - Passive,用户接收显示ssh传来的图形化界面。
(2)重新编辑配置文件:vi ~/.bash_profile,增加一行:
export DISPLAY=192.168.0.191:0.0
192.168.0.191是安装Xmanager物理主机的真实IP地址。后面的0.0应该是Xmanager的图形界面认证标识
参考链接:
https://blog.csdn.net/qq_22260641/article/details/76182447
https://www.cnblogs.com/pengineer/p/4351370.html
https://blog.csdn.net/qq_22260641/article/details/76182447