一.使用idea创建springboot项目及搭建
1.创建新项目
.
2.
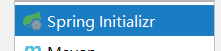
点击Spring Initializr 点击next
,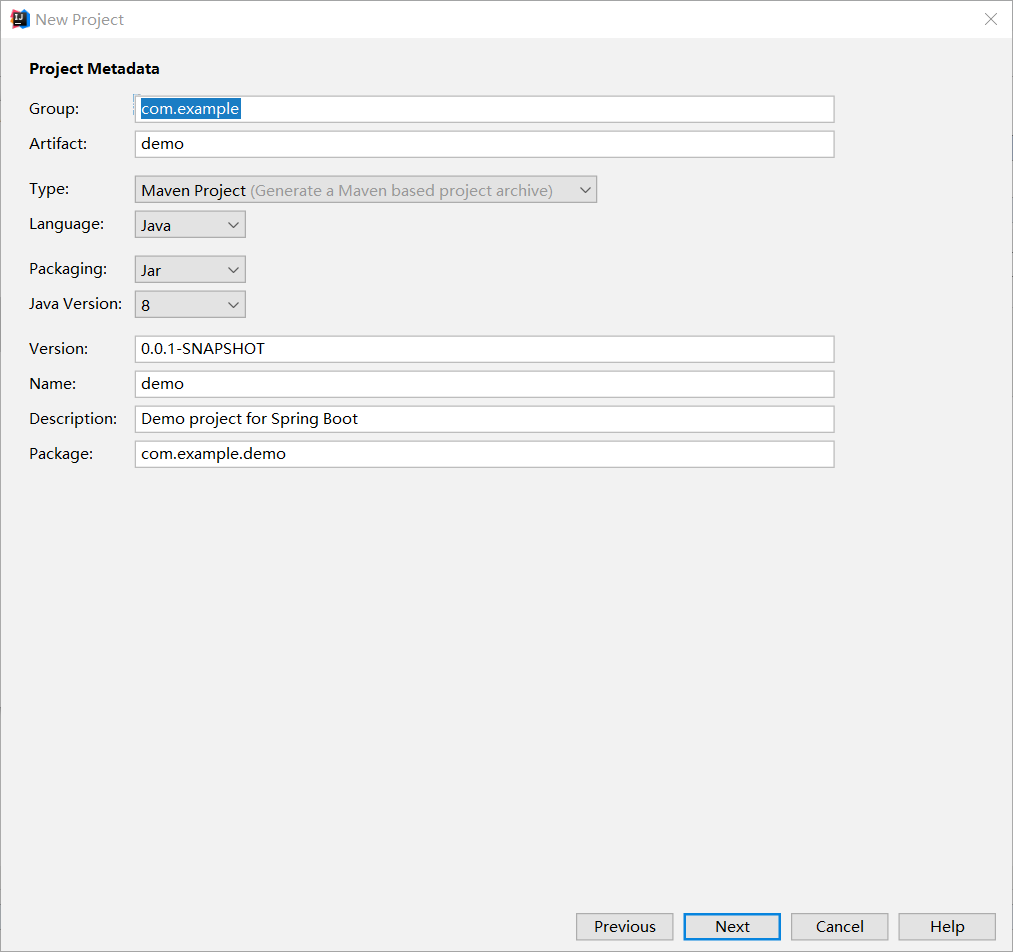 书写项目名点击next
3.


 进行选项页面,分别选择热部署,web开发,使用jpa和mysql,然后next,finish,创建完成
4.进入项目后分别配置application.properties 文件和pom.xml文件
application.properties :
#数据源配置
spring.datasource.type=com.alibaba.druid.pool.DruidDataSource
spring.datasource.driverClassName=com.mysql.cj.jdbc.Driver
spring.datasource.url=jdbc:mysql://localhost:3306/stu?useSSL=false&useUnicode=true&characterEncoding=utf-8&autoReconnect=true&serverTimezone=Asia/Shanghai
spring.datasource.username=root
spring.datasource.password=root
spring.datasource.initialSize=20
spring.datasource.minIdle=50
spring.datasource.maxActive=500

#上下文配置
server.port=8888
server.servlet.context-path=/kude

#配置jpa
#帮我们自动生成表结构
spring.jpa.properties.hibernate.hbm2ddl.auto=update
spring.jpa.properties.hibernate.dialect=org.hibernate.dialect.MySQL5InnoDBDialect
spring.jpa.show-sql= true
spring.jpa.properties.hibernate.enable_lazy_load_no_trans=true
pom.xml:
<!-- druid数据库连接池-->
<dependency>
    <groupId>com.alibaba</groupId>
    <artifactId>druid</artifactId>
    <version>1.1.10</version>
</dependency>

基本配置完成

二.后端书写
1.
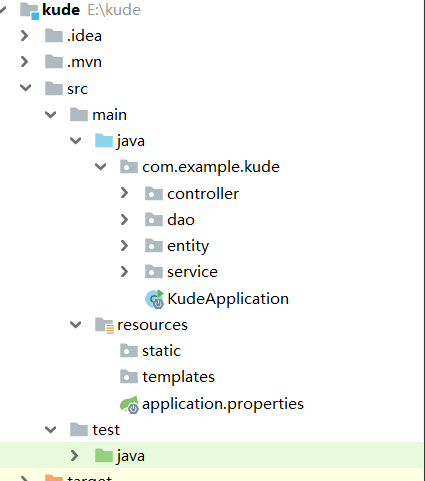 在java的com.example.kede目录下创建如下四个文件夹。controller控制层,dao接口层,service服务层,entity实体层
实体层
先根据数据库书写实体类
数据库如下

实体类成员变量
private Integer id;
private String name;
private String sex;
private Integer age;

书写实体类时需加如下标签

@Entity 代表为实体类
@Table(name = "student") 代表使用表为student
@Id 主键
@GeneratedValue(strategy = GenerationType.IDENTITY) 自增序列
dao层
dao层需要注意

继承
JpaRepository<Student,Integer> 接口 两个参数第一个为实体类型,第二个为主键类型
还需注意点如下自建方法 加入@Query标签 name属性为方法名;nativeQuery 为; true value中为自定义sql语句

Service层
service层中无需特别注意,需要注意的是其中的接口实现类
实现类中实现Service类 并在类前加入@Service标签代表为service层

O]RQ`YDAJUNR[J9Q`6~EX.png) 书写dao层的类为成员变量并且加入自动注入标签@Autowired
书写dao层的类为成员变量并且加入自动注入标签@Autowired

controller层

在controller中加入作者注释
 @author中加入作者名称
 加入@RestController注解代表是控制层可以将返回值转换为json格式
  同样将Service层的类写为成员变量并且加入@Autowired注解自动注入

这样写可以在url后无需加?写参数,直接加入/即可

还需注意的有
@PostMapping使用post方法
三.前端书写
前端使用ajax的方法请求,在数据加载完成前,先加载页面
$.ajax({
url: 'http://localhost:8888/kude/student/pagequery?page='+page,
success:function(result){
var rel = result.content;
tot = result.totalPages;
var str = "<table width='80%' align='center' border='1'>"
+"<tr><td>ID</td>"+"<td>姓名</td>"+"<td>年龄</td>"+"<td>性别</td>"+"<td>操作</td>";
for(var i=0;i<rel.length;i++){
var stu = rel[i];
var id = stu.id;
str += "<tr><td>"+stu.id+"</td><td>"+stu.name+"</td><td>"+stu.age+
"</td><td>"+stu.sex+"</td><td><a href='update.html?id'>编辑</a> <a href='http://localhost:8888/kude/student/delete/"+stu.id+"'>删除</a></td></tr>";
}
str += "</table>";
$("#show").html(str);
}
});
url代表请求地址
success代表成功后动作
function(result)result代表页面返回的结果
将结果数组赋给rel 使用循环输出返回的json对象stu[]
stu.id 即id。。。。。
需要注意的有
<a href="javascript:up_p();" >上一页</a>中
跳函数需要在前面加入 javascript
$("#show").html(str);
使用jquery获取div name属性展示页面