零、IDEA骚操作
在IDEA的使用过程中,提高工作效率(其实就是懒),刚好,IDEA也为诸多懒癌患者提供了诸多便利
以下列举懒癌患的常用操作
-
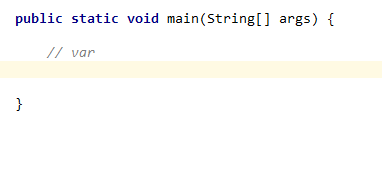
var
-
cast

-
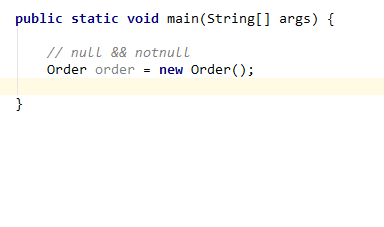
null
-
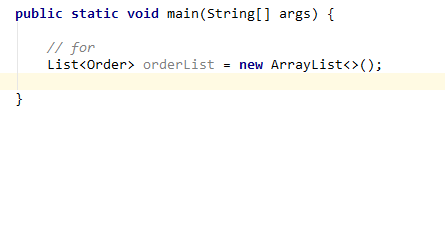
for
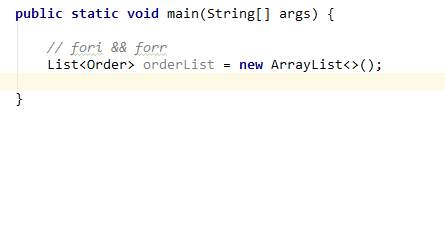
除此之外,还有 fori 和 forr
-
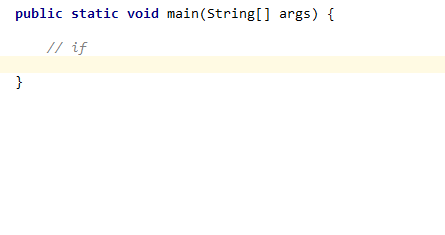
if
-
文件拷贝工具类
文件拷贝: import org.springframework.util.FileCopyUtils;
FileCopyUtils.copy(FilePath1, FilePath2)目录拷贝:import org.springframework.util.FileSystemUtils;
FileSystemUtils.copyRecursively(FilePath1, FilePath2)
一、拒绝重复造轮子 - 遍历文件
-
遍历查找
查找出指定文件:引入commons-io 依赖
  <dependency>
      <groupId>commons-io</groupId>
      <artifactId>commons-io</artifactId>
      <version>2.6</version>
  </dependency>
FileUtils.listFiles(file, filter, false),多层目录,参数三设置为true,递归查找。举个栗子:
  //查找遍历,后缀为 .png 的文件
  File file = new File("/myProjects/java/ex/uaual/doc/img");
  String[] filter = {"png"};
  Collection<File> files = FileUtils.listFiles(file, filter, true);
  for (File file1 : files) {
  	System.out.println(file1.getName());
  }
二、安全编程 - MD5 vs BASE64
- MD5
-
Spring 项目:DigestUtils.md5DigestAsHex(s.getBytes())
-
非Spring项目,引入依赖:commons-codec,调用 DigestUtils.md5Hex(s)
  <dependency>
  <groupId>commons-codec</groupId>
  <artifactId>commons-codec</artifactId>
  <version>1.12</version>
-
- BASE64 【1.8 java.util 中】
- 编码:Base64.getEncoder.encodeToString(s.getBytes())
- 解码:Base64.getDecoder.decode(encode)
三、少写代码第一步 - lombok 插件
- lombok
-
安装依赖
<dependency> <groupId>org.projectlombok</groupId> <artifactId>lombok</artifactId> </dependency> -
IDEA 安装lombok插件

-
@Data省略 getter and setter 方法package com.ex.usual; import lombok.Data; /** * @Author: Jiangyanfei * @Date: 2019/4/13 16:27 * @Version 1.0 */ @Data public class Order { private Integer id; private String buyerName; public Order() { } public Order(Integer id, String buyerName) { this.id = id; this.buyerName = buyerName; } }接下来Build下工程,查看编译之后的 class文件 是怎样的?
  //
  // Source code recreated from a .class file by IntelliJ IDEA
  // (powered by Fernflower decompiler)
  //

  package com.ex.usual;

  public class Order {
      private Integer id;
      private String buyerName;

      public Order() {
      }

      public Order(Integer id, String buyerName) {
          this.id = id;
          this.buyerName = buyerName;
      }

      public Integer getId() {
          return this.id;
      }

      public String getBuyerName() {
          return this.buyerName;
      }

      public void setId(final Integer id) {
          this.id = id;
      }

      public void setBuyerName(final String buyerName) {
          this.buyerName = buyerName;
      }

      public boolean equals(final Object o) {
          if (o == this) {
              return true;
          } else if (!(o instanceof Order)) {
              return false;
          } else {
              Order other = (Order)o;
              if (!other.canEqual(this)) {
                  return false;
              } else {
                  Object this$id = this.getId();
                  Object other$id = other.getId();
                  if (this$id == null) {
                      if (other$id != null) {
                          return false;
                      }
                  } else if (!this$id.equals(other$id)) {
                      return false;
                  }

                  Object this$buyerName = this.getBuyerName();
                  Object other$buyerName = other.getBuyerName();
                  if (this$buyerName == null) {
                      if (other$buyerName != null) {
                          return false;
                      }
                  } else if (!this$buyerName.equals(other$buyerName)) {
                      return false;
                  }

                  return true;
              }
          }
      }

      protected boolean canEqual(final Object other) {
          return other instanceof Order;
      }

      public int hashCode() {
          int PRIME = true;
          int result = 1;
          Object $id = this.getId();
          int result = result * 59 + ($id == null ? 43 : $id.hashCode());
          Object $buyerName = this.getBuyerName();
          result = result * 59 + ($buyerName == null ? 43 : $buyerName.hashCode());
          return result;
      }

      public String toString() {
          return "Order(id=" + this.getId() + ", buyerName=" + this.getBuyerName() + ")";
      }
  }
是的,就是介个样子,因为懒,lombok 为我们提供了
@Data注解,现在我们 getter、setter方法也不用写了,当然也可针对自己的需要,去添加注解。如:@Getter就仅仅是引入成员变量的 getter方法啦,其他同理。 -
日志相关
-
常规方式,Spring Boot内置日志框架 slf4j,在需要日志记录的地方添加静态成员变量即可:
private static Logger logger = LoggerFactory.getLogger(Test.class); logger.info("日志记录"); -
@Slf4j,一条注解等同上述静态成员变量定义操作,使用log操作日志对象即可!@Slf4j public class Test { public static void main(String[] args) { log.info("日志记录"); } }
-
-
四、妙用枚举
-
枚举:[1.5+ 枚举常量类的代码封装简化]
在开始之前,我们先对比下常量类和枚举类的区别,一般的常量类定义方式:
public static finalpublic class Light { public static final int RED = 1; public static final int GREEN = 2; public static final int YELLOW = 3; }再来看枚举类Enum:
  package com.ex.usual;

  /**
   * @Author: Jiangyanfei
   * @Date: 2019/4/14 12:12
   * @Version 1.0
   */
  @Getter
  public enum LightEnum {

      RED(1),
      GREEN(2),
      YELLOW(3);

      private int code;

      private LightEnum(int code) {
          this.code = code;
      }
  }
需要注意的是:
- 枚举类型不能存在
public类型的构造函数,其构造函数均为private类型 - 所有枚举常量的类型均为:
public static final等同于常量类(接口) - 枚举类型提供了
valueOf()方法,方便根据枚举常量获取对应的值 - 枚举类型还提供了
values()方法,遍历所有的枚举常量的值 - 与常量类型相比,枚举类型限定(int、String),更直观、高效,一般用于限定常量
- 枚举类型不能存在
五、解密 Map 的前世今生 - 快速遍历
-
Map 遍历的四种方式,下面代码来自网络
package com.ex.usual; import java.util.HashMap; import java.util.Iterator; import java.util.Map; /** * @Author: Jiangyanfei * @Date: 2019/4/14 13:34 * @Version 1.0 */ public class MapTest { public static void main(String[] args) { Map<String, String> map = new HashMap<String, String>(); map.put("1", "value1"); map.put("2", "value2"); map.put("3", "value3"); //第一种:普遍使用,二次取值 System.out.println("通过Map.keySet 遍历key和value:"); for (String key : map.keySet()) { System.out.println("key= " + key + " and value= " + map.get(key)); } //第二种 System.out.println("通过Map.entrySet 使用iterator遍历key和value:"); Iterator<Map.Entry<String, String>> it = map.entrySet().iterator(); while (it.hasNext()) { Map.Entry<String, String> entry = it.next(); System.out.println("key= " + entry.getKey() + " and value= " + entry.getValue()); } //第三种:推荐,尤其是容量大时 System.out.println("通过Map.entrySet遍历key和value"); for (Map.Entry<String, String> entry : map.entrySet()) { System.out.println("key= " + entry.getKey() + " and value= " + entry.getValue()); } //第四种 System.out.println("通过Map.values()遍历所有的value,但不能遍历key"); for (String v : map.values()) { System.out.println("value= " + v); } } } -
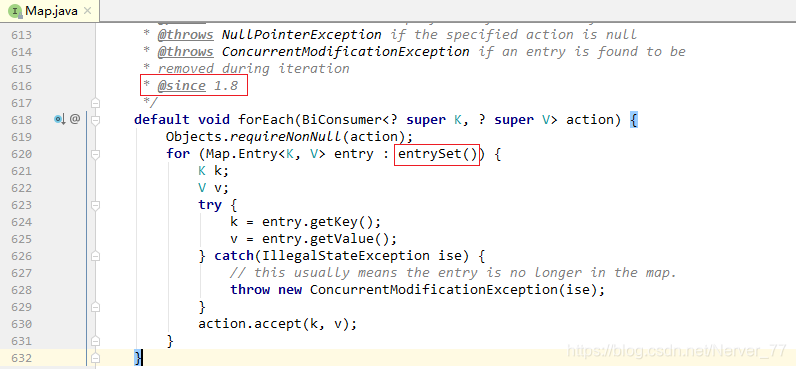
第五种方式:1.8+ 出现,lambda 形式,推荐!
  // 第五种
  map.forEach((k, v) -> {
  	System.out.println("key = " + k + "and value = " + v);
  });
进入 forEach 方法查看,会看到,此种方式遍历的底层采用了 entrySet()
六、精简代码,别人十行,我只一行 - lambda + stream
-
lambda 表达式,1.8+,本质是语法糖,由编译器推断并转换包装为常规的代码
-
上述Map快速遍历的方法也用到了 lambda 表达式简化代码
-
匿名函数可以使用 lambda 表达式替换
  new Thread(new Runable() {
  	@Override
  	publc void run() {
  		log.info("开启一个线程");
  	}
  }).start();

  // lambda 替换
  new Thread(() -> log.info("开启另外一个线程")).start();
-
-
stream 集合库,对集合数据进行处理,如同迭代器,通常与 lambda表达式 一起使用
支持众多集合操作,如 map、filter、limit、sorted、count、min、max、sum、collect 等
-
筛选、去重
List<Integer> collect = orderList.stream() .map(Order::getId) .filter(e -> !e.equals(12345)) // 筛选Id .collect(Collectors.toList()); // toSet()方法是去根据Id进行数据去重 -
排序
  List<Integer> collect2 = orderList.stream()
  			.sorted((o1, o2) -> o2.getId().compareTo(o1.getId()))
  			.collect(Collectors.toList());
-
七、无处不在的的 try catch - 统一处理异常
-
异常向上层抛出 throws,减少业务代码中的 try - catch 相关代码
-
统一处理,创建异常处理类
  @ControllerAdvice
  public class TestExceptionHandler {

  	@ExceptionHandler(value = Exception.class)
  	@ResponseBody
  	public Map errorHandler(Exception e) {
  		Map map = new HashMap();
          map.put("code", 100);
          map.put("msg", e.getMessage());
          return map;
  	}
  }
@ExceptionHandler 拦截了异常,可以通过该注解实现自定义异常处理。其中,@ExceptionHandler 配置的 value 指定需要拦截的异常类型,上面代码拦截了 Exception.class 这种异常。可以根据需要定义诸多异常统一处理方法。