参考博客链接:https://blog.csdn.net/zhangziju/article/details/80243858
1.打开命令提示符输入:
pip install PyQt5 -i https://pypi.douban.com/simple
在这里选择豆瓣源的原因是下载速度较快,但并不是每次都能保证较高的下载速度。
2.安装PyQt常用工具
pip install PyQt5-tools -i https://pypi.douban.com/simple
3.添加工具包到系统变量
为了使系统识别PyQt工具包内的指令,我们将pyqt5-tools的安装目录加载到系统变量path中。参考如下:C:\Anaconda3\Lib\site-packages\pyqt5_tools
4.PyCharm配置PyQt5
打开PyCharm,在setting里打开external tools,点击左上角的加号,作如下配置:
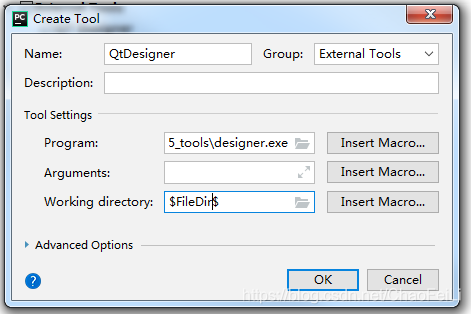
(1)配置QtDesigner
Name中输入:QtDesigner(也可自定义名字,这是以后调用时显示的工具名)
Program选择PyQt安装目录中 designer.exe 的路径(参考路径:C:\Anaconda3\Lib\site-packages\pyqt5_tools\designer.exe)
Arguments为空
Working directory为:$FileDir$
如下图所示:
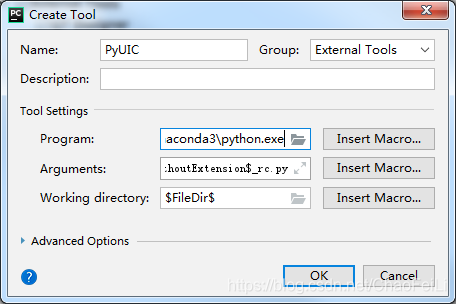
(2)配置PyUIC
Name中输入:PyUIC
Program选择PyQt安装目录中python.exe 的路径(参考路径:C:\Anaconda3\python.exe)
Arguments为-m PyQt5.uic.pyuic FileNameFileName -o FileNameWithoutExtensionFileNameWithoutExtension.py
Working directory为:$FileDir$
如下图所示:
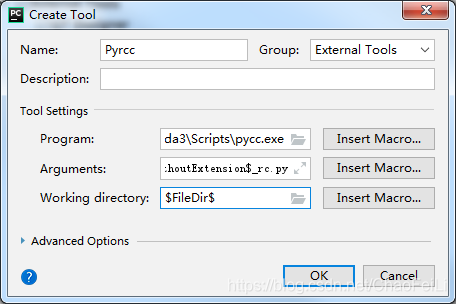
(3)配置Pyrcc
Name中输入:Pyrcc
Program选择PyQt安装目录中pycc.exe 的路径(参考路径:C:\Anaconda3\Scripts\pycc.exe)
Arguments为$FileName$ -o $FileNameWithoutExtension$_rc.py
Working directory为:$FileDir$
如下图所示:
5.Pycharm使用PyQt
使用QtDesigner进行界面设计:在工具栏找到“Tools”–>external tools -->QtDesigner即可进行界面设计,设计完成会保存为一个.ui文件,右键点击选择external tools里的PyUIC即可将其转为一个.py文件。