1.在github上创建一个账号(有就不用看这一步了),进入如下界面:
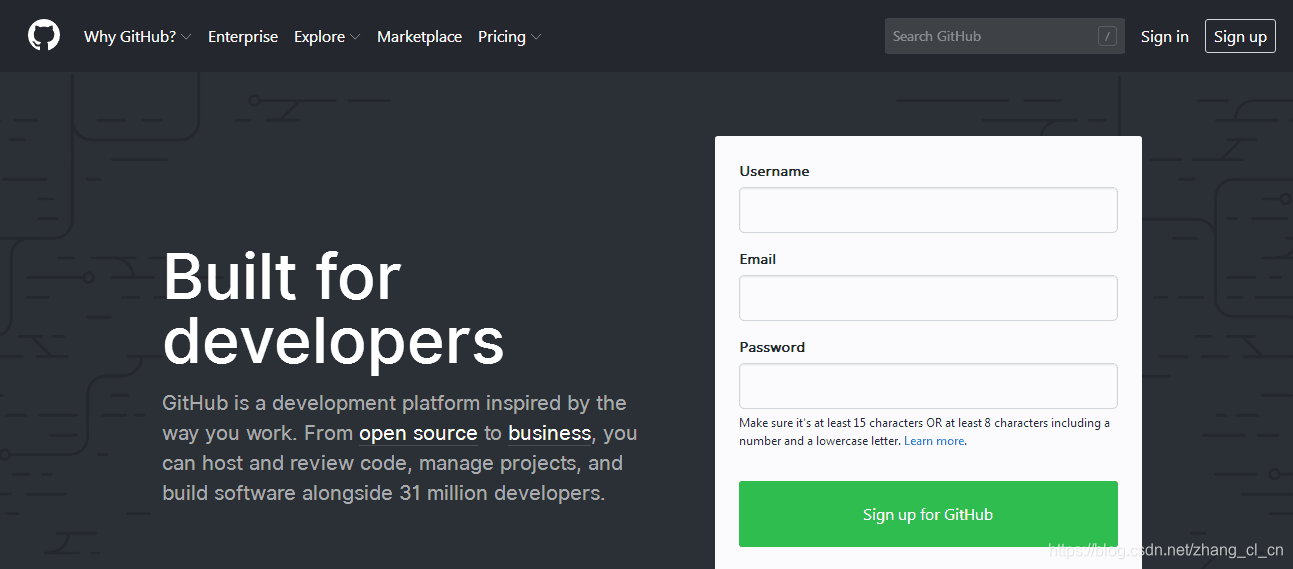
根据以上信息进行注册即可。
2.下载并安装git版本控制工具
下载地址(https://git-scm.com/downloads)
点击以上按钮进入以下界面:

根据需求选择下载的版本,我这里下载的是windows版本的。
点击下载好的exe程序进行安装,安装的过程推荐大家这个 博主的文章,写的还是很详细的。
安装好之后进行配置全局的用户名和邮箱(这里的用户名和邮箱指的是GitHub的用户名和邮箱),如果这一步不做的话,到最后进行提交代码的时候idea会报错,错误信息如下:
Can't finish GitHub sharing process
		Successfully created project 'Project' on GitHub, but initial commit failed:
		*** Please tell me who you are.

		Run

		  git config --global user.email "[email protected]"
		  git config --global user.name "Your Name"

		to set your account's default identity.
		Omit --global to set the identity only in this repository.

		fatal: unable to auto-detect email address (got '**************(none)')
		 during executing git F:\Git\cmd\git.exe -c core.quotepath=false commit -m "Initial commit" --
大概的意思就是工程创建成功了,但是没有提交成功,请告诉你是谁。请执行
	git config --global user.email "[email protected]"
    git config --global user.name "Your Name"
右键点击Git Base Here弹出命令窗口,执行以上两行代码即可。
3.配置idea
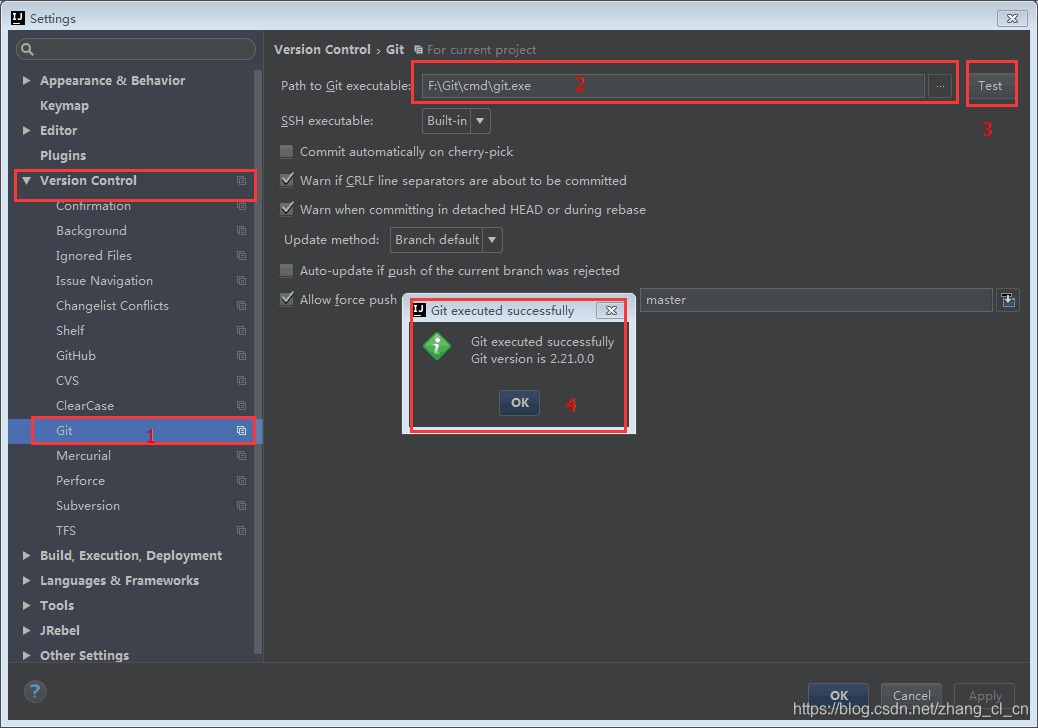
首先配置git。
点击idea右上角的File->setting->version control->git,然后在Path to Gitexecutable:选择安装之后的git.exe的路径,然后点击test按钮测试一下。成功就会出现如4所示的窗口
其次进行github的配置
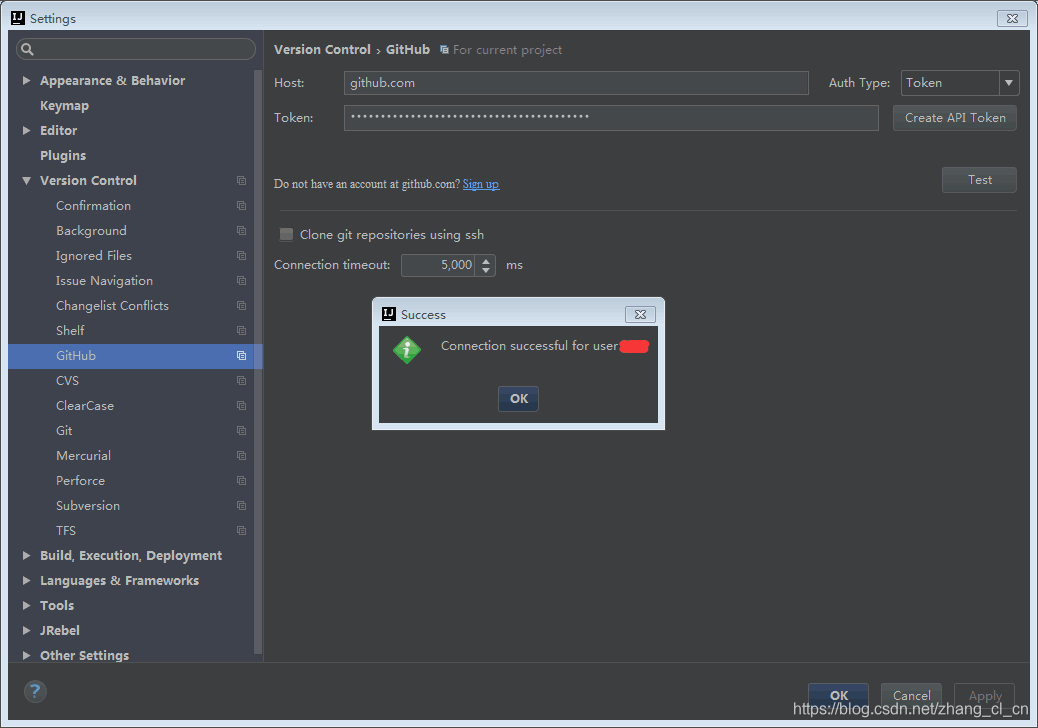
点击idea右上角的File->setting->version control->GitHub,首先点击Create API Token出现Login to GitHub的窗口,Host不用改变, 就是github.com,Login使用你的GitHub用户名或者邮箱都可以,最好使用你申请GitHub的时候绑定的邮箱,Password就是你GitHub的密码,然后点击Login
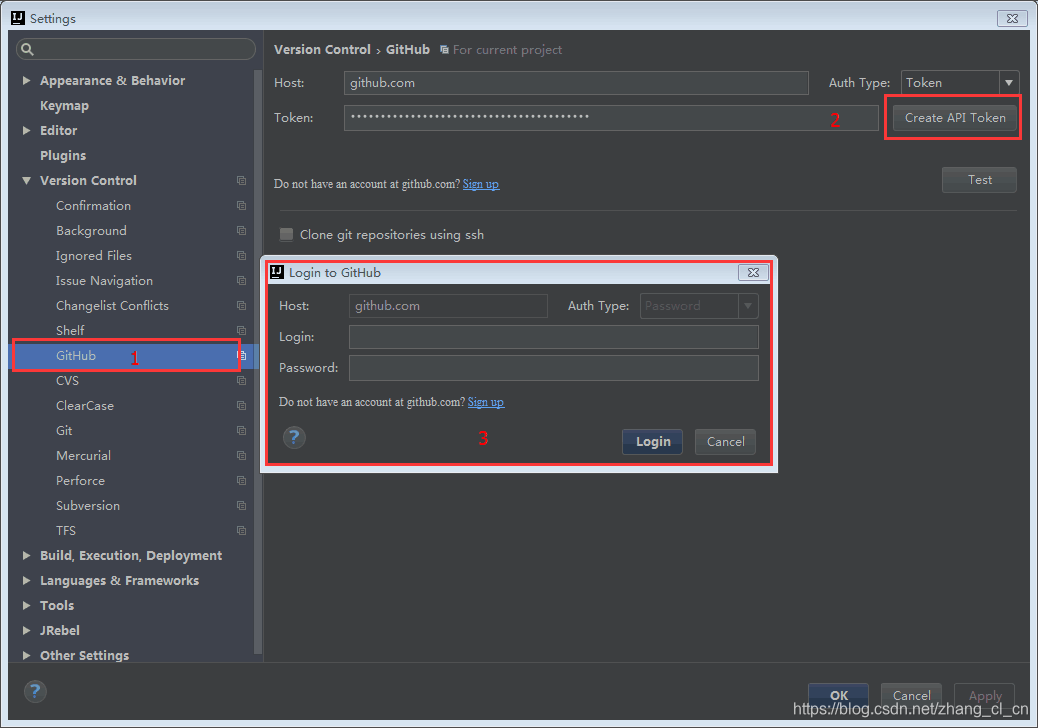
当点击Login之后出现,点击Test按钮,出现Success即可。
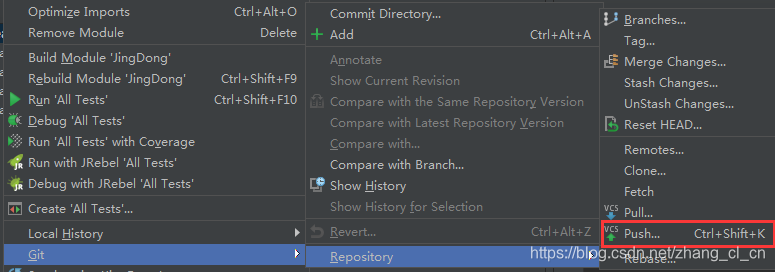
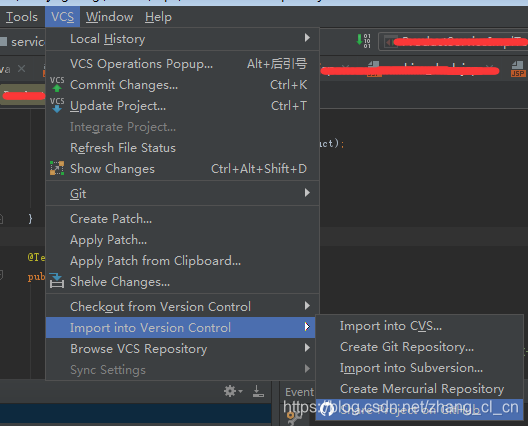
3.上传代码
点击VCS–>Import into Version Control–>Share Project on GitHub
在出现的窗口中添上项目名称(New repository name)和描述(Description)
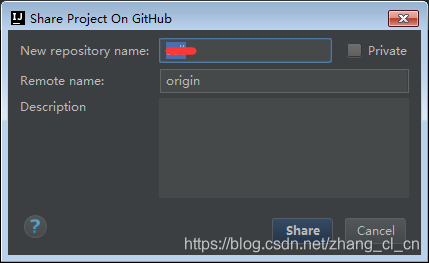
然后进行commit提交文件就行了。第一次进行提交的话是比较慢的,耐心等待。
当在github看不到自己提交的目录结构的话,但是idea上显示已经提交成功。点击git->respo->push一下就好