STEP 1 nuget包管理引入Prism.Core(7.1.0.431) & Prism.Unity(7.1.0.431)
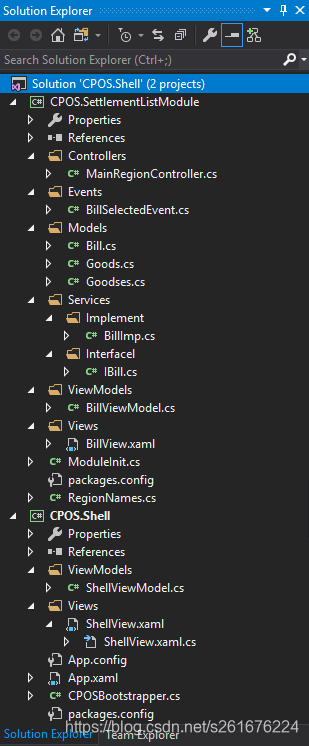
解决方案目录结构:
STEP 2 创建Bootstrapper,这里我是创建了CPOSBootstrapper
在Prism应用中,创建Shell或者主窗口的责任是Bootstrapper的。因为Shell依赖的一些服务比如Region Manager需要在Shell显示之前初始化。
public class CPOSBootstrapper : UnityBootstrapper
{
        public CPOSBootstrapper()
        {

        }

        protected override void ConfigureModuleCatalog()
        {
            base.ConfigureModuleCatalog();
            ModuleCatalog moduleCatalog = (ModuleCatalog)ModuleCatalog;
            moduleCatalog.AddModule(typeof(CPOS.SettlementListModule.ModuleInit));
        }

        protected override DependencyObject CreateShell()
        {
            return this.Container.TryResolve<ShellView>();
        }

        protected override void InitializeShell()
        {
            base.InitializeShell();
            Application.Current.MainWindow = (Window) this.Shell;
            if (Application.Current.MainWindow != null) Application.Current.MainWindow.Show();
        }
}
注意重写
ConfigureModuleCatalog:配置模块目录(可以依次加入模块,通过AddModule)
CreateShell:创建Shell,Unity注入视图
InitializeShell:初始化Shell,指定主窗体并运行
STEP 3 在App.xaml.cs,指向Bootstrapper,这里我指向的是:CPOSBootstrapper
protected override void OnStartup(StartupEventArgs e)
{
      base.OnStartup(e);
      CPOSBootstrapper bootstrapper = new CPOSBootstrapper();
      bootstrapper.Run();
}
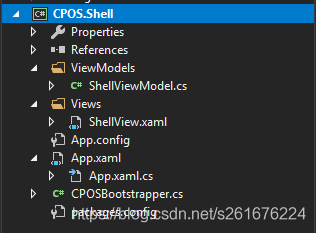
STEP 4 项目下增Views和ViewModels文件夹,同时新增视图及视图模型文件,如图
ShellView(在STEP2已经注入了,return this.Container.TryResolve<ShellView>())一般我们可以在这里设计UI大致布局,这里借鉴了官方例子的布局,实际这篇教程,也是来之官方事例修改,好了看下UI布局ShellView.xaml
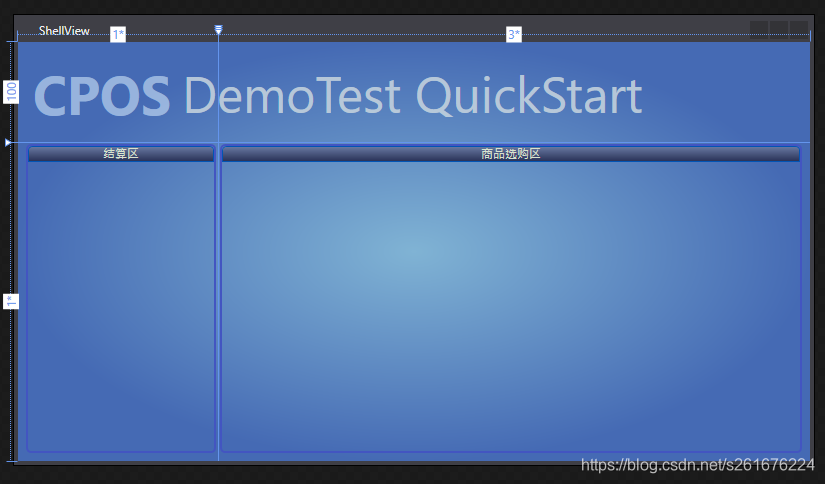
图中分为3个区域,顶部说明区,结算区(ListRegion)以及商品选购区(MainRegion),显然这是一个很中规中矩的布局。这里引入的Region,说直白点实际就是应用程序UI的逻辑区域,很像一个Placeholder。通常我们并不直接和Region打交道,而是通过RegionManager,它实现了IRegionManager接口。IRegionManager接口包含一个只读属性Regions,是Region的集合AddToRegion:将一个视图添加到一个Region中。RegisterViewWithRegion:将一个视图和一个Region进行关联。当Region显示的时候,关联的视图才会显示,也就是说,在这个Region显示之前,关联的视图是不会被创建的。这里稍微拓展下,因为我们后面还要用到。
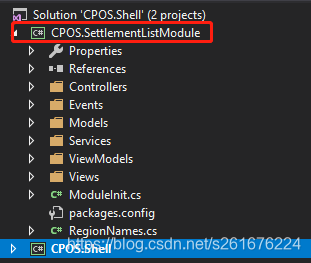
STEP 5 我们这里再建个类库项目,实际就是Module模块化编程思想,可以想象成一个独立的服务模块
如图,注意看ModuleInit 也是在STEP2,作为模块添加进去了。
再看下其中的源码,就看到了,IUnityContainer和IRegionManager接口,他们是干什么呢?看接口几乎猜出大半了吧。没错Unity依赖注入容器接口和逻辑区域管理接口。新建的ModuleInit必须继承IModule接口,看源码
public class ModuleInit : IModule
    {
        private readonly IUnityContainer container;
        private readonly IRegionManager regionManager;

        private MainRegionController _mainRegionController;

        public ModuleInit(IUnityContainer container, IRegionManager regionManager)
        {
            this.container = container;
            this.regionManager = regionManager;
        }

        public void OnInitialized(IContainerProvider containerProvider)
        {
            //Register the IBill concrete type with the container
            this.container.RegisterType<IBill, BillImp>();

            this.regionManager.RegisterViewWithRegion(RegionNames.ListRegion,
                () => this.container.Resolve<BillView>());

            this._mainRegionController = this.container.Resolve<MainRegionController>();
        }

        public void RegisterTypes(IContainerRegistry containerRegistry)
        {

        }
    }
每一个Module中都需要有一个负责进行初始化工作以及与系统进行集成的角色,它需要实现IModule接口。IModule接口中只有一个Initialize方法,一方面这个接口将这个工程标记为一个Module,另一方面你可以在Initialize方法中实现一些逻辑,比如向容器中注册一些Service,或者将视图集成到程序中等等。
比如:this.container.RegisterType<IBill, BillImp>() 注入了服务this.regionManager.RegisterViewWithRegion(RegionNames.ListRegion, () => this.container.Resolve<BillView>())将BillView视图和RegionNames.ListRegion进行关联
为了便于Region管理,这里新增了静态类RegionNames.cs
public static class RegionNames
{
    public const string MainRegion = "MainRegion";
    public const string ListRegion = "ListRegion";
}
STEP 6 MVVM模型,以及Controller,Event,Service(这里可以定义接口,写实现,或者数据持久化操作等)
mvvm这里我不就细说了,可以google,百度,哪样舒服哪样来,看懂了就行了....此处省略一万字!!!
这里我们主要理解下通信组件,事件聚合器eventAggregator,实现了Pub-Sub事件机制。理解起来也没那么绕,Prism框架都帮我们搞定了,我们要做的,就是定义接口,发布和订阅OK了。在没有直接的行动反应期望的情况下,跨视图模型,演示者或控制者进行通信!
1.来个事件,以及参数(int->发布中goods.Id即为传入的值)
public class BillSelectedEvent : PubSubEvent<int>{ }
2.用的两个模块都各自定义IEventAggregator 接口
private readonly IEventAggregator eventAggregator;
3.该发布的发布
this.eventAggregator.GetEvent<BillSelectedEvent>().Publish(goods.Id);
4.该订阅的订阅
this.eventAggregator.GetEvent<BillSelectedEvent>().Subscribe(this.BillSelected, true);
STEP 7 源码再整理下稍后发布,如果有理解错的地方欢迎指导更正,谢谢各位看官!先看运行。调试截图。。。
图1,加载LeftRegion的时候,默认选择了结算区第一行ITEM,主要用于商品选购区的展示,这里是调试直接输出了
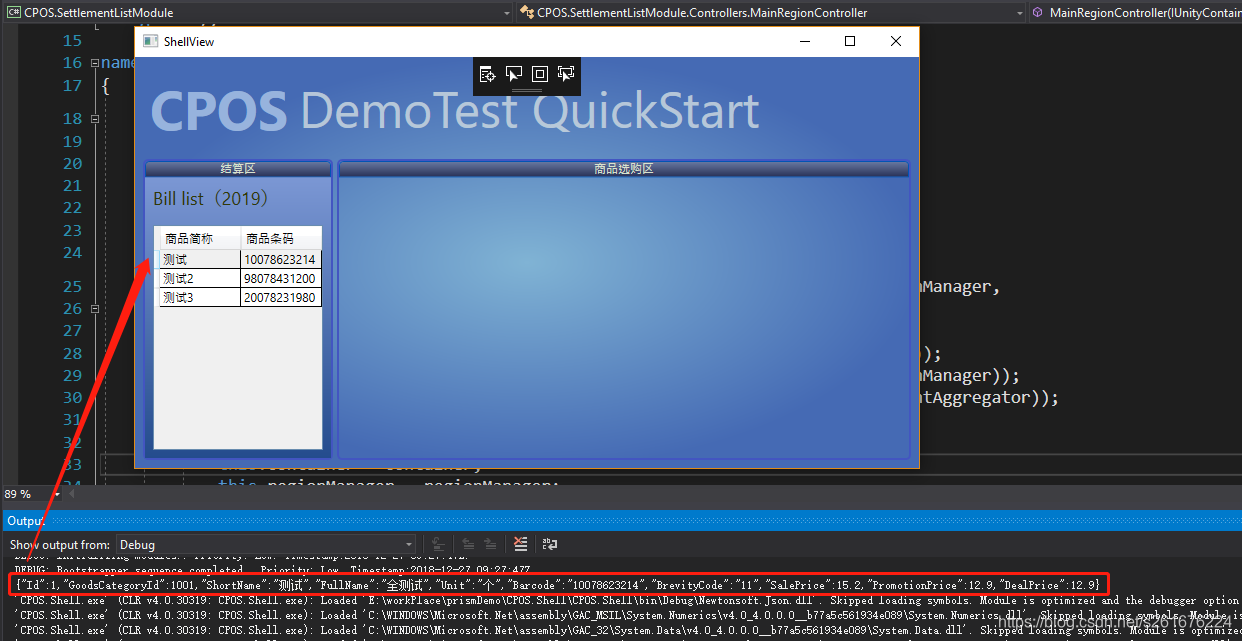 图2 比如选中第二行项,继续输出调试信息
