Springboot与dubbo 整合,首先需要创建生产者,生产者不需要提供web服务,只需要提供dubbo的协议,然后再添加消费者, 这两者都依赖于zookeeper ,都利用了zookeeper的临时节点,启动的时候,与zookeeper建立连接,当服务关闭后,临时节点都消失。再这个演示例子中,我们只使用到了, 消费者,生产者, 注册中心。
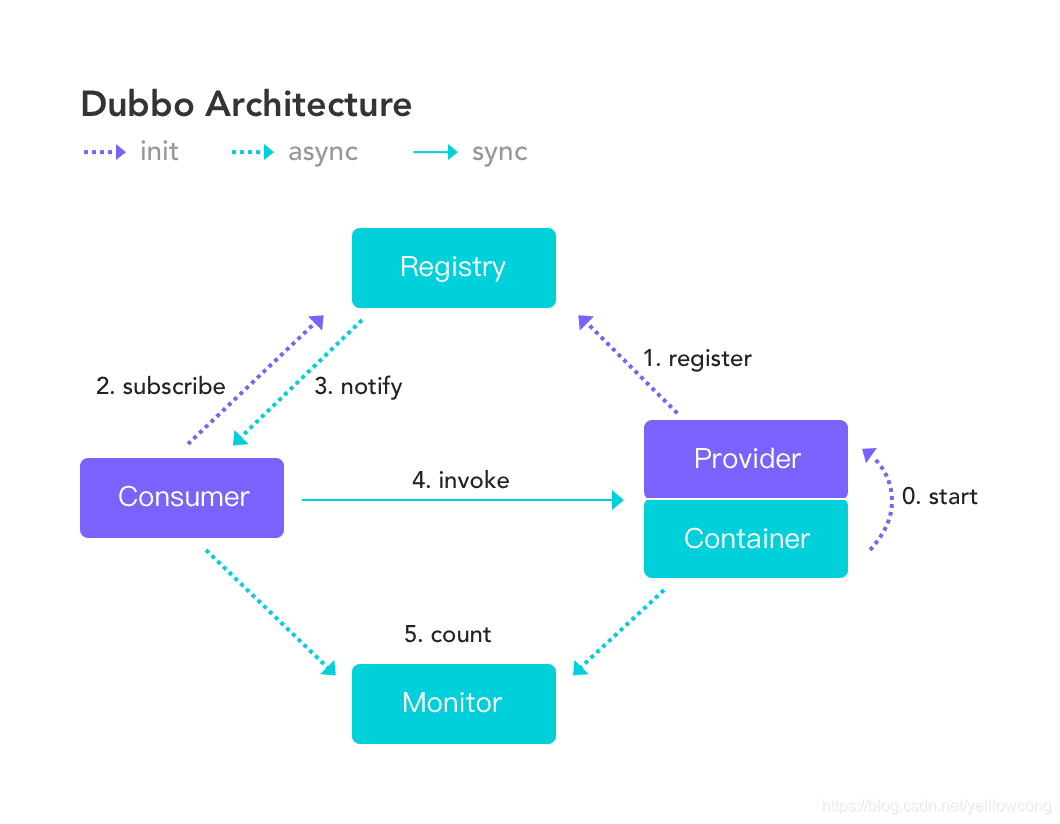
架构说明
dubbo架构中,有4个角色,consumer,provider ,registry ,monitor ,其中monitor 事非必要的模块,monitor 用于查看服务调用的次数以及频率等,监控服务消费情况。
Registry的注册中心,有zookeeper, redis ,Multicast ,Simple 这4中,推荐使用zookeeper . 更多注册中心可以参考
http://dubbo.apache.org/zh-cn/docs/user/references/registry/zookeeper.html
官方文档
#文档地址
https://github.com/apache/incubator-dubbo-spring-boot-project
https://github.com/alibaba/dubbo-spring-boot-starter/blob/master/README_zh.md

#管控台地址
https://github.com/apache/incubator-dubbo-admin/blob/develop/README_ZH.md
代码地址
https://gitee.com/yellowcong/springboot-demo/tree/master/springboot-dubbo
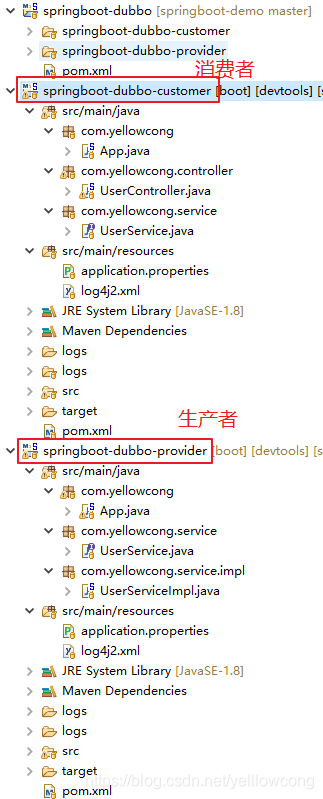
目录结构
1 生产者开发
1.1 添加依赖
添加依赖包,这个dubbo 2.0.0了,现在官方最新的都是2.7 了,2.0.0的配置和2.7 的配置稍有区别,而且2.7 的依赖包中央仓库还没有,需要手动的下载。 同时对于dubbo的provider 不需要使用web-starter的模块。
<dependency>
			<groupId>com.alibaba.spring.boot</groupId>
			<artifactId>dubbo-spring-boot-starter</artifactId>
			<version>2.0.0</version>
		</dependency>

		<!-- zk begin -->
		<dependency>
			<groupId>com.101tec</groupId>
			<artifactId>zkclient</artifactId>
			<version>0.9</version>
		</dependency>


		<dependency>
			<groupId>org.apache.zookeeper</groupId>
			<artifactId>zookeeper</artifactId>
			<version>3.4.6</version>
			<exclusions>
				<exclusion>
					<groupId>org.slf4j</groupId>
					<artifactId>slf4j-log4j12</artifactId>
				</exclusion>
				<exclusion>
					<groupId>log4j</groupId>
					<artifactId>log4j</artifactId>
				</exclusion>
			</exclusions>
		</dependency>
1.2 配置application.properties
这个地方,需要重点说明的是spring.dubbo.server=true 这个配置,如果不配置未server,服务启动,就直接关闭了。
#日志地址
info.name=入门案例
#这个目录是相对于启动服务的那个路径的
logging.path=./logs
#配置日志信息
logging.config=classpath:log4j2.xml


spring.dubbo.application.name=dubbo-spring-boot-provider
spring.dubbo.application.id=dubbo-spring-boot-provider

#注册中心地址
spring.dubbo.registry.address=zookeeper://192.168.100.10:2181

#配置了这个后,就会一直有守护京城,而不是启动就怪盗了
spring.dubbo.server=true
#扫描的包
spring.dubbo.scan=com.yellowcong.service

# Dubbo Protocol
spring.dubbo.protocol.name=dubbo
spring.dubbo.protocol.port=20880

## DemoService version
service.version=1.0.0
1.3 开发服务
这个服务都必须定义一个接口,然后供消费者使用。
package com.yellowcong.service;

/**
 * 代码创建: yellowcong <br/>
 * 创建日期: 2019年3月30日 <br/>
 * 功能描述:
 */
public interface UserService {

	String login(String username);
}
实现接口, 实现接口的地方需要注意,需要有两个注解,一个是@Component,让这个对象可以被spring管理,@Service 来注册到zookeeper上面,interfaceClass 表示的是实现的接口类,version标识的是版本号,对于dubbo服务,有多个版本号的情况。
package com.yellowcong.service.impl;

import org.slf4j.Logger;
import org.slf4j.LoggerFactory;
import org.springframework.stereotype.Component;

import com.alibaba.dubbo.config.annotation.Service;
import com.yellowcong.service.UserService;

/**
 * 代码创建: yellowcong <br/>
 * 创建日期: 2019年3月30日 <br/>
 * 功能描述: 增加用户的service
 */
@Component
@Service(version="${service.version}",interfaceClass=UserService.class)
public class UserServiceImpl implements UserService{

	Logger logger = LoggerFactory.getLogger(UserServiceImpl.class);
	@Override
	public String login(String username) {
		logger.info(username);
		return "hello yellowcong ,rpc -->" +username;
	}

}
1.4 服务启动类
启动类里面比普通的springboot项目,多了@EnableDubboConfiguration 这个注解
package com.yellowcong;

import org.springframework.boot.SpringApplication;
import org.springframework.boot.autoconfigure.EnableAutoConfiguration;
import org.springframework.boot.autoconfigure.SpringBootApplication;

import com.alibaba.dubbo.spring.boot.annotation.EnableDubboConfiguration;

@EnableDubboConfiguration
@SpringBootApplication
public class App {

	public static void main(String[] args) {
		 SpringApplication.run(App.class, args);
	}
}
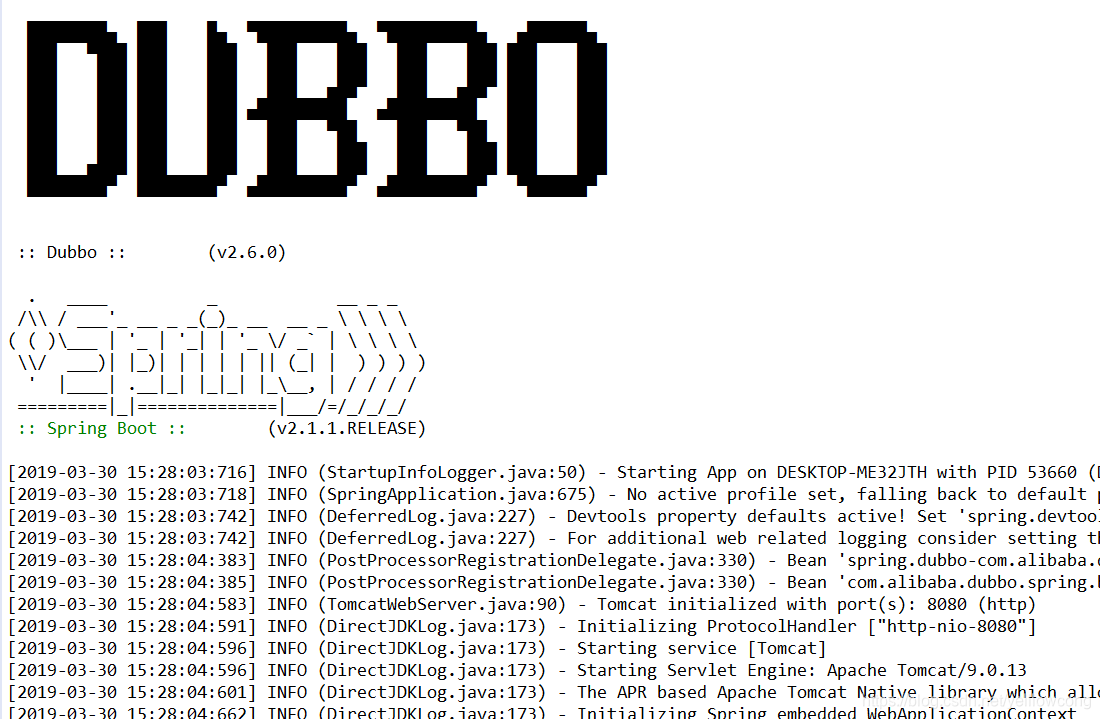
启动服务效果,可以看到启动后,会有个dubbo的显示,感觉好low

启动后,一定要注意,看zookeeper是否有初始化,想zookeeper注册了服务
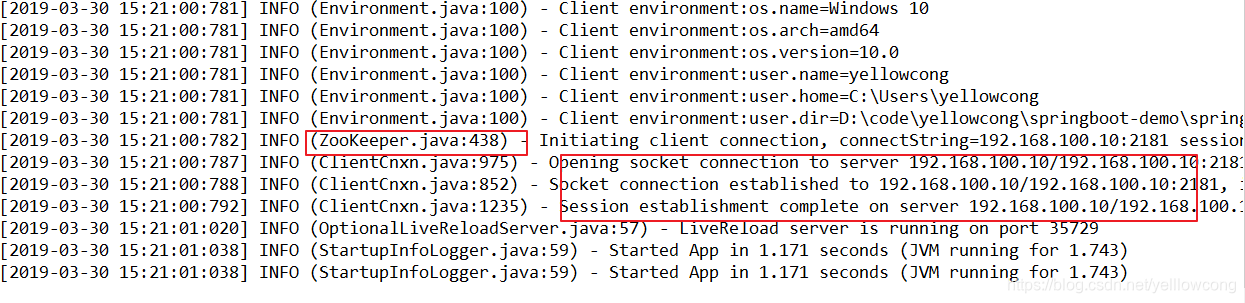
1.5 zookeeper服务查看
当服务注册之后,我们可以看到zookeeper上有providers 信息。
ls /dubbo/com.yellowcong.service.UserService/providers

2 消费者开发
2.1添加依赖
依赖添加通 1.1 类似
2.2 配置application.properties
由于这个是一个web项目,所以有web的模板和端口配置,对于dubbo的配置,之有spring.dubbo.application.name,spring.dubbo.registry.address,spring.dubbo.scan 三个配置,相对于生产者,少了不少。
#日志地址
info.name=入门案例
#这个目录是相对于启动服务的那个路径的
logging.path=./logs

#端口号
server.port=8080
#访问路径
server.context-path=/
‹
#配置日志信息
logging.config=classpath:log4j2.xml

################################
#配置Thymeleaf
#thymeleaf start
spring.thymeleaf.mode=LEGACYHTML5
spring.thymeleaf.encoding=UTF-8
spring.thymeleaf.content-type=text/html
#开发时关闭缓存,不然没法看到实时页面
spring.thymeleaf.cache=false
# 在构建URL时预先查看名称的前缀 (默认就是这个)
spring.thymeleaf.prefix=classpath:/templates/
# 构建URL时附加查看名称的后缀.(默认就是 html的结尾的)
spring.thymeleaf.suffix=.html
#thymeleaf end


#服务名称
spring.dubbo.application.name=consumer
#注册中心地址
spring.dubbo.registry.address=zookeeper://192.168.100.10:2181

#扫描的包
spring.dubbo.scan=com.yellowcong.controller

## DemoService version
service.version=1.0.0
2.3 调用dubbo服务
这个地方,我们使用了@Reference 注解,这个是阿里巴巴的注解,而不是spring提供给我们的@Autowired和@Resource 两个注解。 这个地方,我们只需要访问 localhost:8080/login/xx , 就可以调用到我们的dubbo服务了。
package com.yellowcong.controller;

import org.springframework.stereotype.Controller;
import org.springframework.web.bind.annotation.PathVariable;
import org.springframework.web.bind.annotation.RequestMapping;
import org.springframework.web.bind.annotation.RequestMethod;
import org.springframework.web.bind.annotation.ResponseBody;

import com.alibaba.dubbo.config.annotation.Reference;
import com.yellowcong.service.UserService;

/**
 * 代码创建: yellowcong <br/>
 * 创建日期: 2019年3月30日 <br/>
 * 功能描述:
 */
@Controller
public class UserController {

	@Reference(version="${service.version}",check = false)
	UserService userService;

	/**
	 * 代码创建: yellowcong <br/>
	 * 创建日期: 2019年3月30日 <br/>
	 * 功能描述: 调用用户登陆的处理
	 * @param username
	 * @return
	 */
	@ResponseBody
	@RequestMapping(value="/login/{username}",method=RequestMethod.GET)
	public String login(@PathVariable String username) {
		return userService.login(username);
	}
}
2.4 启动服务
package com.yellowcong;

import org.springframework.boot.SpringApplication;
import org.springframework.boot.autoconfigure.SpringBootApplication;

import com.alibaba.dubbo.spring.boot.annotation.EnableDubboConfiguration;

@EnableDubboConfiguration
@SpringBootApplication
public class App {

	public static void main(String[] args) {
		 SpringApplication.run(App.class, args);
	}
}
消费者的启动,同服务端一样,也是有一个low的标志。
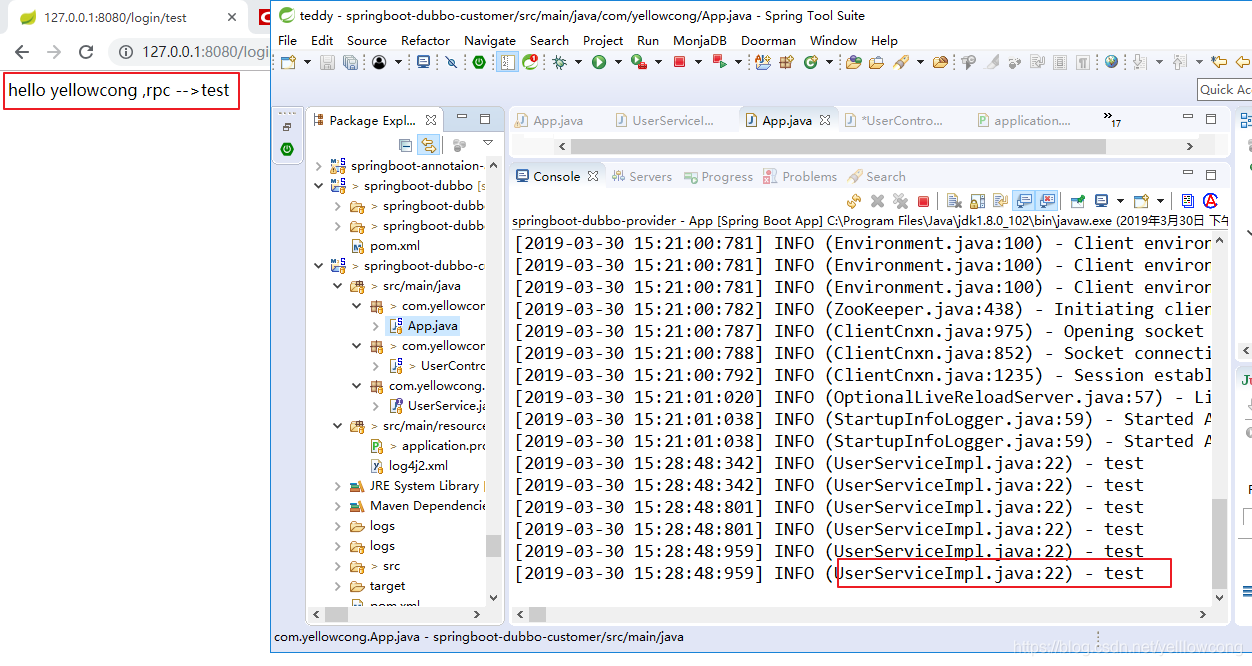
2.5 测试访问
访问可以看到,成功得访问到了我们的dubbo提供出来的服务,非常的爽歪歪。
在zookeeper上可以看到消费者,就是我们现在这个服务消费信息。

参考文章
https://www.cnblogs.com/jaycekon/p/SpringBootDubbo.html
http://xurui.pro/2018/04/11/Spring Boot-2.0.1 整合 Dubbo-2.6.0 总结/