如非授权,禁止用于商业用途,转载请注明出处
作者:mynewworldyyl
往下看前,建议完成前面1到9小节
1. Api网关基本特性:
Api网关作为对外网提供服务的基本入口,地位类似于NGINX,在微服务中一个重要组成部分;
Api网关需要支持如下几个最基本功能:
a. 各种通讯协议接入,如HTTP,Socket,WebSocket;
b. 如种语言客户端API,如JS,NodeJS,GO,C#,Java等;
c. 负载均衡,为客户端请求在网关入口选择一个最合适的服务;
d. 接口安全鉴权,请求的合法性较验,将非法请求拒之门外;
JMicro目录支持前三个功能。
2. JMicro Api网关模块运行
打开/jmicro.gateway/src/main/resources/META-INF/jmicro/gateway.properties文件,
#启动HTTP服务,默认是不启动HTTP服务,所以要开启,这样浏览器可通过JS直接请求服务接口
NettyHttpServer.startHttp=true
#API网关作为微服的纯客户端启动,不注册服务到服务注册表
client=true
#HTTP端口
NettyHttpServer.nettyPort=9090
#Socket端口
NettySocketServer.nettyPort=62688
#HTTP静态文件目录,请修改D:/opensource/github/jmicro指向合适的目录
StaticResourceHttpHandler.staticResourceRoot_dashboard=D:/opensource/github/jmicro/jmicro.monitor/jmicro.monitor.dashboard/src/main/resources/web
确保以上配置无误后,新打开一个新的CMD窗口,CD进入/jmicro.gateway,运行
mvn clean install -Pbuild-main (只需构建一次,以后可以重复运行)
运行API网关服务
java -jar target/jmicro.gateway-0.0.1-SNAPSHOT-jar-with-dependencies.jar
确保完成 https://www.cnblogs.com/jmicro/p/10572176.html 内容,并启动provider服务
此时浏览器打开 http://172.16.0.100:9090/html/wsiotest.html (请确保IP地址是你本机的绑定主机地址,如我本机IP是172.16.0.100 ),打开的页面如下图所示
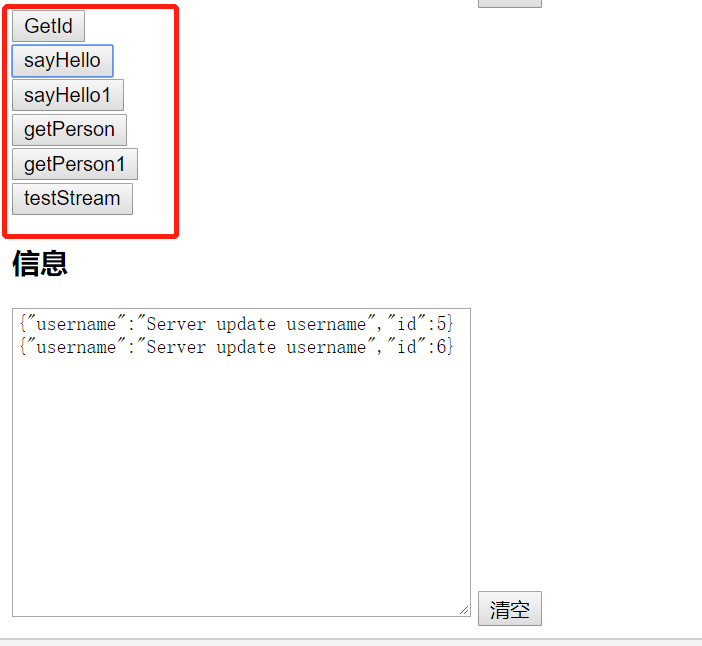
分别选择按钮,输出框显示后端对应RPC方法返回的值。
3. 切换HTTP和WebSocket传输协议
打开文件/jmicro.monitor.dashboard/src/main/resources/web/js/rpc.js,找到jmicro.config.useWs,true表示优先使用websocket,false表示只使用http,如果浏览器不支持websocket,则强制使用HTTP作为传输协议。
API接口JS使用方式,请参考/jmicro.monitor.dashboard/src/main/resources/web/html/wsiotest.html文件相关方法。
4. Java API客户端
Java API客户端支持任何Java平台,如Android
请确保/jmicro.gateway.client/target/jmicro.gateway.client-0.0.1-SNAPSHOT.jar文件在当前Classpath下面
在此使用/jmicro.example.comsumer/src/test/java/org/jmicro/example/test/TestApigateClient.java下面相关测试方法测试Java API网关接口
public class TestApigateClient {

    private ApiGatewayClient client = new ApiGatewayClient(new ApiGatewayConfig(Constants.TYPE_SOCKET));

    @Before
    public void setUp() {

        client.getConfig().setDebug(true);

        client.getConfig().setClientType(Constants.TYPE_SOCKET);
        client.getConfig().setPort(62688);

        /*client.getConfig().setPort(9090);
        client.getConfig().setClientType(Constants.TYPE_HTTP);*/
    }

    @Test
    public void testGetService() {
        ISimpleRpc srv = client.getService(ISimpleRpc.class,
                "simpleRpc", "0.0.1");
        System.out.println(srv.hello("Hello api gateway"));
    }

    @Test
    public void testCallService() {
        String[] args = new String[] {"hello"};
        String result =(String) client.callService(ISimpleRpc.class.getName(),
        "simpleRpc", "0.0.1","hello",args);
        System.out.println(result);
    }

    @Test
    public void testCallTestRpcService() {
        String[] args = new String[] {"hello"};
        String result =(String) client.callService(ITestRpcService.class.getName(),
        "testrpc", "0.0.1","subscrite",args,(msg)->{
            System.out.println("Got server msg:"+msg);
            return true;
        });
        System.out.println(result);
        JMicro.waitForShutdown();
    }

}
testCallTestRpcService是流式RPC,JMIcro所特有RPC,实现一个请求,多个返回值功能,后面会详细说明。
testGetService和testCallService分别是两种使用方式,通过API网关调用微服务方法,注意比较两者区别。
5. API网关负载均衡
请参考
【7】JMicro微服务-服务路由,负载均衡
6. 更多相关功能,后面会持续增加