搞完工程训练搬运小车后,闲来无事,我就想利用opencv来搞一下识别二维码:
自制扫码器:
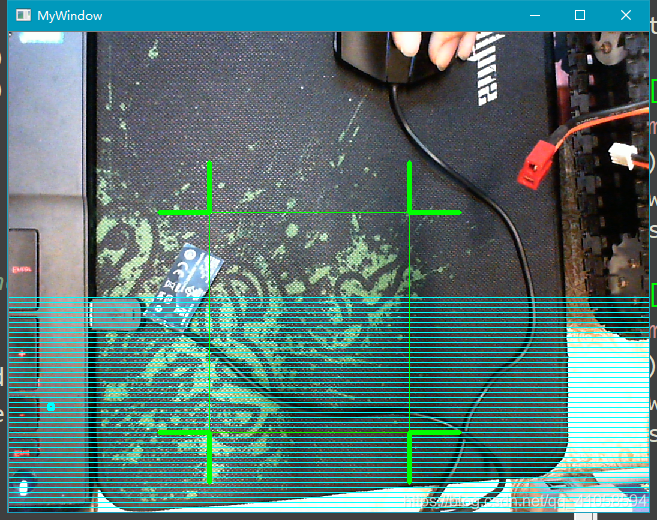
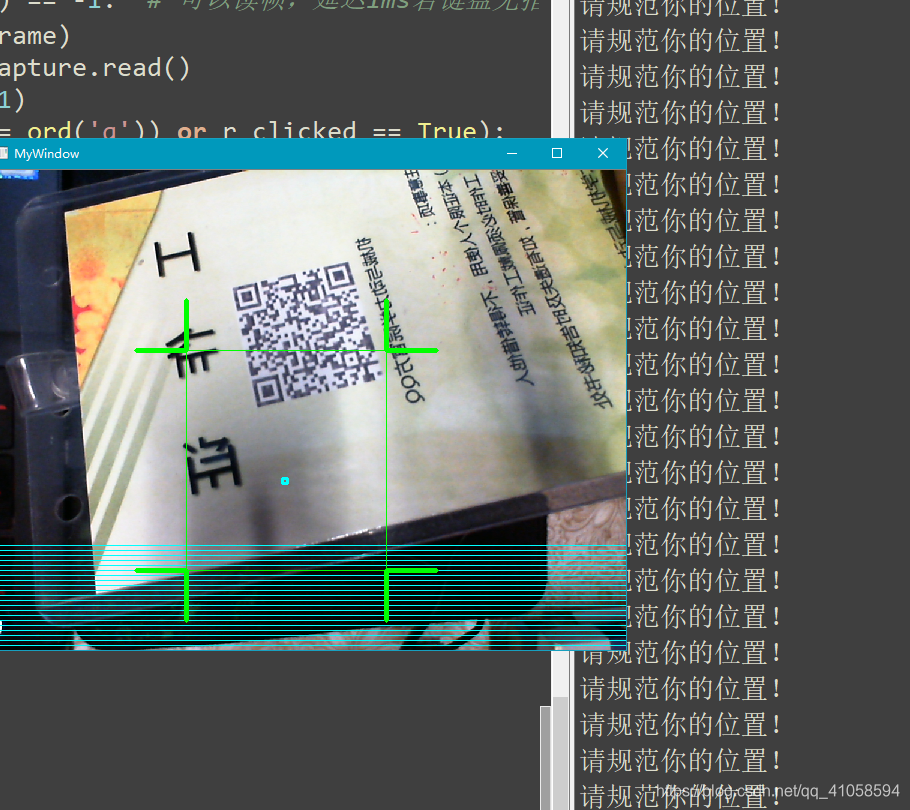
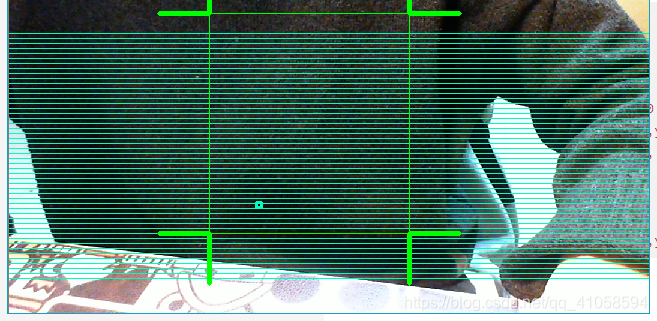
先看运行结果:
由于CSDN不能传mp4,所以各位下载百度网盘打开,下载看视频吧:
链接:https://pan.baidu.com/s/1dkkdfrA86mAS_Up2HjhQOQ 提取码:qk3y
我们来看部分代码:
引入库:
import cv2
import random
#扫码镜头
class Shot(object):
    def __init__(self,frame,x,y):
        self.x = x
        self.y = y
    def shot(self):
        #第一象限
        if self.x > 300 and self.y < 250:
            cv2.line(frame,(self.x,self.y-d),(self.x,self.y),(0,255,0),3)
            cv2.line(frame,(self.x+d,self.y),(self.x,self.y),(0,255,0),3)
        #第四象限
        if self.x > 300 and self.y > 250:
            cv2.line(frame,(self.x,self.y+d),(self.x,self.y),(0,255,0),3)#竖
            cv2.line(frame,(self.x+d,self.y),(self.x,self.y),(0,255,0),3)#横
        #第二象限
        if self.x < 300 and self.y < 250:
            cv2.line(frame,(self.x,self.y-d),(self.x,self.y),(0,255,0),3)
            cv2.line(frame,(self.x-d,self.y),(self.x,self.y),(0,255,0),3)
        #第三象限
        if self.x < 300 and self.y > 250:
            cv2.line(frame,(self.x,self.y+d),(self.x,self.y),(0,255,0),3)#竖
            cv2.line(frame,(self.x-d,self.y),(self.x,self.y),(0,255,0),3)#横
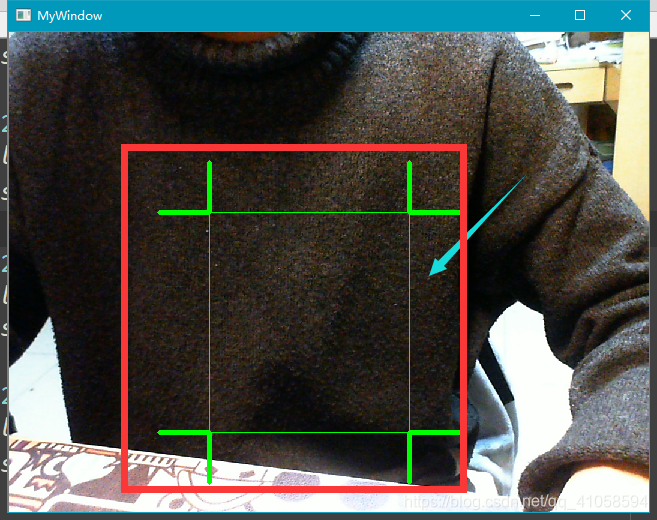
这一部分是我写的【扫码镜头】,即图中箭头所指的部分:
引用的时候:
    #扫码边线
    for m in (200,400):
        for n in (180,400):
            sho = Shot(frame,m,n)
            sho.shot()
各位如果看到这里,如果有更简单的绘制瞄准镜头的方式,可千万一定留言告诉我啊!!!
这一部分是扫描线,和扫描特效:
#扫描横条
def saomiao(frame):
    #每单个扫码线间距为5
    for i in range(0,50):
#    cv2.line(frame,(0,y-10),(800,y-10),(0,255,0),1)
#    cv2.line(frame,(0,y-5),(800,y-5),(0,255,0),1)
        cv2.line(frame,(0,y-i*5),(800,y-i*5),(r,255,0),1)
#随机的 5*5 像素的彩色方块
def texiao(frame,x_rand,y_rand):

    cv2.rectangle(frame, (x_rand,y_rand), (x_rand+5,y_rand+5), (r,255,0),2) #12
如图所示:
我们日常生活中扫码的时候,我们发现,扫描线到一定位置后,颜色慢慢变浅,然后随即消失,来来往复,矢志不渝,
这一段代码,我是这样实现的:
首先定义全局变量,r
r = 0 #渐变颜色初始值 即 => R,G,B 中的 r
然后:
    if clicked:
        if y > 250 and r < 255:
            r += 5
        if y > 300:
            texiao(frame,x_rand,y_rand)#验证码拂过的特效
            decodeDisplay(frame)#识别验证码
        if y == 700:
            y = 50
            r = 0
        else:
            y += 5
        saomiao(frame)
这样可以达到颜色渐变的过程!
扫描线下降的实现是坐标的变化,
我们用opencv中的cv2.line来画直线
cv2.line(frame,(0,y-i5),(800,y-i5),(r,255,0),1)
我们用opencv中的cv2.rectangle来画矩形
cv2.rectangle(frame, (x_rand,y_rand), (x_rand+5,y_rand+5), (r,255,0),2)
扫描后,我们必须识别二维码:
识别二维码我用的是一个库
import pyzbar.pyzbar as pyzbar
def decodeDisplay(frame):
    #    cv2.rectangle(frame, (200, 180), (400, 400), green) #12
    barcodes = pyzbar.decode(frame)
    for barcode in barcodes:
        # 提取条形码的边界框的位置
        # 画出图像中条形码的边界框
        (x, y, w, h) = barcode.rect
        if(x>200 and y>180 and x+w<400 and y+h <400):
            cv2.rectangle(frame, (x, y), (x + w, y + h), (205, 127, 50), 3)

            # 条形码数据为字节对象,所以如果我们想在输出图像上
            # 画出来,就需要先将它转换成字符串
            barcodeData = barcode.data.decode("utf-8")
            barcodeType = barcode.type

            # 绘出图像上条形码的数据和条形码类型
            text = "{} ({})".format(barcodeData, barcodeType)
            cv2.putText(frame, text, (x, y - 10), cv2.FONT_HERSHEY_SIMPLEX,
                        .5, (205, 127, 50), 2)

            print(1)
            os.system('"C:/Program Files/Internet Explorer/iexplore.exe" {}'.format(barcodeData))
            # 向终端打印条形码数据和条形码类型
            #print("[INFO] Found {} barcode: {}".format(barcodeType, barcodeData))

            return 1
        else:
            print('请规范你的位置!')
            return 0
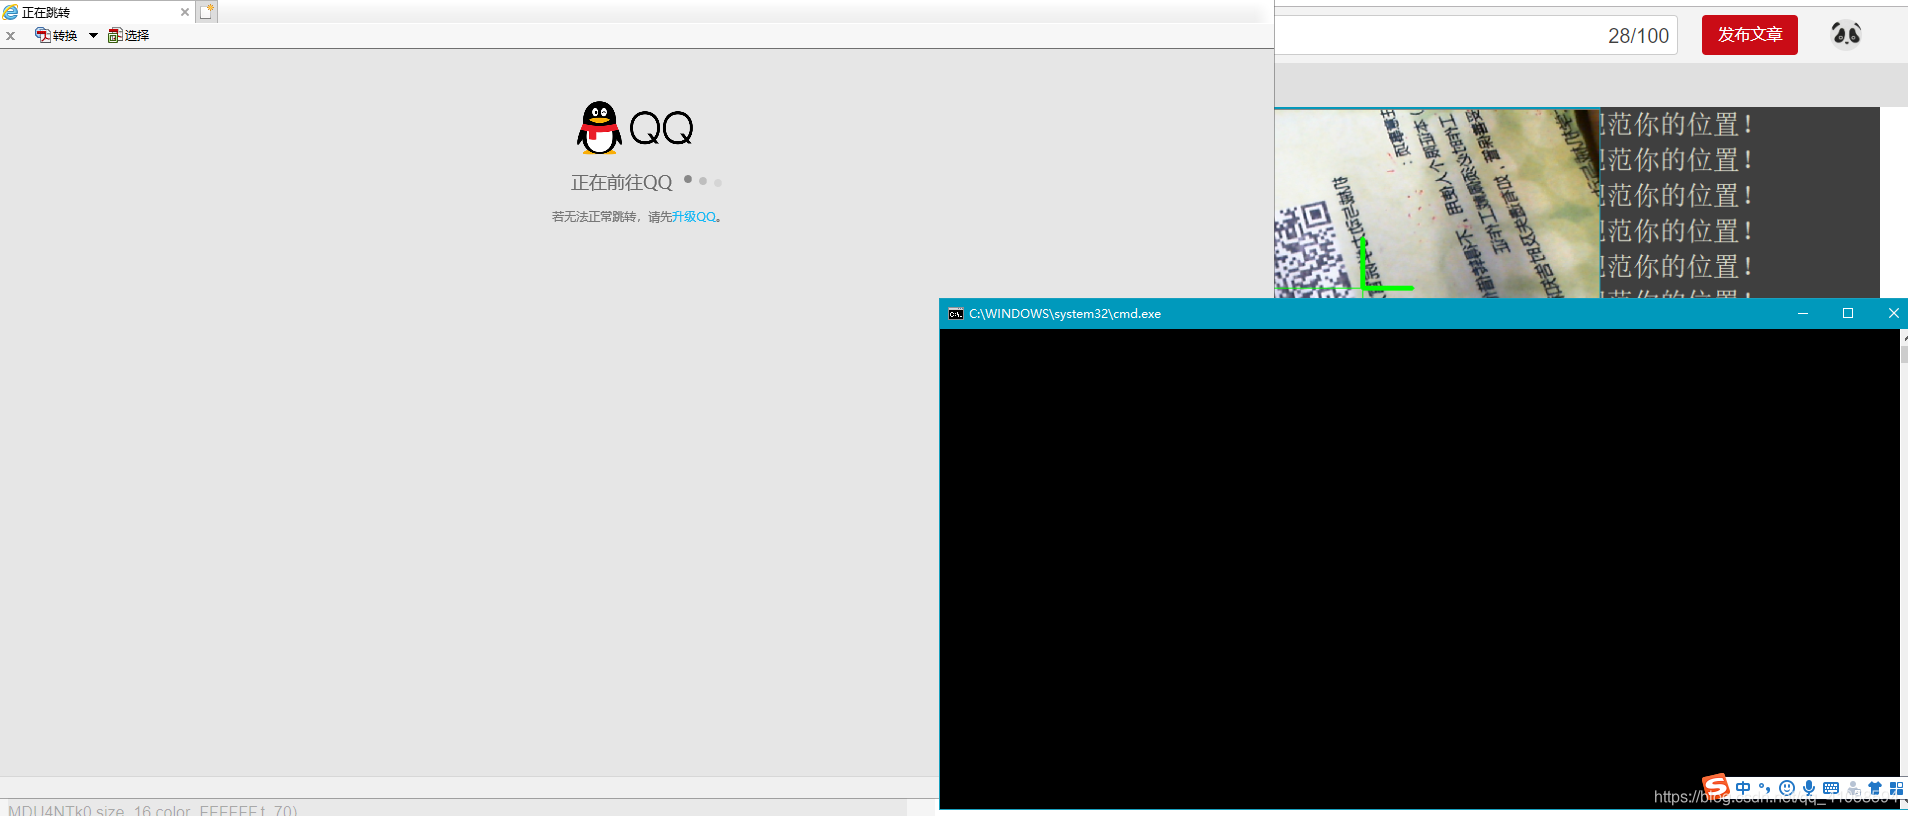
识别出来,在ipython中打印 识别出来的网站,我们利用系统自带浏览器打开它,代替手机识别二维码后弹出的画面:
os.system(’“C:/Program Files/Internet Explorer/iexplore.exe” {}’.format(barcodeData))
在此之前还得引入标准库:
import os
这就是本例主要内容,有别的思路的老铁就留言,一起研究下,发布完这篇,我就用Fast-R-CNN来封装他,进行目标检测扫描…