playbook
roles
一、playbook相关模块
1、setup
$ ansible cache -m setup | more
ansible_all_ipv4_addresses # ipv4的所有地址
ansible_all_ipv6_addresses # ipv6的所有地址
ansible_date_time # 获取到控制节点时间
ansible_default_ipv4 # 默认的ipv4地址
ansible_distribution # 系统
ansible_distribution_major_version # 系统的大版本
ansible_distribution_version # 系统的版本号
ansible_domain #系统所在的域
ansible_env #系统的环境变量
ansible_hostname #系统的主机名
ansible_fqdn #系统的全名
ansible_machine #系统的架构
ansible_memory_mb #系统的内存信息
ansible_os_family # 系统的家族
ansible_pkg_mgr # 系统的包管理工具
ansible_processor_cores #系统的cpu的核数(每颗)
ansible_processor_count #系统cpu的颗数
ansible_processor_vcpus #系统cpu的总个数=cpu的颗数*CPU的核数
ansible_python # 系统上的python

$ ansible cache -m setup -a 'filter=*processor*' # 用来搜索
* 匹配数量,表示0或者多次
? 匹配数量,表示0或者1次
. 除换行符以外的所有字符
+ 至少一次
[123abc] 匹配内容,or
() 分组
{m} 次数,出现m次
{m,} 至少m次
{m,n}出现m-n次
a*.b
2、条件判断
- hosts: web
  tasks:
  - name: content
    copy: content="大弦嘈嘈如急雨" dest=/tmp/x.txt
    when: data=="3"
  - name: content
    copy: content="小弦切切如私语" dest=/tmp/x.txt
    when: data=="4"

# 使用-e进行条件判断
ansible-playbook -e data=3 p6.yml
- 不同的系统
- 不同的版本
- 不同的环境
- 不同的用户
- hosts: web
  tasks:
  - name: createfile
    file: path=/tmp/redhat.txt state=touch
    when: ansible_os_family == "RedHat"
  - name: createfile
    file: path=/tmp/openbsd.txt state=touch
    when: ansible_os_family == "OpenBSD"  #ubuntu
3、tags
- hosts: web
  tasks:
  - name: installredis
    yum: name=redis
  - name: copyfile
    copy: dest=/etc/redis.conf src=/root/playbook/redis.conf
    tags: copyfile
  - name: startredis
    service: name=redis state=restarted
# 执行
ansible-playbook -t copyfile p7.yml
4、循环 with_item
一次性创建多个
- hosts: web
  tasks:
  - name: crateuser
    user: name={{item}}
    with_items:
    - alex20
    - alex21
    - alex22
- hosts: web
  tasks:
  - name: createuser
    user: name={{item}}
    with_items:
    - alex32
    - alex33
    - alex34
  - name: creategroup
    group: name={{item}}
    with_items:
    - wusir23
    - wusir24
    - wusir25
嵌套循环
- hosts: web
  tasks:
  - name: creategroup
    group: name={{item}}
    with_items:
    - wusir33
    - wusir34
    - wusir35
  - name: createuser
    user: name={{item.user}} groups={{item.group}}
    with_items:
    - {"user":alex53,"group":wusir33}
    - {"user":alex54,"group":wusir34}
    - {"user":alex55,"group":wusir35}
5、template:
jinja2
- hosts: web
  tasks:
  - name: installredis
    yum: name=redis
  - name: copyfile
    template: src=/root/playbook/redis.conf dest=/etc/redis.conf
  - name: start
    service: name=redis state=started

# redis.conf
配置文件: bind {{ ansible_default_ipv4.address }}
copy和tamplate的区别
- copy模块不替代参数
- template模块替代参数
- hosts: web
  tasks:
  - name: installredis
    yum: name=redis
  - name: copyfile
    template: src=redis.conf dest=/etc/redis.conf
  - name: start
    service: name=redis state=started
ps:写相对路径: 在当前目录下新建一个templates(注意是复数啊)目录,然后把文件放在templates目录里面
6、handlers
修改配置文件
- hosts: web
  tasks:
  - name: installredis
    yum: name=redis
  - name: copyfile
    template: src=redis.conf dest=/etc/redis.conf
    tags: copyfile
    notify: restart
  - name: start
    service: name=redis state=started
  handlers:
  - name: restart
    service: name=redis state=restarted
回顾 playbook
传参
条件判断 when
循环 with_items item
嵌套循环 字典 通过点来取值
标签 tags -t 来传递标签
模板 template
handlers 不会执行, notify
二、roles
1.特点:
- 目录清晰
- 可以互相调用
2.roles文件夹
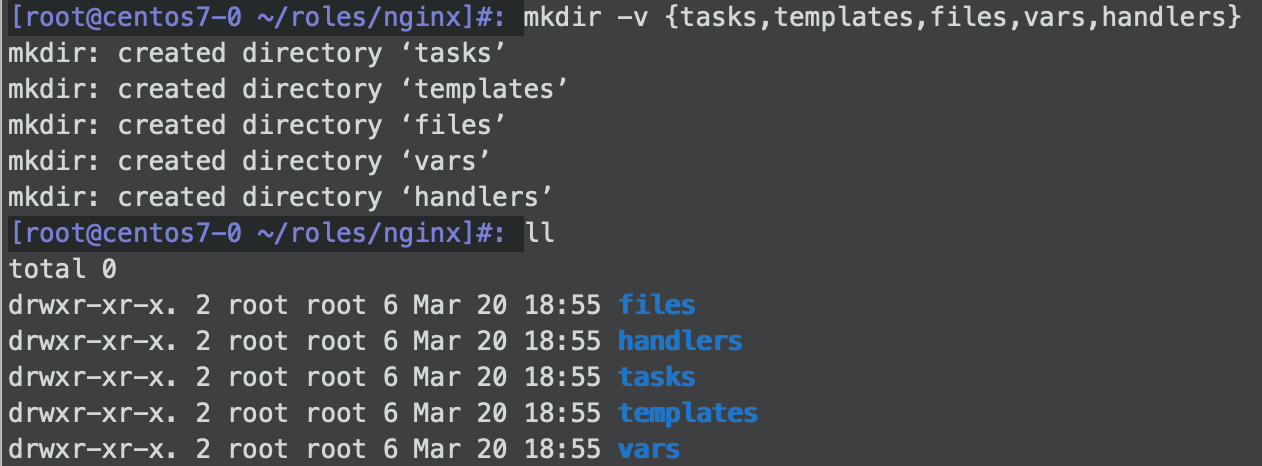
文件夹里面是要创建的每一个角色,每一个角色一个文件夹
- 每一个角色里面都有tasks(必须的),templates,files,handlers,vars目录
- 每个目录都要有main.yml文件,通过import_tasks来调用
- 其中templates文件夹中的文件可以通过相对路径来调用
目录结构:
nginx/
├── files  #静态文件
├── handlers  #被触发的动作
│   └── main.yml
├── tasks  #任务列表
│   ├── copyfile.yml
│   ├── installnginx.yml
│   ├── main.yml  #入口文件
│   └── start.yml
├── templates  #模板文件
│   └── nginx.conf
└── vars  #变量
查找顺序
1. roles目录,对应的文件夹

2. tasks:先找tasks目录里面的main.yml文件,看到import_tasks来导入别的yml文件,这个是必须的

3. templates: 找这个目录里面的模板文件,在tasks里面是可以用相对路径来写

4. vars:先找main.yml文件,如果找到就找变量替换

5. hanlers:先找main.yml文件,如果找到,则在tasks里面通过notify来触发

6. files: 放的是静态文件
相互调用
通过import_tasks来相互调用: roles/{nginx|uwsgi|···}/tasks/taskfile.yml
其中files文件夹中的文件是否可以通过相对路径来调用?
3.怎么使用
跟roles同级目录下,写nginx.yml文件
- hosts: web
  roles:
  - nginx
4.安装nginx过程:
1.创建nginx的roles目录:
2.在tasks文件夹下编辑任务:
3.更改nginx.conf
worker_connections 102400;  #最大连接数
worker_processes {{ansible_processor_vcpus}};  #工作进程数
安装uwsgi
[root@centos7-0 ~/roles/uwsgi]#: !mkdir  #执行上一次mkdir的操作
mkdir -v {tasks,templates,files,vars,handlers}
mkdir: created directory ‘tasks’
mkdir: created directory ‘templates’
mkdir: created directory ‘files’
mkdir: created directory ‘vars’
mkdir: created directory ‘handlers’
Linux知识点补充:
setenforce 0 #用来临时关闭selinux
iptables -F # 临时关闭防火墙
/etc/selinux/config  # 永久关闭
5.nginx +uwsgi配置方式
第一种
uwsgi配置文件里面是http= 0.0.0.0:8000

nginx配置文件是proxy_pass http://127.0.0.1:8000;
第二种方式
uwsgi配置文件里面是socket= 0.0.0.0:8000

nginx配置文件是

include /etc/nginx/uwsgi.conf

uwsgi_pass 127.0.0.1:8000;
第三种方式
uwsgi配置文件里面是socket=/data/mysite/mysite.socket

nginx配置文件是

include /etc/nginx/uwsgi.conf

uwsgi_pass unix:/data/mysite/mysite.socket;
安装Redis
# 需求:
# - 监听地址为本机的内网IP地址
# - 设置密码
# - 设置落地方式
- hosts: web
  tasks:
  - name: installredis
    yum: name=redis
  - name: copyfile
    template: src=redis.conf dest=/etc/redis.conf
  - name: startredis
    service: name=redis state=started
  handlers:
  - name: restartredis
    service: name=redis state=restarted

[root@centos7-0 ~]#: ansible-playbook redis.yml

PLAY [cache] ******************************************************************************************

TASK [Gathering Facts] ********************************************************************************
ok: [172.16.53.133]

TASK [redis : installredis] ***************************************************************************
changed: [172.16.53.133]

TASK [redis : copyfile] *******************************************************************************
changed: [172.16.53.133]

TASK [redis : startredis] *****************************************************************************
changed: [172.16.53.133]

PLAY RECAP ********************************************************************************************
172.16.53.133              : ok=4    changed=3    unreachable=0    failed=0
安装MariaDB
- hosts: web
  tasks:
  - name: copyfile
    template: src=/etc/yum.repos.d/Mariadb.repo dest=/etc/yum.repos.d/Mariadb.repo
  - name: installmariadb
    yum: name=mariadb-server,mariadb
  - name: startmaridb
    service: name=mariadb state=started
  handlers:
  - name: restartredis
    service: name=redis state=restarted

mysql/
├── files
├── handlers
├── tasks
│   ├── copyfile.yml
│   ├── installmariadb.yml
│   ├── main.yml
│   └── startmariadb.yml
├── templates
│   └── Mariadb.repo
└── vars
今日作业
用roles来完成nginx+uwsgi的配置
第一步:安装包组和pip
yum groupinstall "Development tools"
yum install python2-pip
ansible web -m yum -a 'name=python2-pip'
ansible web -m yum -a 'name="@Development Tools"' # 用来安装包组

第二步:安装django
pip install django
ansible web -m pip -a "name=flask"

第三步:安装uwsgi
yum install python-devel -y
pip install uwsgi

第四步:配置好django项目

第五步:创建uwsgi.ini文件
启动:uwsgi --ini uwsgi.ini

第六步:配置nginx信息


第七步:关闭SELinux
vim /etc/selinux/config
SELinux=disabled
systemctl restart nginx
用roles来安装redis,并提供配置文件
- 监听地址为本机的内网ip地址
- 设置密码
- 设置落地方式
用roles安装mariadb
发我的邮箱 [email protected]
今日内容总结
- when
- with_items item
- 循环嵌套
- template 支持jinja2的语法
- tags 指定标签,给某个任务加上标签
- handlers 执行别触发的任务
- notify 来触发
- setup 获取的被控节点上的一些系统的参数
- roles
- 目录结构清晰
- 可以相互调用
- tasks
- files
- templates
- vars
- handlers
先找main.yml,用improt_tasks来导入