Nginx+Lua开发环境
1、下载LuaJIT解释器
wget http://luajit.org/download/LuaJIT-2.0.2.tar.gz
tar -zxvf LuaJIT-2.0.2.tar.gz
cd LuaJIT-2.0.2
make install PREFIX=/usr/local/LuaJIT


/etc/profile 文件中加入环境变量
export LUAJIT_LIB=/usr/local/LuaJIT/lib
export LUAJIT_INC=/usr/local/LuaJIT/include/luajit-2.0

2、下载ngx_devel_kit和lua-nginx-module
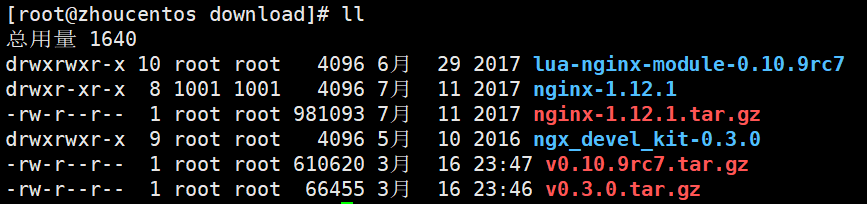
cd /opt/download
wget https://github.com/simpl/ngx_devel_kit/archive/v0.3.0.tar.gz
wget https://github.com/openresty/lua-nginx-module/archive/v0.10.9rc7.tar.gz


分别解压,不需要安装


3、重新编译nginx
cd /opt/download
wget http://nginx.org/download/nginx-1.12.1.tar.gz

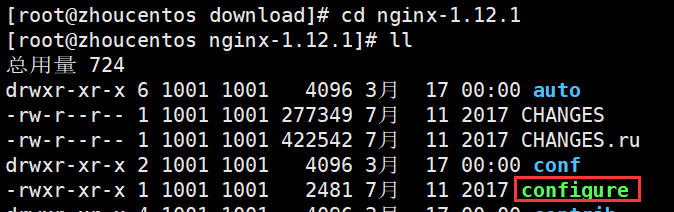
执行解压

cd到nginx目录下按照如下方式编译:
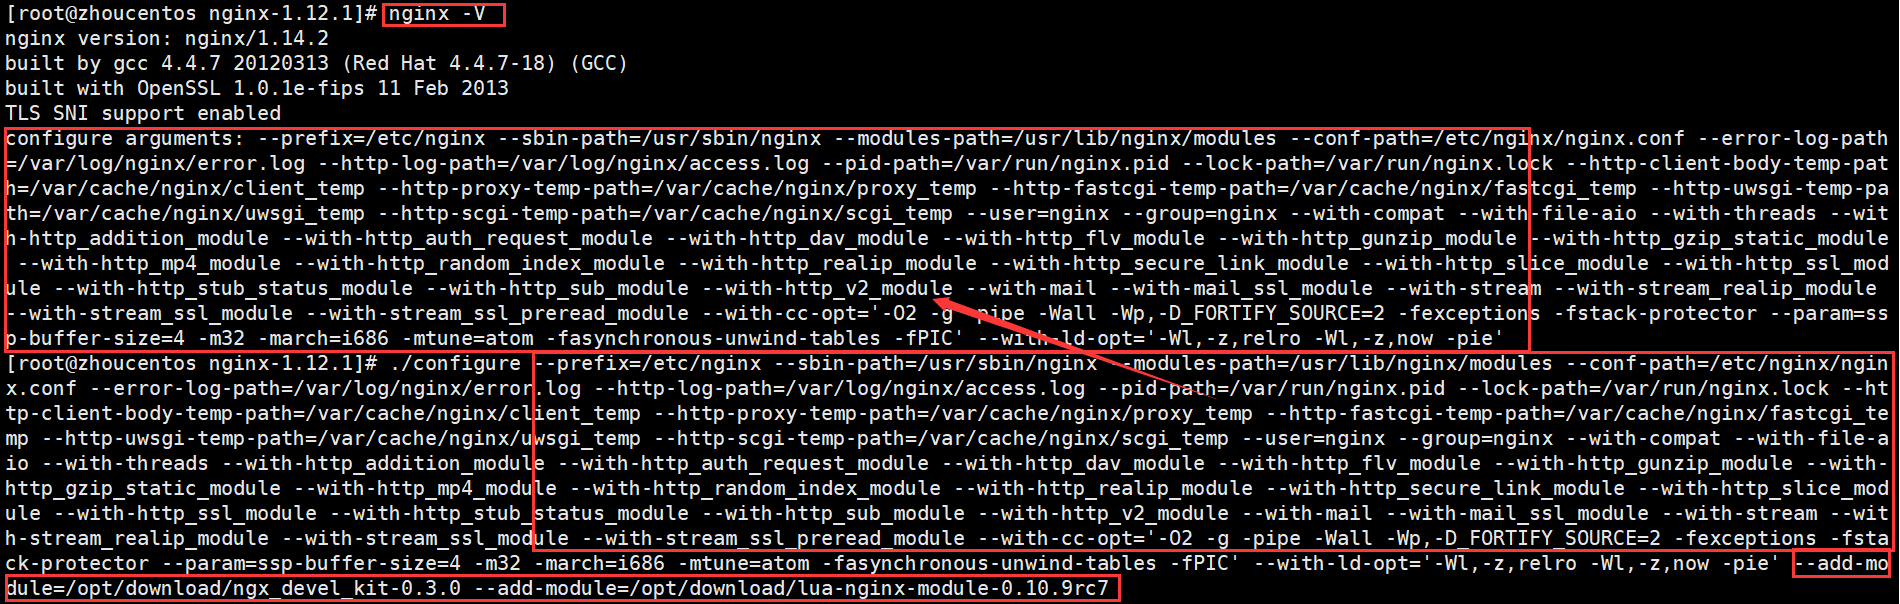
# 最后两个add是之前解压的ngx_devel_kit和lua-nginx-module
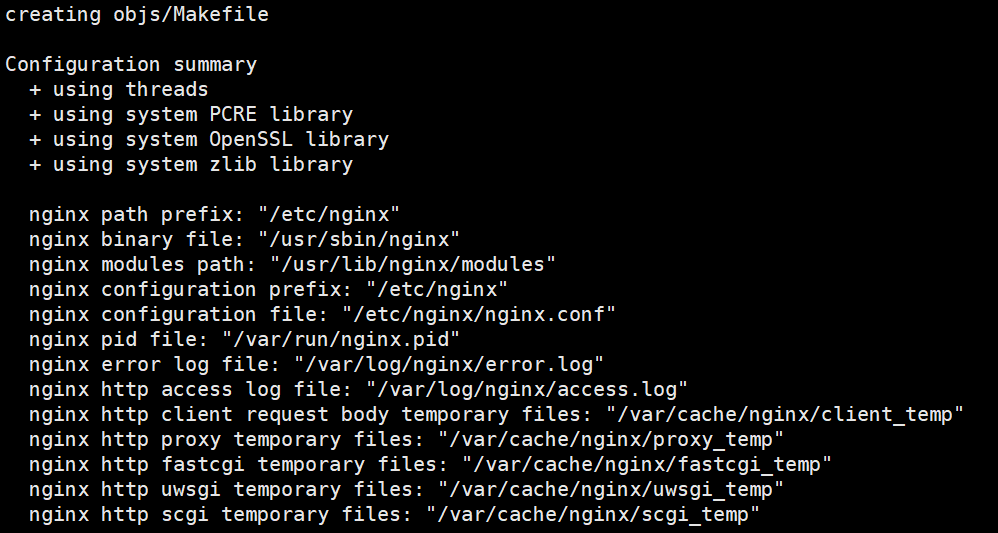
./configure --prefix=/etc/nginx --sbin-path=/usr/sbin/nginx --modules-path=/usr/lib/nginx/modules --conf-path=/etc/nginx/nginx.conf --error-log-path=/var/log/nginx/error.log --http-log-path=/var/log/nginx/access.log --pid-path=/var/run/nginx.pid --lock-path=/var/run/nginx.lock --http-client-body-temp-path=/var/cache/nginx/client_temp --http-proxy-temp-path=/var/cache/nginx/proxy_temp --http-fastcgi-temp-path=/var/cache/nginx/fastcgi_temp --http-uwsgi-temp-path=/var/cache/nginx/uwsgi_temp --http-scgi-temp-path=/var/cache/nginx/scgi_temp --user=nginx --group=nginx --with-compat --with-file-aio --with-threads --with-http_addition_module --with-http_auth_request_module --with-http_dav_module --with-http_flv_module --with-http_gunzip_module --with-http_gzip_static_module --with-http_mp4_module --with-http_random_index_module --with-http_realip_module --with-http_secure_link_module --with-http_slice_module --with-http_ssl_module --with-http_stub_status_module --with-http_sub_module --with-http_v2_module --with-mail --with-mail_ssl_module --with-stream --with-stream_realip_module --with-stream_ssl_module --with-stream_ssl_preread_module --with-cc-opt='-O2 -g -pipe -Wall -Wp,-D_FORTIFY_SOURCE=2 -fexceptions -fstack-protector --param=ssp-buffer-size=4 -m32 -march=i686 -mtune=atom -fasynchronous-unwind-tables -fPIC' --with-ld-opt='-Wl,-z,relro -Wl,-z,now -pie' --add-module=/opt/download/ngx_devel_kit-0.3.0 --add-module=/opt/download/lua-nginx-module-0.10.9rc7
如果编译的时候报以下错误
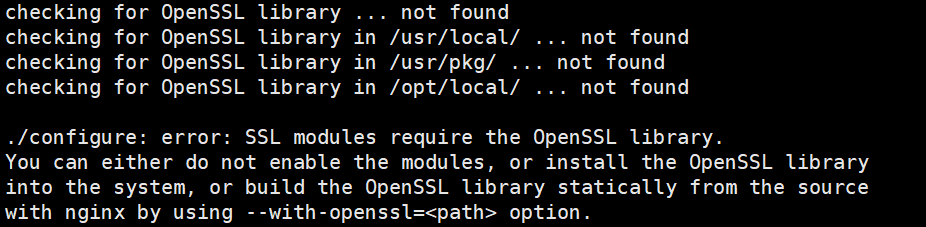
执行:yum -y install openssl openssl-devel成功之后再编译(这里提示缺什么就yum -y install)

再次执行编译命令编译成功
make一下 :make -j 4 && make install,会覆盖之前yum下载的nginx

4、加载lua库,加入到ld.so.conf文件
执行命令:echo "/usr/local/LuaJIT/lib" >> /etc/ld.so.conf
然后执行:ldconfig

验证:
执行nginx -V查看参数

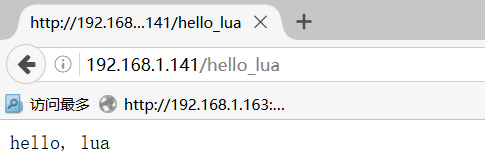
测试Lua
cd /etc/nginx/conf.d/default.conf 加入下面的location
location /hello_lua {
default_type 'text/plain';
content_by_lua 'ngx.say("hello, lua")';
}


重启nginx:
nginx -tc /etc/nginx/nginx.conf 检查错误
nginx -s reload -c /etc/nginx/nginx.conf 重新加载

执行reload的时候报错:nginx: [error] invalid PID number "" in "/var/run/nginx.pid"
解决办法:nginx.conf文件的路径可以从nginx -t的返回中找到
先执行:nginx -c /etc/nginx/nginx.conf
再执行:nginx -s reload

访问192.168.1.141/hello_lua会出现”hello, lua”表示安装成功