任务
一个最简单的TableView Demo,用以显示姓名,点击item,弹出一个姓名的提示。
相关概念
1、UITableView:继承自UIScrollView,与之相关有两个协议:UITableViewDelegate协议和UITableViewDataSource协议。
它可以被分为多个段,每个段包含单行或多行。
而其中的每一行被称为单元(UITableViewCell)。
2、协议:是类要实现的一系列方法等列表。
@protocol SomeProtocol
[ method declarations]
@end
3、数据源的两个关键方法
当表视图需要显示数据时,它需要先知道两件事:有多少行需要显示;每行要显示什么内容。
而这两个问题可以用数据源的两个方法来回答:
- (NSInteger)numberOfRowsInSection:(NSInteger)section
- (UITableViewCell *)cellForRowAtIndexPath:(NSIndexPath *)indexPath
4、委托协议的一个关键方法
当我们选中了一个单元,表视图会和它的委托通信,告知某一单元被选中(被点击),下面的方法会被调用。
- (void)tableView:(UITableView *)tableView
    didSelectRowAtIndexPath:(NSIndexPath *)indexPath {

    }
行动
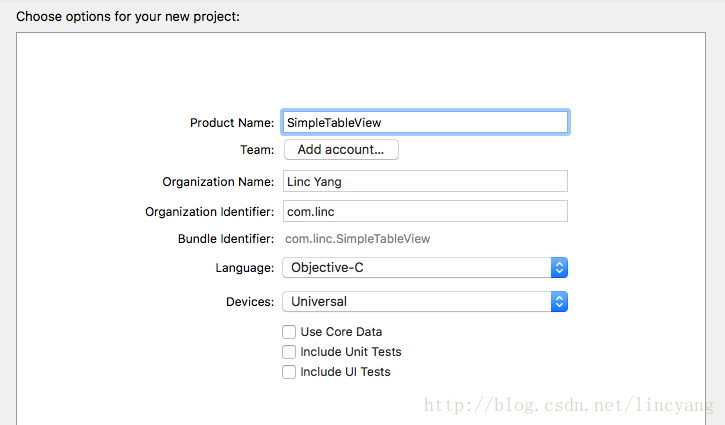
1、新建一个项目,名称为SimpleTableView。
2、storyboard中加入一个表视图
在object library中搜索Table View并将其拖拽到主视图中。在attributes inspector中将prototype cells改为1
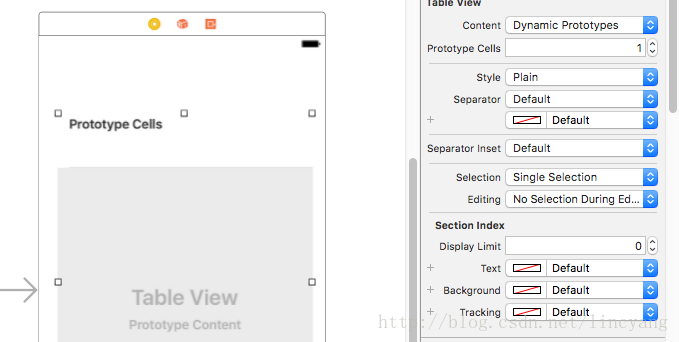
3、设置单元格的标识符

这个标识符设置的目的是让这个单元格(Cell)能够被重用。见上图,设为NameIdentifier。
4、可以编码了
1) ViewController.h 加入数据源和视图委托协议
@interface ViewController : UIViewController<UITableViewDelegate,
                                UITableViewDataSource>
2) ViewController.m 进行类的扩展,加入姓名数组
@interface ViewController () {
    NSArray* data;
}

@end
3) 姓名数组初始化
- (void)viewDidLoad {
    [super viewDidLoad];
    // Do any additional setup after loading the view, typically from a nib.
    data = @[@"张飞",@"赵云",@"刘备",@"关羽",@"马操",@"孔明",
             @"魏延",@"姜维",@"刘禅"];
}
4) 实现两个数据源的核心方法
- (NSInteger)tableView:(UITableView *)tableView
 numberOfRowsInSection:(NSInteger)section {
    return data.count;
}

- (UITableViewCell *)tableView:(UITableView *)tableView
         cellForRowAtIndexPath:(NSIndexPath *)indexPath {
    static NSString *CellIdentifier = @"NameIdentifier";
    UITableViewCell *cell = [tableView
                             dequeueReusableCellWithIdentifier:CellIdentifier
                             forIndexPath:indexPath];
    NSString *name = data[indexPath.row];
    cell.textLabel.text = name;
    return cell;
}
5) 实现视图委托的核心方法
选中一个item后,显示一个提示信息
- (void)tableView:(UITableView *)tableView
didSelectRowAtIndexPath:(NSIndexPath *)indexPath {
    // 声明一个UIAlertView
    UIAlertView * alert = [[UIAlertView alloc] initWithTitle:@"提示" message:data[indexPath.row] delegate:self cancelButtonTitle:nil otherButtonTitles:nil, nil];
    // 显示 UIAlertView
    [alert show];
    // 添加延迟时间为 1.0 秒 然后执行 dismiss: 方法
    [self performSelector:@selector(dismiss:) withObject:alert afterDelay:1.0];
}

- (void)dismiss:(UIAlertView *)alert{
    // 此处即相当于点击了 cancel 按钮
    [alert dismissWithClickedButtonIndex:[alert cancelButtonIndex] animated:YES];
}
5、最后一件最重要的事
ViewControll中的数据源和视图委托两个协议要与表视图相关联起来,这里依然是一个拖拽操作(忍不住要吐槽)。
在storyboard中,右击Table View,然后将outlet中的datasource和dalegate拖拽到View Controll中。如下图。

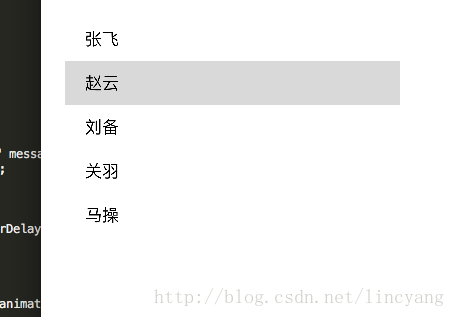
运行到效果如下:
Demo下载地址
http://download.csdn.net/detail/lincyang/9794114
Tips
快速补全委托的方法
Xcode里貌似没有Java IDE里面那么方便,但是也不算特别麻烦。
输入“-”,按“Esc”键就可以弹出所有方法提示了,然后再输入你的关键字即可。
参考:
1、https://developer.apple.com/reference/uikit/uitableview
2、http://blog.csdn.net/Meryyn_Love/article/details/48345147