使用RESTful API可以更好的开发前后分离的应用,后面一节会介绍使用模版引擎Beetl开发后端渲染的应用。
一、配置Swagger(Api 接口文档)
1、使用系统自带
拷贝jeesite-modules-swagger中的config.SysApiConfig和swagger.config.SwaggerComfig到com.jeesite.modules下面
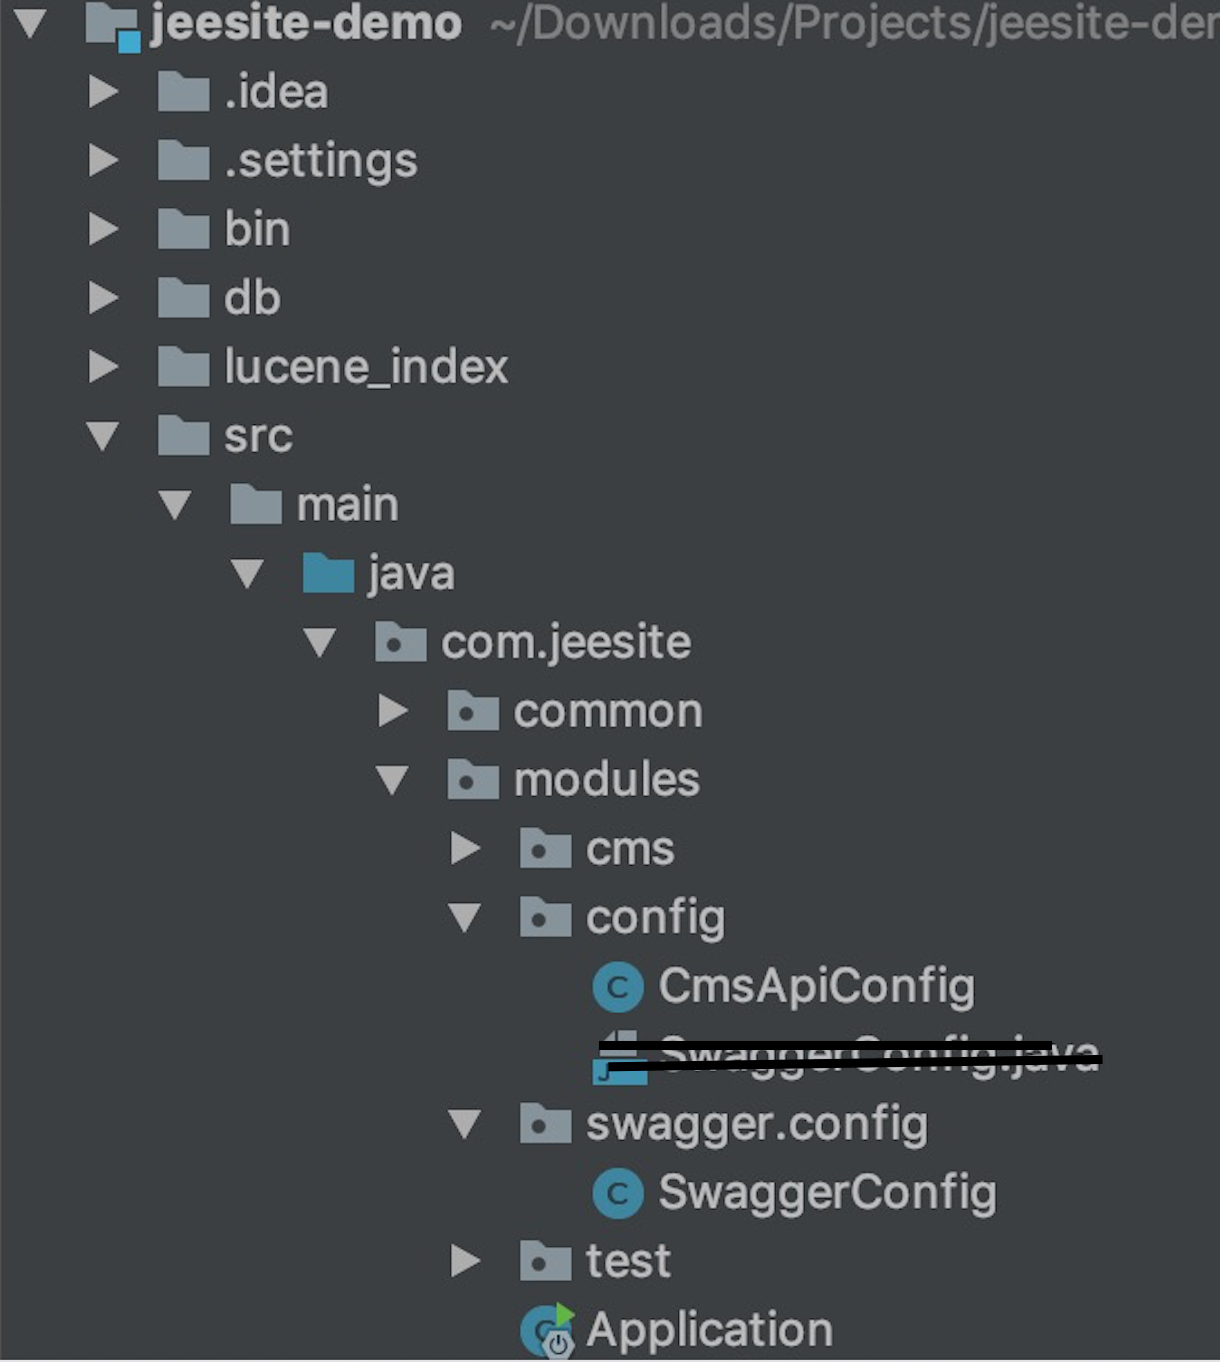
将SysApiConfig修改为CmsApiConfig
//
// Source code recreated from a .class file by IntelliJ IDEA
// (powered by Fernflower decompiler)
//

package com.jeesite.modules.config;

import com.jeesite.modules.swagger.config.SwaggerConfig;
import org.springframework.boot.autoconfigure.condition.ConditionalOnProperty;
import org.springframework.context.annotation.Bean;
import org.springframework.context.annotation.Configuration;
import springfox.documentation.builders.RequestHandlerSelectors;
import springfox.documentation.spring.web.plugins.Docket;

@Configuration
@ConditionalOnProperty(
        name = {"web.swagger.enabled"},
        havingValue = "true",
        matchIfMissing = false
)
public class CmsApiConfig {
    public CmsApiConfig() {
    }

    @Bean
    public Docket cmsApi() {
        String moduleCode = "cms";
        String moduleName = "内容模块";
        String basePackage = "com.jeesite.modules.cms.web";
        return SwaggerConfig.docket(moduleCode, moduleName, basePackage).select().apis(RequestHandlerSelectors.basePackage(basePackage)).build();
    }
}
SwaggerConfig根据需要修改
2、自己配置
pom.xml
swagger
        <dependency>
            <groupId>io.springfox</groupId>
            <artifactId>springfox-swagger2</artifactId>
            <version>2.8.0</version>
        </dependency>
        <dependency>
            <groupId>io.springfox</groupId>
            <artifactId>springfox-swagger-ui</artifactId>
            <version>2.8.0</version>
        </dependency>
SwaggerConfig.java
package com.jeesite.modules.config;

import org.springframework.context.annotation.Bean;
import org.springframework.context.annotation.Configuration;
import springfox.documentation.builders.ApiInfoBuilder;
import springfox.documentation.builders.PathSelectors;
import springfox.documentation.builders.RequestHandlerSelectors;
import springfox.documentation.service.ApiInfo;
import springfox.documentation.spi.DocumentationType;
import springfox.documentation.spring.web.plugins.Docket;


/**
 *
 * @author Vito
 *
 */
@Configuration
public class SwaggerConfig {

    @Bean
    public Docket createRestApi() {
        return new Docket(DocumentationType.SWAGGER_2)
                .apiInfo(apiInfo())
                .groupName("yuosc-api")
                .select()
                .apis(RequestHandlerSelectors.basePackage("com.jeesite.modules.cms.web"))
                .paths(PathSelectors.any())
                .build();
    }

    private ApiInfo apiInfo() {
        return new ApiInfoBuilder()
                .title("YUOSC API")
                .description("YUOSC<a href='http://vote.yangtzeu.edu.cn' target='_blank'>门户</a>" +
                        "和<a href='http://localhost:8980/index' target='_blank'>博客</a>的API文档")
//                .termsOfServiceUrl("http://localhost:8980/index")
                .version("1.0")
                .build();
    }
}
在Application启动容器加注解@EnableSwagger2
此种方式可以查看下面两篇文章
使用swagger作为restful api的doc文档生成
SpringBoot(七):SpringBoot整合Swagger2
二、写接口程序
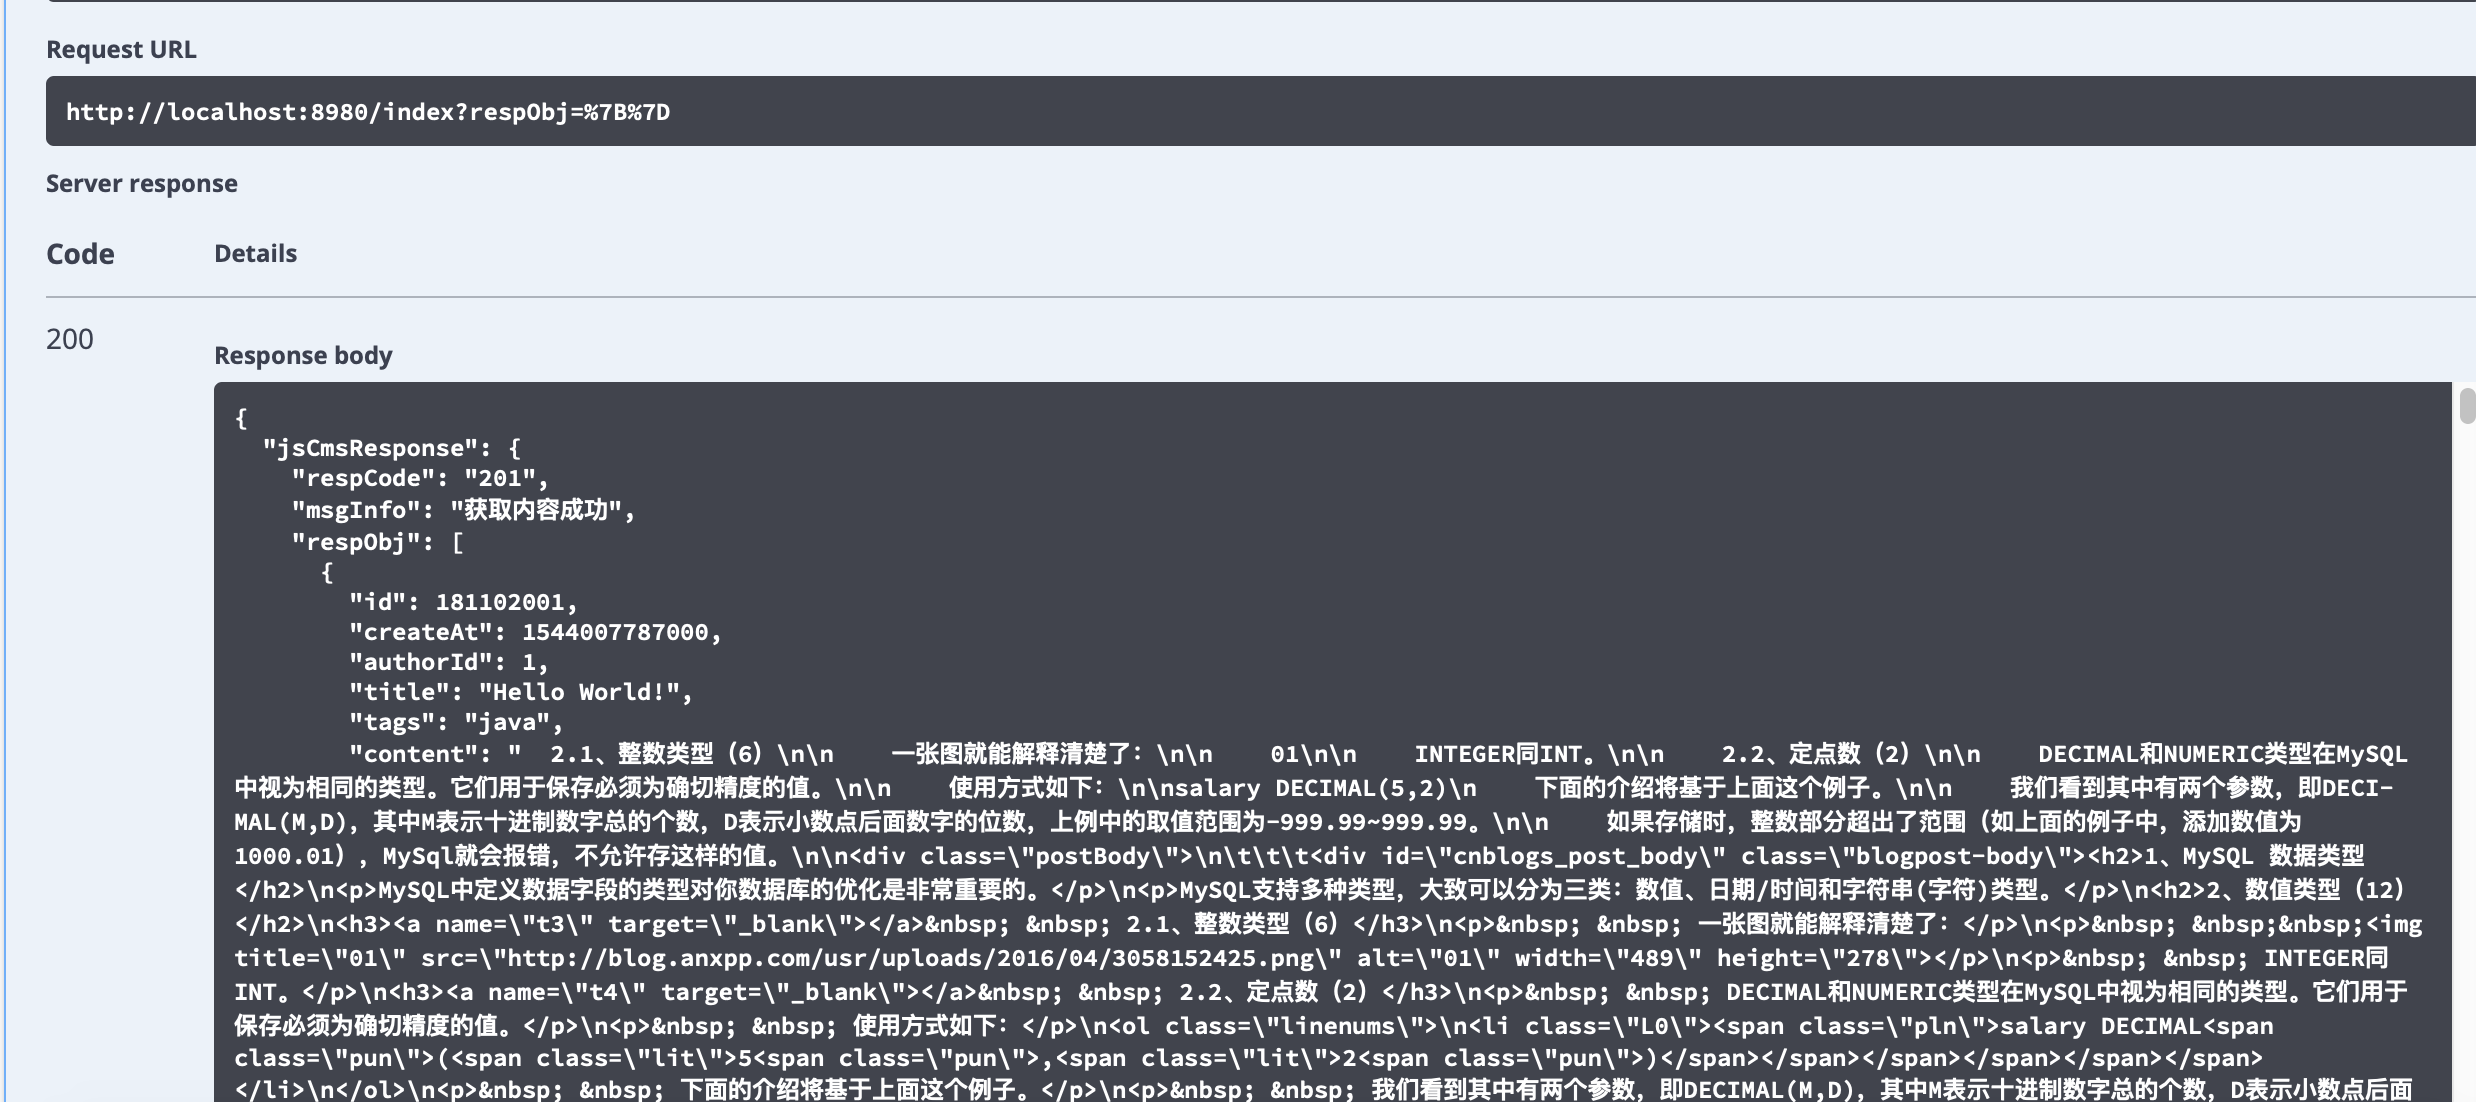
/**
     * 首页内容(获取top5文章)
     * @param
     * @return
     */
    @ApiOperation(value="首页内容(获取top5文章)", notes="获取最新top5文章")
    @GetMapping(value = "/index")
    public JsCmsResponse index(JsCmsResponse resp) throws Exception {
        List<JsCmsArticlesEntity> articles = this.frontService.getAllArticles();
        resp.setRespCode(JsCmsResponse.RESPCODE_SUCCESS);
        resp.setMsgInfo("获取内容成功");
        resp.setRespObj(articles);
        return resp;
    }
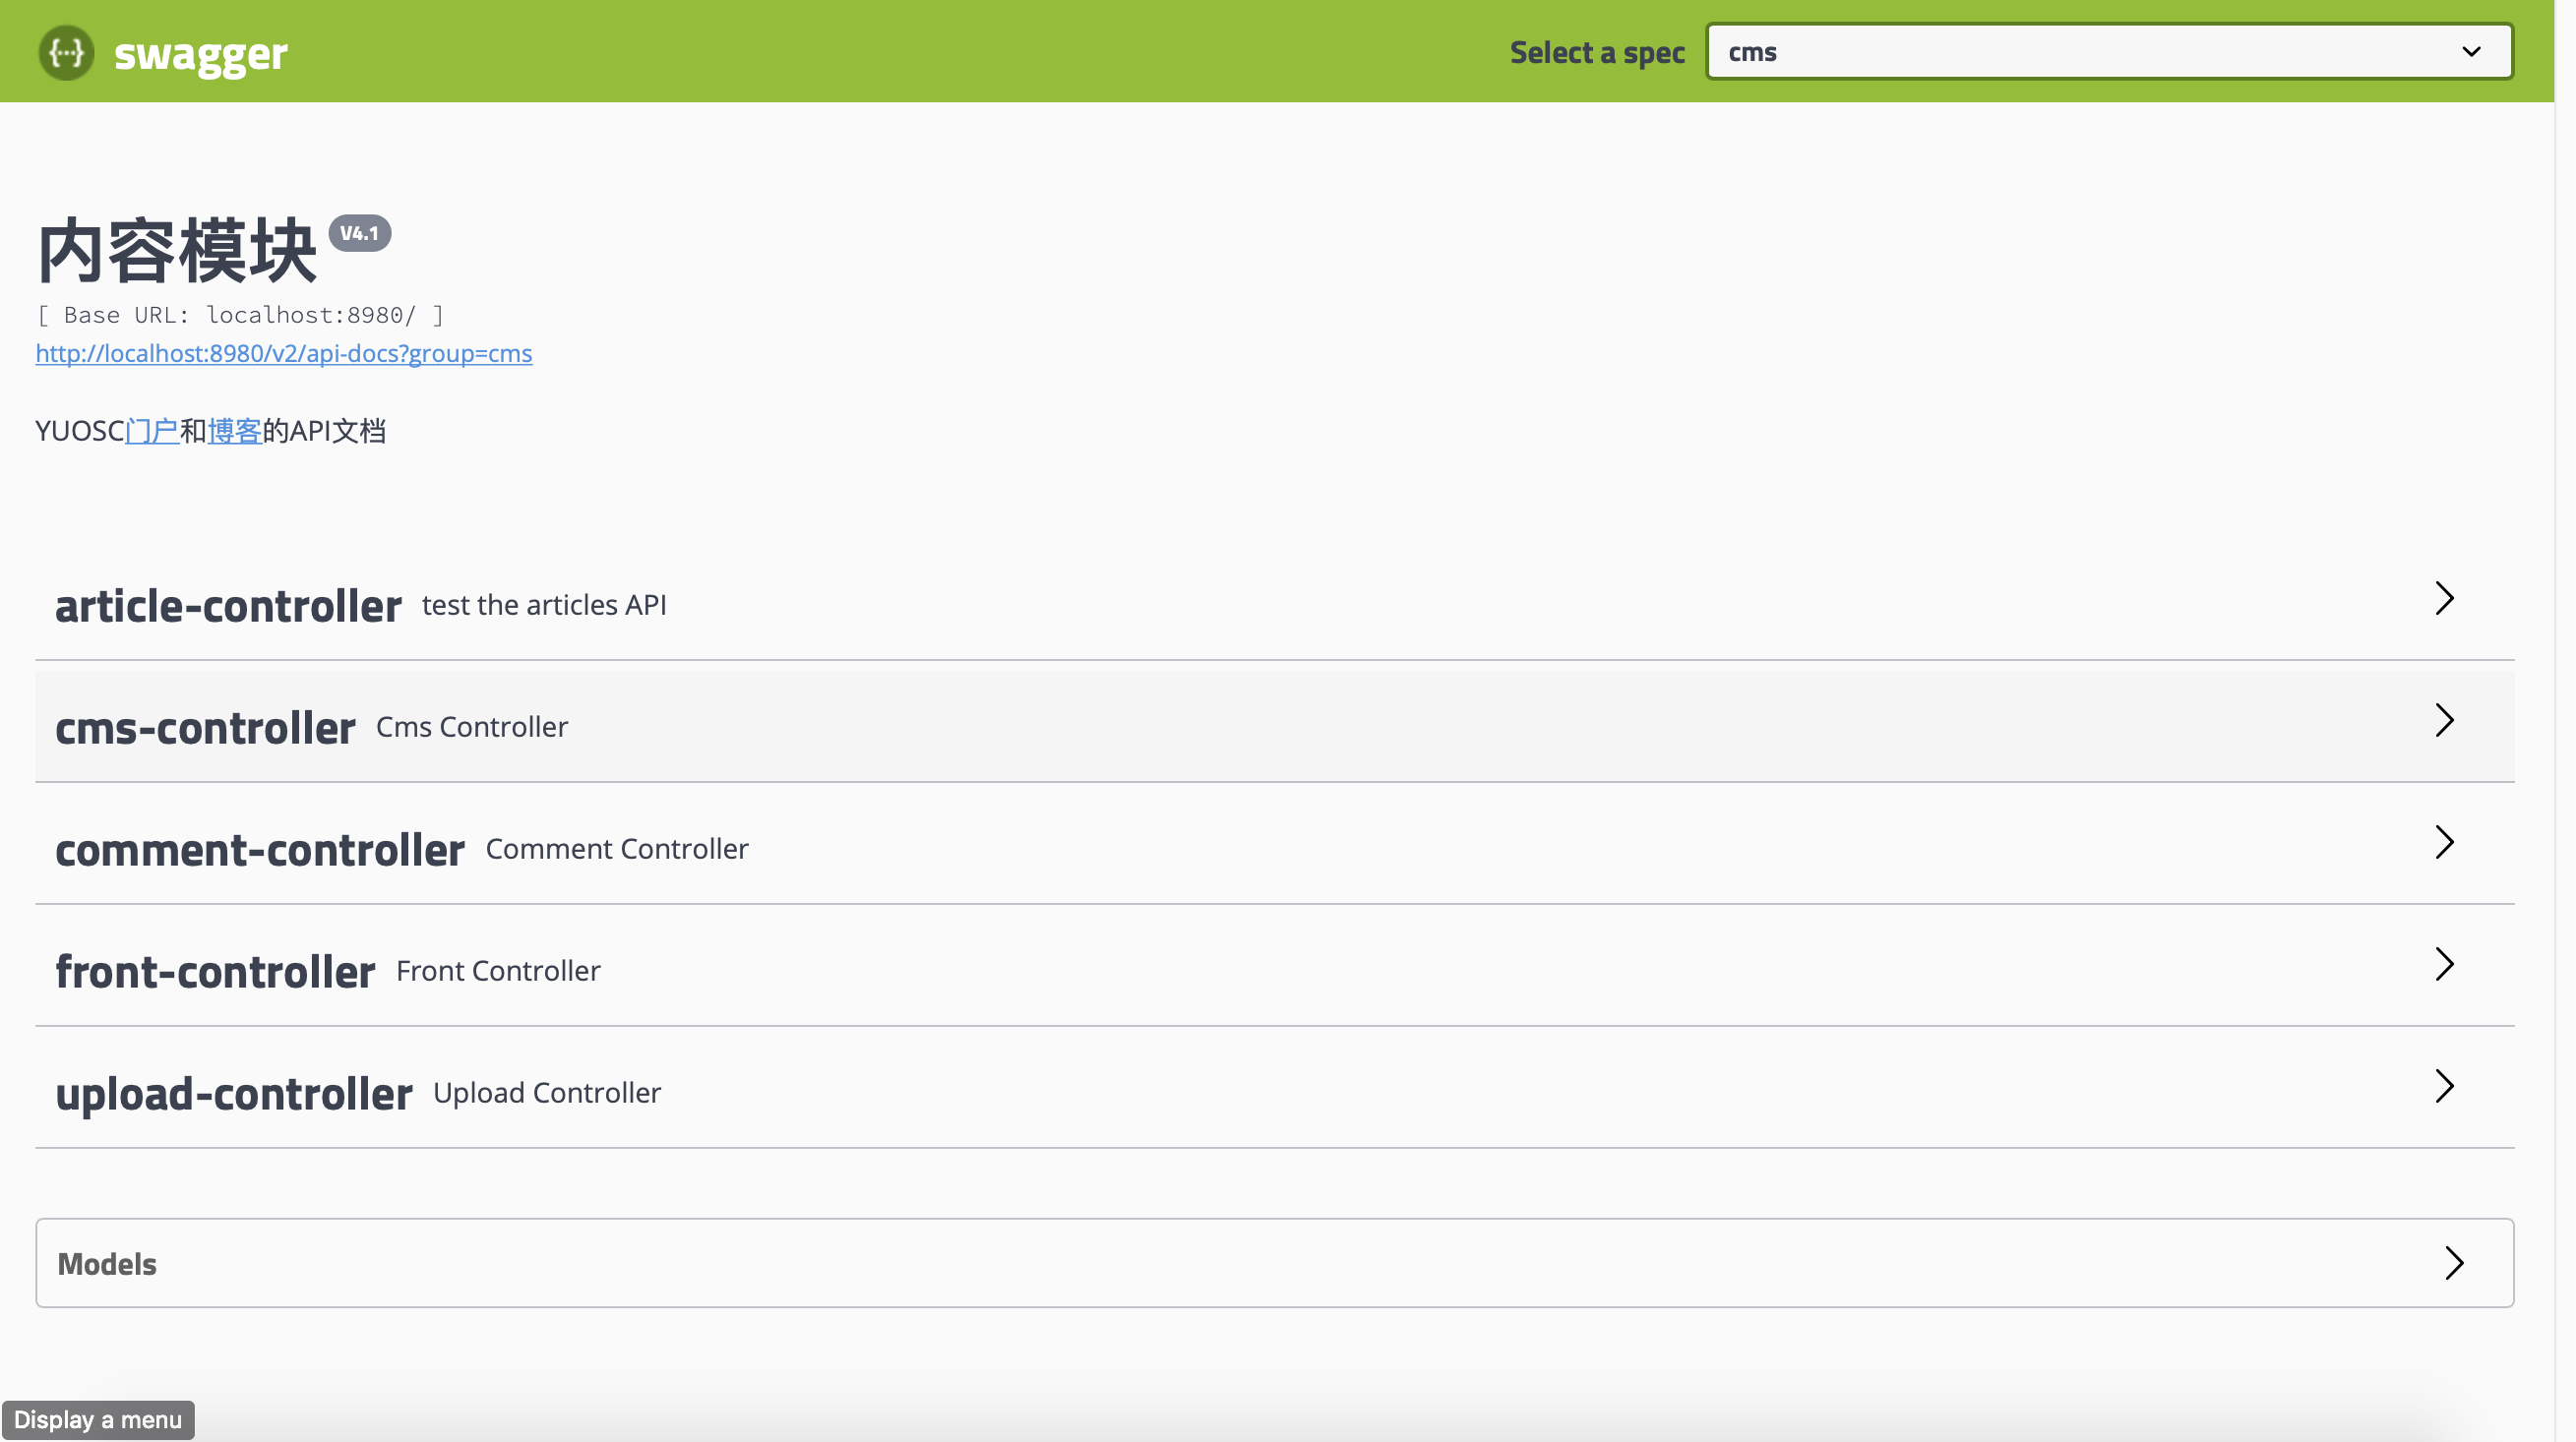
三、http://localhost:8980/swagger-ui.html