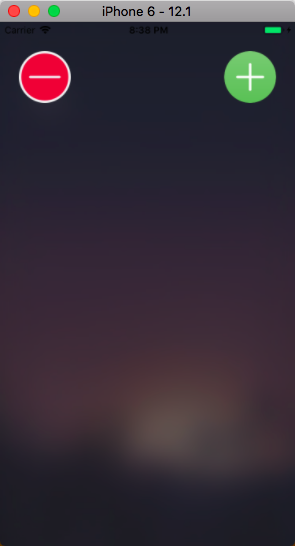
一、创建
主要使用UIBlurEffect类
UIView+BlurEffect.h
#import <UIKit/UIKit.h>

NS_ASSUME_NONNULL_BEGIN

@interface UIView (BlurEffect)
/*
 使用这个方法就能实现给这个视图添加虚化效果
 */

- (void)addBlurEffect:(CGRect)frame;
@end

NS_ASSUME_NONNULL_END
UIView+BlurEffect.m
#import "UIView+BlurEffect.h"

@implementation UIView (BlurEffect)
- (void)addBlurEffect:(CGRect)frame{
    //4.创建效果
    /*
     1.写一个类 UIView
     2.工具类
     3.写一个类别 UIView-虚化
     */
    UIBlurEffect *effect = [UIBlurEffect effectWithStyle:UIBlurEffectStyleDark];

    //5.创建显示这个效果的虚化视图
    UIVisualEffectView *effectView = [[UIVisualEffectView alloc] initWithEffect:effect];

    //6.设置虚化的范围
    effectView.frame = frame;

    //7.添加虚化视图
    [self addSubview:effectView];
}
@end
二、使用
ViewController.m
//设置背景图片
- (void)initUI{
    //1.创建一张图片
    UIImageView *bgImageView = [[UIImageView alloc] initWithFrame:self.view.frame];
    //2.设置图片
    bgImageView.image = [UIImage imageNamed:@"bg.jepg"];
    //3.显示
    [self.view addSubview:bgImageView];

    //虚化
    [bgImageView addBlurEffect:self.view.frame];
    [self.view sendSubviewToBack:bgImageView];
}
三、建议写成一个类别,当作工具类,以后导入可直接使用
