你会很奇怪,为什么有些app启动时,会出现一会儿的黑屏或者白屏才进入Activity的界面显示,但是有些app却不会如QQ手机端,的确这里要做处理一下。这里先了解一下为什么会出现这样的现象,其实很简单,简历一个简单的例子就可以理解了。
其实,黑屏或者白屏这里并不是不正常,而是还没加载到布局文件,就已经显示了window窗口背景,黑屏白屏就是window窗口背景。代码如下,可以自己写个小demo就理解了。
| 1 2 3 4 5 6 7 8 9 10 11 12 |
@Override
protected void onCreate(Bundle savedInstanceState) {
super.onCreate(savedInstanceState);
// 注意:添加3秒睡眠,以确保黑屏一会儿的效果明显,在项目应用要去掉这3秒睡眠
try {
Thread.sleep(3000);
} catch (InterruptedException e) {
e.printStackTrace();
}
// 在这里之前,黑屏或者白屏都是window的背景颜色,是窗口背景,还没到界面的布局呢,要执行setContentView后才显示布局
setContentView(R.layout.activity_launcher);
}
|
那window窗口背景在那里提供呢?在提供theme里面,如下提供的是白色背景,那就是启动时白屏一会儿的颜色设置。
| 1 2 3 4 5 6 |
<!-- Application theme. -->
<style name="AppTheme" parent="AppBaseTheme">
<item name="android:windowNoTitle">true</item>
<item name="android:windowBackground">@color/white</item>
<!-- All customizations that are NOT specific to a particular API-level can go here. -->
</style>
|
所以,在theme设置windowBackground就可以解决启动时白屏黑屏一会儿了,下面提供三种解决方案:
一、提供.png背景图
提供背景图是解决的一个方法,但是要适配各种屏幕,提供很多张图片。除非图片非常复杂只能用背景图了就用这种方法吧,否则个人不建议。
二、提供.9.png(NinePatch)背景图片
如果图片不是很复杂,可以做成NinePatch图片,那就直接制作NinePatch图片,提供一张就可以适配任何手机,何乐而不为呢。
三、使用Layout-list制作背景图片
如果可以使用这种方式,推荐使用这种Layout-list制作背景图片。前2种都是使用图片占用内存啊,使用Layout-list比较省内存,做出app也不会说因为图片多体积变大吧。
下面给出代码。
LaunchActivity为启动界面停留3秒后跳转到主页面MainActivity,为了达到显示黑屏白屏的效果更明显,在setContentView之前线程睡眠3秒。
| 1 2 3 4 5 6 7 8 9 10 11 12 13 14 15 16 17 18 19 20 21 22 23 24 25 26 27 28 29 30 31 32 33 34 35 36 37 38 39 |
public class LauncherActivity extends Activity {
public final int MSG_FINISH_LAUNCHERACTIVITY = 500;
public Handler mHandler = new Handler(){
public void handleMessage(Message msg) {
switch (msg.what) {
case MSG_FINISH_LAUNCHERACTIVITY:
//跳转到MainActivity,并结束当前的LauncherActivity
Intent intent = new Intent(LauncherActivity.this, MainActivity.class);
startActivity(intent);
finish();
break;
default:
break;
}
};
};
@Override
protected void onCreate(Bundle savedInstanceState) {
super.onCreate(savedInstanceState);
// 不显示系统的标题栏,保证windowBackground和界面activity_main的大小一样,显示在屏幕不会有错位(去掉这一行试试就知道效果了)
getWindow().setFlags(WindowManager.LayoutParams.FLAG_FULLSCREEN, WindowManager.LayoutParams.FLAG_FULLSCREEN);
// 注意:添加3秒睡眠,以确保黑屏一会儿的效果明显,在项目应用要去掉这3秒睡眠
try {
Thread.sleep(3000);
} catch (InterruptedException e) {
e.printStackTrace();
}
setContentView(R.layout.activity_launcher);
// 停留3秒后发送消息,跳转到MainActivity
mHandler.sendEmptyMessageDelayed(MSG_FINISH_LAUNCHERACTIVITY, 3000);
}
}
|
activity_launcher.xml布局文件,很简单,要记住这里的LinearLayout使用的背景是layout_list_start_pic,跟主题theme使用一样的背景,这样就消除了背景不一样的效果。这里要自己试试才知道这样做的好处和效果。
| 1 2 3 4 5 6 7 8 9 10 11 12 13 |
<LinearLayout xmlns:android="http://schemas.android.com/apk/res/android"
xmlns:tools="http://schemas.android.com/tools"
android:layout_width="fill_parent"
android:layout_height="fill_parent"
android:background="@drawable/layout_list_start_pic" >
<TextView
android:layout_width="wrap_content"
android:layout_height="wrap_content"
android:textColor="#ffffff"
android:text="@string/hello_world" />
</LinearLayout>
|
AndroidManifest.xml,这里注意application使用的theme是AppTheme,而LauncherActivity使用的主题是StartAppTheme。这样做的效果是只要LauncherActivity使用StartAppTheme主题,其他Activity都是用AppTheme主题哦。
| 1 2 3 4 5 6 7 8 9 10 11 12 13 14 15 16 17 18 19 20 21 22 23 24 25 26 27 28 29 30 |
<?xml version="1.0" encoding="utf-8"?>
<manifest xmlns:android="http://schemas.android.com/apk/res/android"
package="com.example.launcheractivity"
android:versionCode="1"
android:versionName="1.0" >
<uses-sdk
android:minSdkVersion="8"
android:targetSdkVersion="18" />
<application
android:allowBackup="true"
android:icon="@drawable/ic_launcher"
android:label="@string/app_name"
android:theme="@style/AppTheme" >
<activity
android:name=".LauncherActivity"
android:label="@string/app_name"
android:theme="@style/StartAppTheme" >
<intent-filter>
<action android:name="android.intent.action.MAIN" />
<category android:name="android.intent.category.LAUNCHER" />
</intent-filter>
</activity>
<activity android:name=".MainActivity"></activity>
</application>
</manifest>
|
styles.xml,2个主题设置
| 1 2 3 4 5 6 7 8 9 10 11 12 13 14 15 16 17 18 19 20 21 22 23 24 25 26 |
<resources xmlns:android="http://schemas.android.com/apk/res/android">
<!--
Base application theme, dependent on API level. This theme is replaced
by AppBaseTheme from res/values-vXX/styles.xml on newer devices.
-->
<style name="AppBaseTheme" parent="android:Theme.Light.NoTitleBar">
<!--
Theme customizations available in newer API levels can go in
res/values-vXX/styles.xml, while customizations related to
backward-compatibility can go here.
-->
</style>
<!-- Application theme. -->
<style name="AppTheme" parent="AppBaseTheme">
<item name="android:windowNoTitle">true</item>
<item name="android:windowBackground">@color/white</item>
<!-- All customizations that are NOT specific to a particular API-level can go here. -->
</style>
<style name="StartAppTheme" parent="AppBaseTheme">
<item name="android:windowNoTitle">true</item>
<item name="android:windowBackground">@drawable/layout_list_start_pic</item>
<!-- All customizations that are NOT specific to a particular API-level can go here. -->
</style>
</resources>
|
layout_list_start_pic.xml 启动页面使用这个作为背景图片
| 1 2 3 4 5 6 7 8 9 10 11 12 13 14 15 16 17 18 19 20 21 |
<?xml version="1.0" encoding="utf-8"?>
<layer-list xmlns:android="http://schemas.android.com/apk/res/android" >
<!-- 设置整个屏幕背景为白色 -->
<item >
<color android:color="@color/white"/>
</item>
<!-- 中间logo -->
<item >
<bitmap
android:gravity="center"
android:src="@drawable/ic_launcher" />
</item>
<!-- 底部图表 -->
<item android:bottom="10dp">
<bitmap
android:gravity="bottom|center_horizontal"
android:src="@drawable/copyright" />
</item>
</layer-list>
|
还有一张图片copyright.png

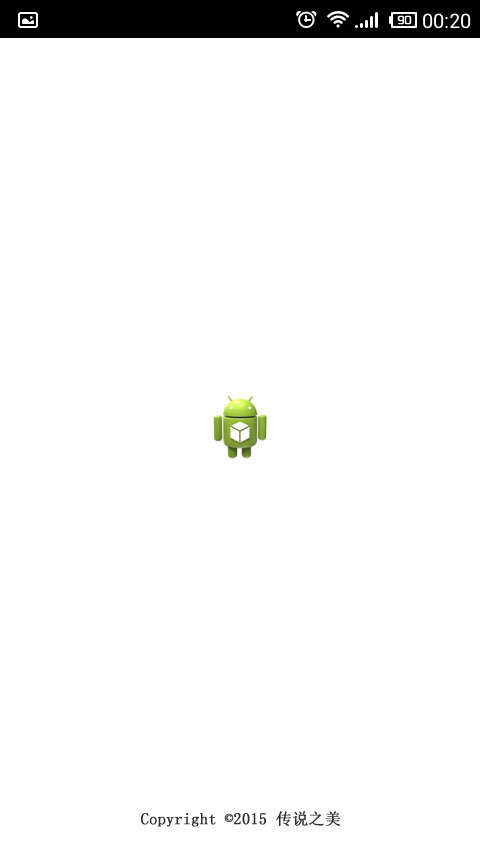
好了现在提供下效果图吧
启动时,黑屏白屏改造成这图片样子,哈哈~
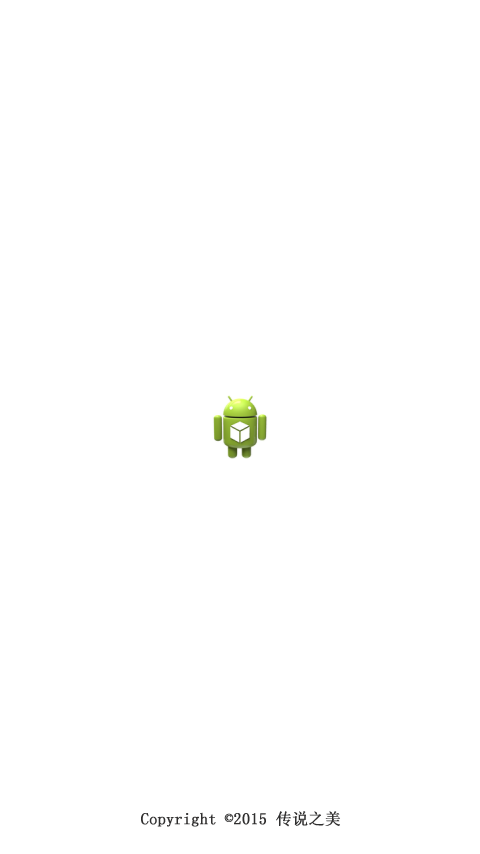
启动完成后加装的LauncherActivity界面
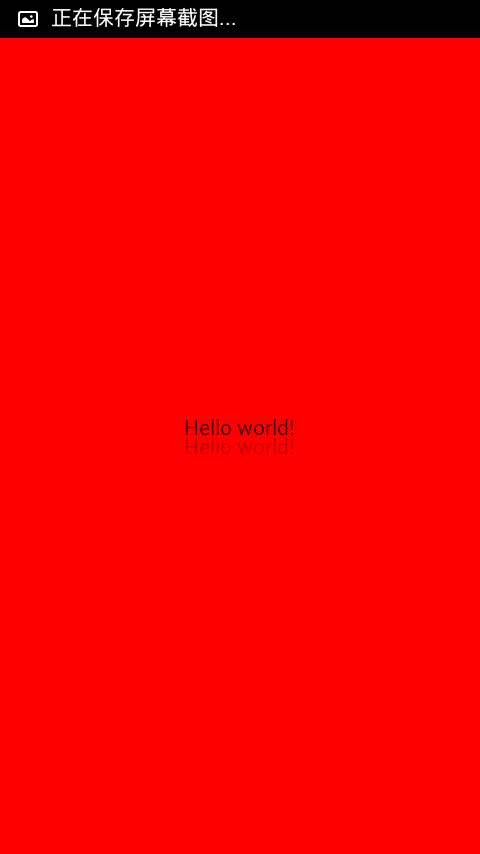
调整到MainActivity界面
就这样了,本来想给gif动画的,用微信拍下来,澳澳不知道怎么发到电脑呜呜~~~后来才知道可以发到网页微信。。。