Angular 6集成Spring Boot 2,Spring Security,JWT和CORS系列,涉及Spring Boot的基础应用、CORS配置、Actuator监控、springfox-swagger集成、CI集成等,演示了如何利用Swagger生成JSON API文档,如何利用Swagger UI和Postman进行Rest API测试。介绍了Angular 6的新特性,Angular 6与Spring Boot 2、Spring Security、JWT集成的方法。
技术堆栈
- Spring Boot 2.0.4.RELEASE
- Spring Security
- Spring Data
- Spring Actuator
- JWT
- Springfox Swagger2
- Angular 6.0
测试工具: Postman
代码质量检查: Sonar
CI: Jenkins
推荐IDE:Spring tools suite、WebStorm/Visual Studio Code
Java代码中使用了lombok注解,IDE要安装lombok插件。
一、创建SpringBoot项目
1、在sts菜单中依次选择 File -->new -->Spring Stater Project
2、在出现的“New spring Starter Project”窗口中,按下图设置各个参数
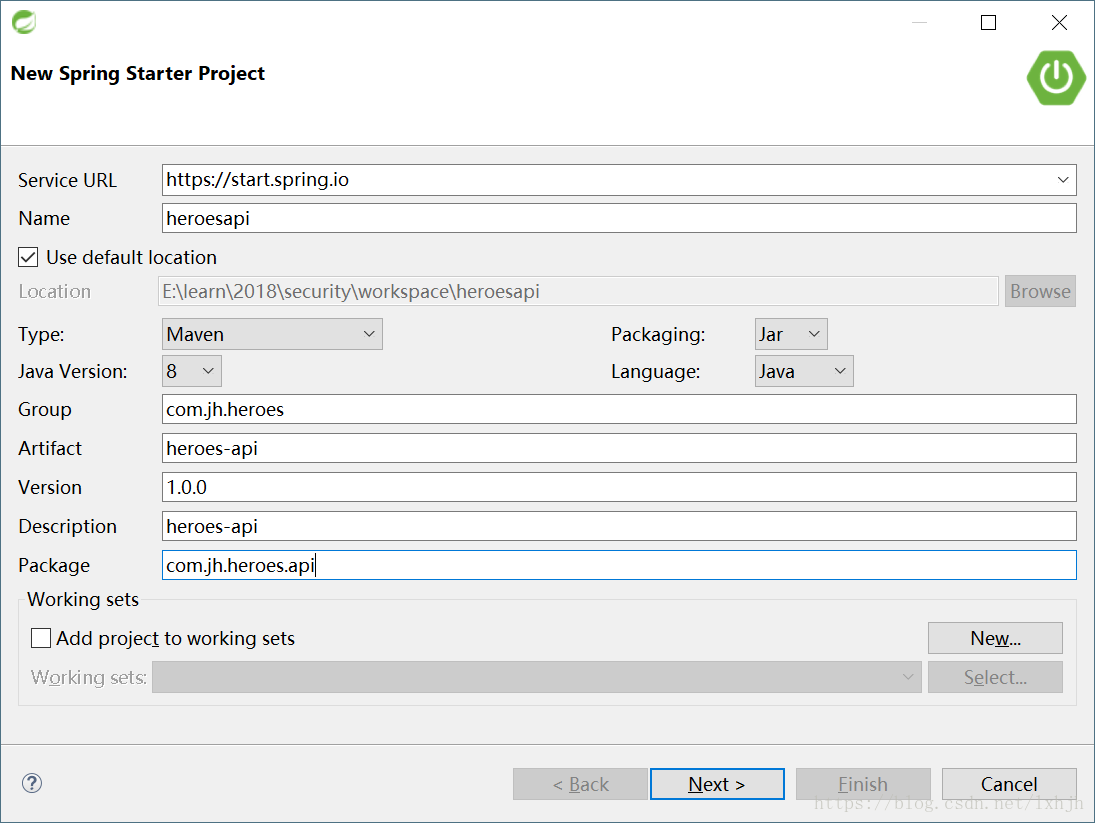
设置正确之后,点击"Next"按钮。
3、在出现的“New spring Starter Project Dependencies”窗口中,按下图设置各个参数

选择基本的Web、JPA、MySQL、Lombok、DevTools即可,选择完毕点击"Finish"按钮。STS即按照我们的要求建立一个Maven项目。
注:项目其它的依赖包,等需要时,我们在引入即可。
二、测试heroesapi项目可运行
1、修改运用配置文件格式yml.
把src/main/resources中的application.properties文件,修改成application.yml
2、在运用配置文件application.yml中添加数据库连接参数
server:
  port: 8001

spring:
  datasource:
    driver-class-name: com.mysql.jdbc.Driver
    url: jdbc:mysql://192.168.33.159:3306/jh-heroes?useUnicode=yes&characterEncoding=UTF-8
    username: root
    password: p2p_zdsoft!
  jpa:
    generate-ddl: true
    show-sql: true
    properties:
      hibernate:
        format_sql: true
    hibernate:
      ddl-auto: update
3、添加包com.jh.heroes.api.web
4、添加包com.jh.heroes.api.web.controller
5、在com.jh.heroes.api.web.controller中添加HelloController类,代码如下
package com.jh.heroes.api.web.controller;

import org.springframework.web.bind.annotation.GetMapping;
import org.springframework.web.bind.annotation.RestController;

@RestController
public class HelloController {

	@GetMapping(value="hello")
	public String hello() {
		return "Hello  hero!";
	}

}
6、命令行(控制台)中,在项目所在文件夹所在路径下运行 mvn spring-boot:run
7、在浏览器中输入http://localhost:8001/hello,查看是否显示"Hello hero!".
正确显示,则表示项目结构,可以继续;否则,按以下顺序依次排查:
第一步:查看maven的环境参数是否配置正确
第二步:查看maven的运行参数是否配置正确。maven文件夹下conf中的setting.xml文件
第三步:请查看网络是否可以连接外网;不能访问外网,则不能下载依赖包。
第四步:查看数据库是否启动;
第五步:查看application.yml文件是否正确。
三、创建hero的实体
1、添加包com.jh.heroes.api.domain
2、在com.jh.heroes.api.domain中添加Hero类,代码如下
package com.jh.heroes.api.domain;

import javax.persistence.Column;
import javax.persistence.Entity;
import javax.persistence.GeneratedValue;
import javax.persistence.GenerationType;
import javax.persistence.Id;
import javax.persistence.SequenceGenerator;
import javax.validation.constraints.NotNull;

import lombok.AllArgsConstructor;
import lombok.Data;
import lombok.NoArgsConstructor;

@Entity
@Data
@NoArgsConstructor
@AllArgsConstructor
public class Hero {
	@Id
    @Column(name = "ID")
    @GeneratedValue(strategy = GenerationType.SEQUENCE, generator = "HERO_SEQ")
    @SequenceGenerator(name = "HERO_SEQ", sequenceName = "HERO_SEQ", allocationSize = 1)
    private Long id;

    @Column(name = "NAME", unique = true, length = 30)
    @NotNull
    private String name;
}
四、创建hero的repository
1、添加包com.jh.heroes.api.repository
2、在com.jh.heroes.api.repository中添加HeroRepository接口,代码如下
package com.jh.heroes.api.repository;

import java.util.List;

import org.springframework.data.jpa.repository.JpaRepository;
import org.springframework.data.jpa.repository.Query;
import org.springframework.data.repository.query.Param;

import com.jh.heroes.api.domain.Hero;

public interface HeroRepository extends JpaRepository<Hero, Long> {

	@Query("select h from Hero h where lower(h.name) like CONCAT('%', lower(:name), '%')")
    List<Hero> findByName(@Param("name") String name);
}
五、创建hero的不存在异常类
1、添加包com.jh.heroes.api.exception
2、在com.jh.heroes.api.exception中添加HeroNotFoundException类,代码如下
package com.jh.heroes.api.exception;

import org.springframework.web.bind.annotation.ResponseStatus;


import static org.springframework.http.HttpStatus.NOT_FOUND;

@ResponseStatus(code = NOT_FOUND)
public class HeroNotFoundException extends RuntimeException {

	/**
	 *
	 */
	private static final long serialVersionUID = 1L;

	public HeroNotFoundException(Long id) {
        this("Could not find hero with id '%s'", id);
    }

    public HeroNotFoundException(String name) {
        this("Could not find hero with name '%s'", name);
    }

    public HeroNotFoundException(String message, Object... args) {
        super(String.format(message, args));
    }

}
六、创建hero的service
1、添加包com.jh.heroes.api.service
2、在com.jh.heroes.api.service中添加HeroService类,代码如下
package com.jh.heroes.api.service;

import java.util.List;

import org.springframework.beans.factory.annotation.Autowired;
import org.springframework.stereotype.Service;
import org.springframework.transaction.annotation.Transactional;

import com.jh.heroes.api.domain.Hero;
import com.jh.heroes.api.exception.HeroNotFoundException;
import com.jh.heroes.api.repository.HeroRepository;

@Service
@Transactional
public class HeroService {

	@Autowired
    private HeroRepository repository;

    public Hero getHeroById(Long id) throws Exception {
        return repository.findById(id).orElseThrow(() -> new HeroNotFoundException(id));
    }

    public List<Hero> getAllHeroes() {
        return repository.findAll();
    }

    public List<Hero> findHeroesByName(String name) {
        return repository.findByName(name);
    }

    public Hero saveHero(Hero hero) {
        return repository.save(hero);
    }

    public void deleteHero(Long id) {
        repository.deleteById(id);
    }
}
七、创建hero的controller
在中创建HeroController类,代码如下
package com.jh.heroes.api.web.controller;

import java.util.HashMap;
import java.util.List;
import java.util.Map;

import org.slf4j.Logger;
import org.slf4j.LoggerFactory;
import org.springframework.beans.factory.annotation.Autowired;
import org.springframework.dao.DataAccessException;
import org.springframework.http.MediaType;
import org.springframework.http.ResponseEntity;
import org.springframework.util.StringUtils;
import org.springframework.web.bind.annotation.DeleteMapping;
import org.springframework.web.bind.annotation.ExceptionHandler;
import org.springframework.web.bind.annotation.GetMapping;
import org.springframework.web.bind.annotation.PathVariable;
import org.springframework.web.bind.annotation.PostMapping;
import org.springframework.web.bind.annotation.PutMapping;
import org.springframework.web.bind.annotation.RequestBody;
import org.springframework.web.bind.annotation.RequestMapping;
import org.springframework.web.bind.annotation.RequestParam;
import org.springframework.web.bind.annotation.RestController;

import com.jh.heroes.api.domain.Hero;
import com.jh.heroes.api.service.HeroService;

@RestController
@RequestMapping(value = "/api/heroes", produces = MediaType.APPLICATION_JSON_VALUE)
public class HeroController {

	private static final Logger logger = LoggerFactory.getLogger(HeroController.class);

	@Autowired
    private HeroService service;

    @GetMapping("/{id}")
    public Hero getHeroById(@PathVariable("id") Long id) throws Exception {
        return service.getHeroById(id);
    }

    @GetMapping()
    public List<Hero> getHeroes() {
        return service.getAllHeroes();
    }

    @GetMapping("/")
    public List<Hero> searchHeroes(@RequestParam("name") String name) {
        return service.findHeroesByName(name);
    }

    @PostMapping()
    public Hero addHero(@RequestBody Hero hero) {
        return service.saveHero(hero);
    }

    @PutMapping("")
    public Hero updateHero(@RequestBody Hero hero) {
        return service.saveHero(hero);
    }

    @DeleteMapping("/{id}")
    public void deleteHero(@PathVariable("id") Long id) {
        service.deleteHero(id);
    }

	@ExceptionHandler(DataAccessException.class)
    public ResponseEntity<Map<String, Object>> handleDataAccessException(DataAccessException exception) {
		logger.error(exception.getMessage(), exception);
        Map<String, Object> body = new HashMap<>();
        body.put("message", exception.getMessage());
        return ResponseEntity.badRequest().body(body);
    }

}
八、测试hero暴露的restfull接口
1、打开Postman,第一次运行,如下图
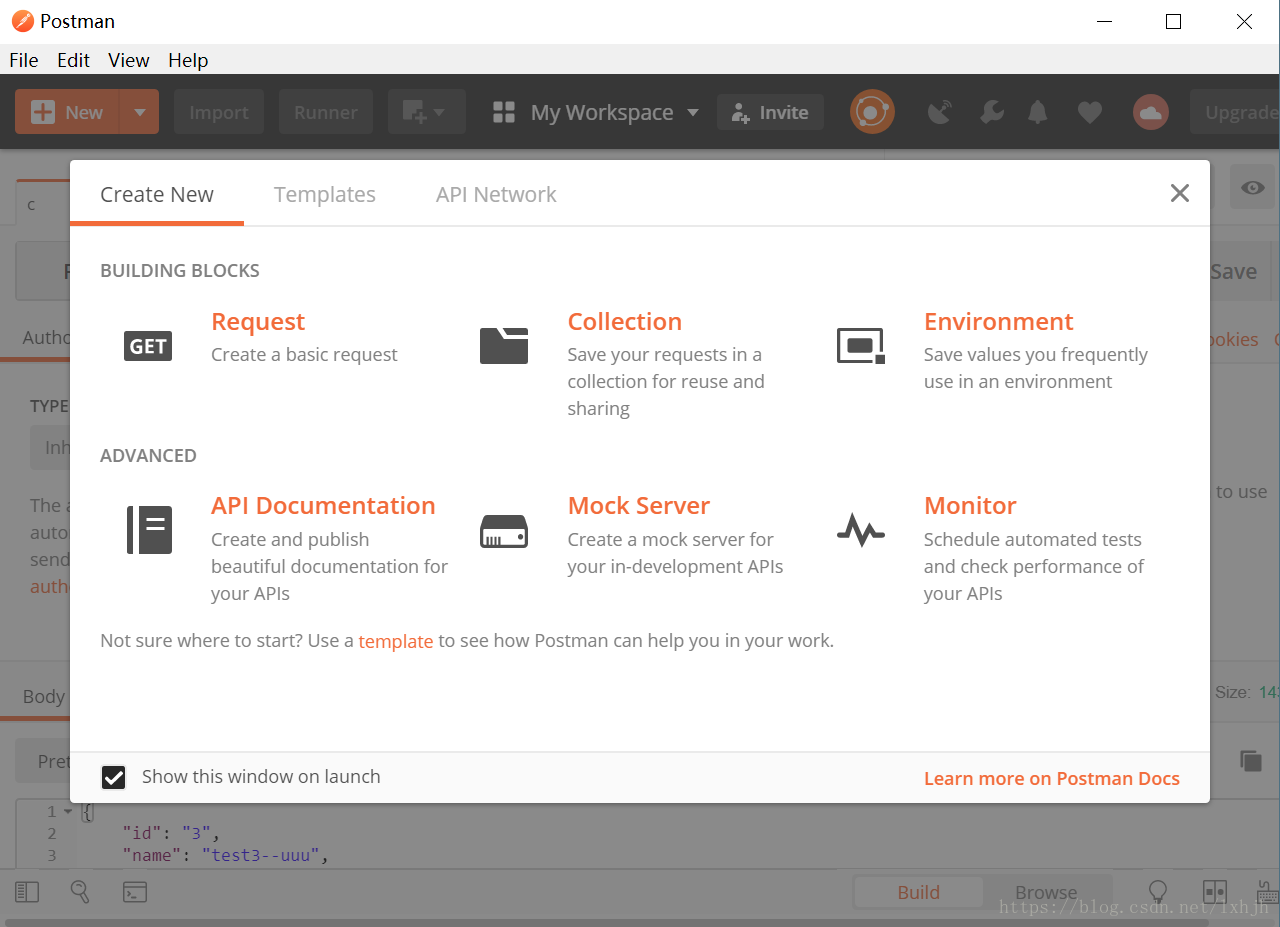
关闭前面的dashboard.
2、测试查询全部接口,在Postman中设置如下,然后点击send按钮
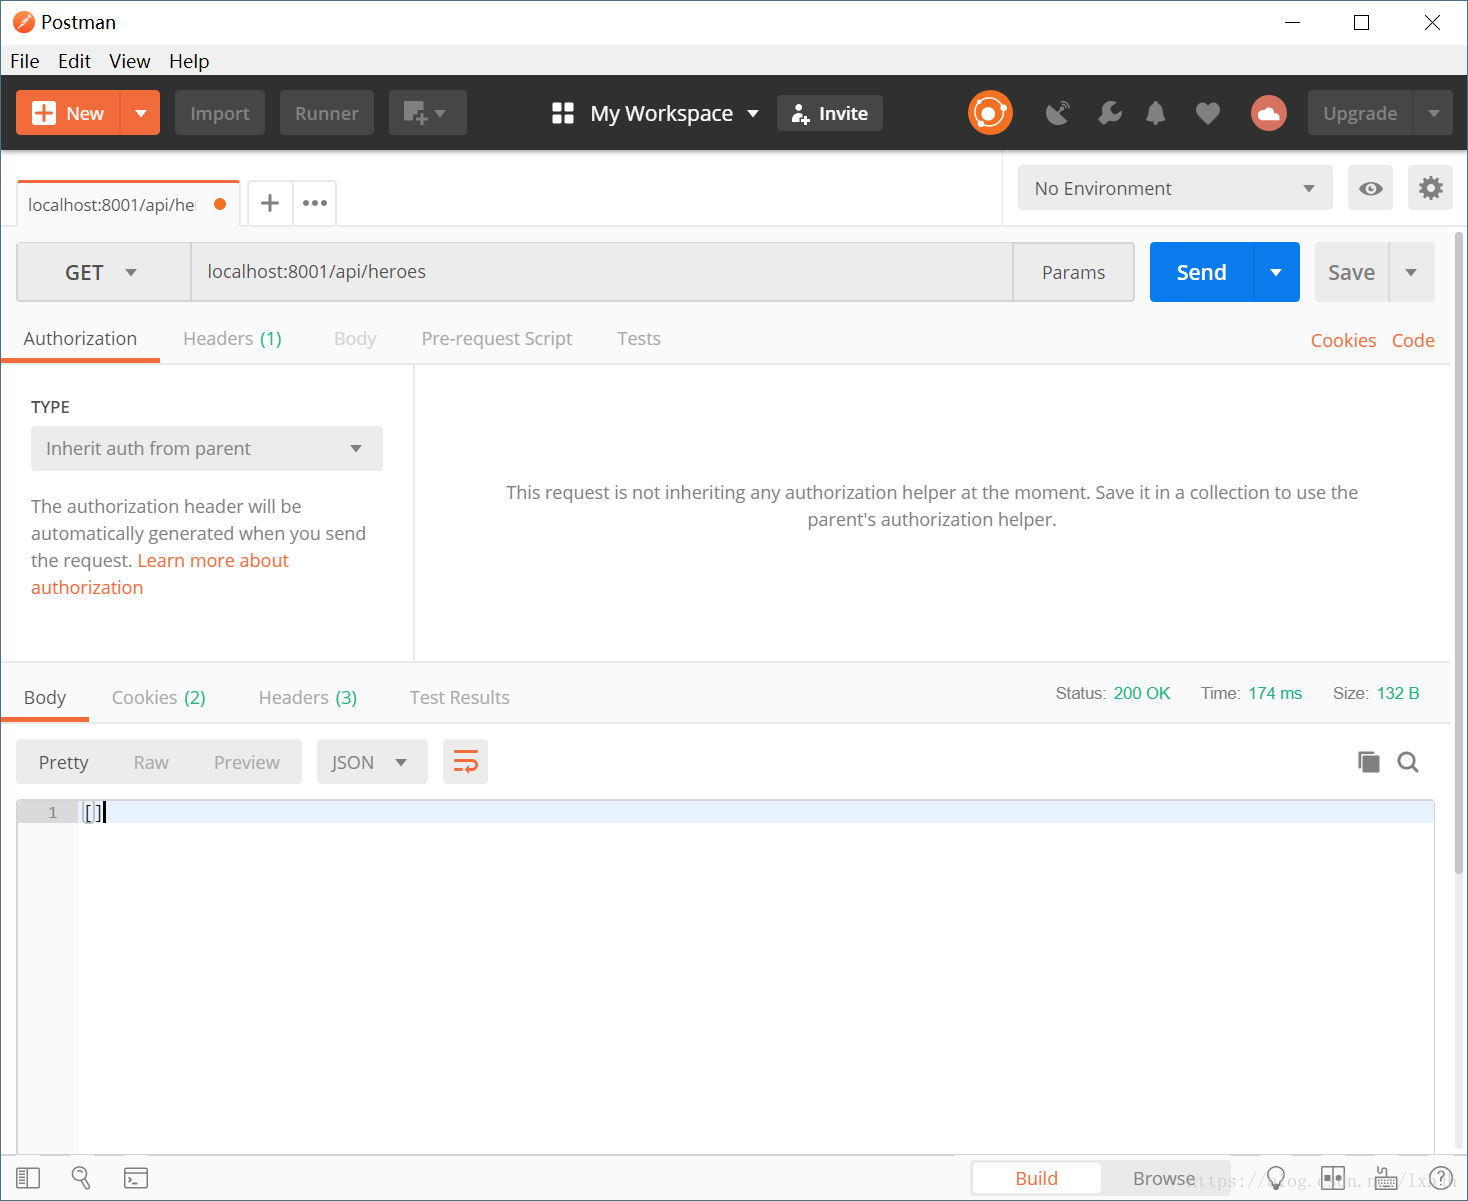
第一次运行,没有任何数据返回。
3、测试增加接口,在Postman中设置如下,然后点击send按钮

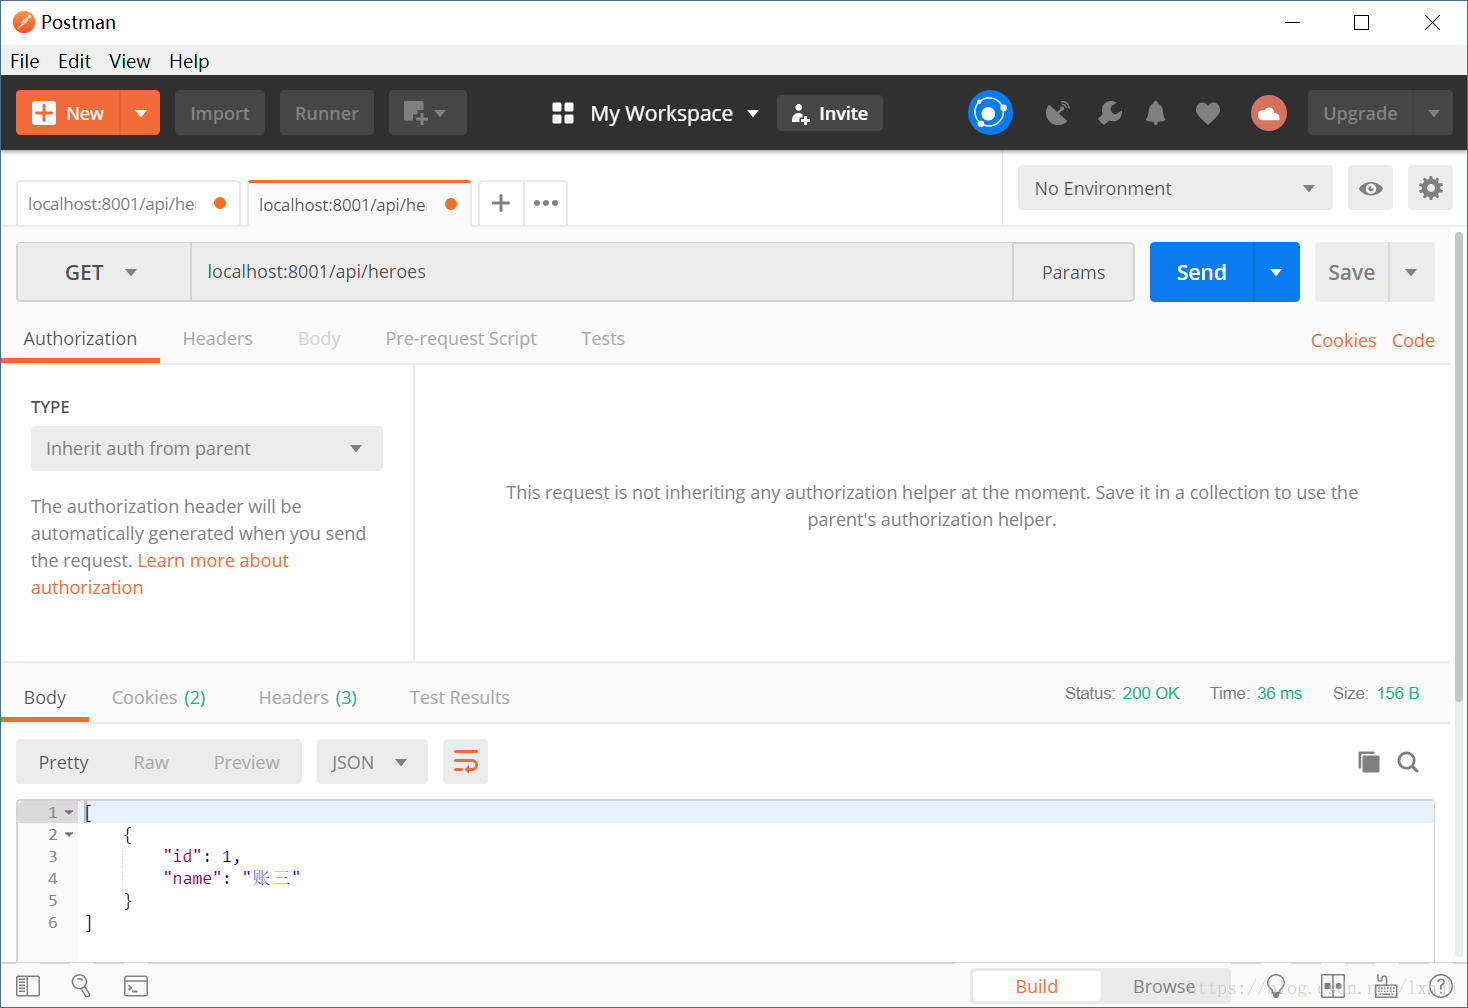
4、再次测试查询全部接口 ,在Postman中设置如下,然后点击send按钮
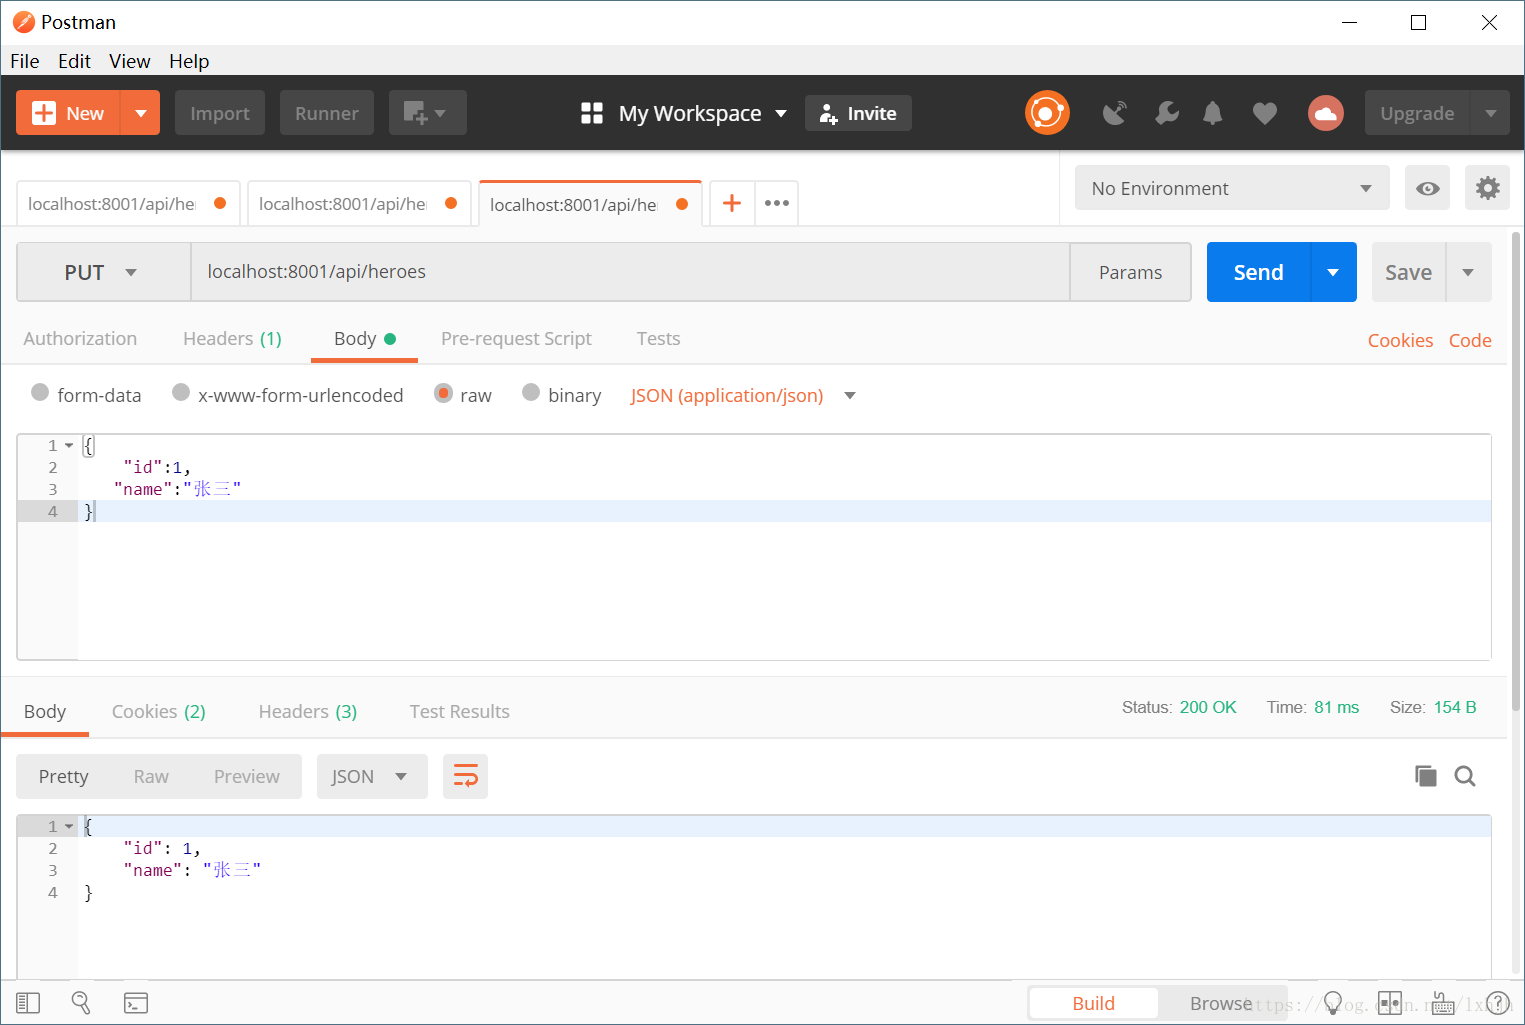
5、修改“账三”为"张三",在postman中,如下操作
6、用Postman添加李四、王五、赵六、田七,再次测试查询全部的接口,以及通过id的查询、通过名字的查询,当然也可以测试删除。
注:通过名字查询的url为 localhost:8001/api/heroes/?name=七
九、推送到码云的git仓库
1、修改项目中的.gitignore文件最后增加一行内容未/.mvn/,最后结果是
/target/
!.mvn/wrapper/maven-wrapper.jar

### STS ###
.apt_generated
.classpath
.factorypath
.project
.settings
.springBeans
.sts4-cache

### IntelliJ IDEA ###
.idea
*.iws
*.iml
*.ipr

### NetBeans ###
/nbproject/private/
/build/
/nbbuild/
/dist/
/nbdist/
/.nb-gradle/
/.mvn/2、在码云中建立项目heroes
3、在码云中,把项目中的.gitignore文件上传,覆盖码云生成的.gitignore
4、在本地heroesapi项目所在位置打开控制台或者cmd,依次执行以下命令
A、创建git创库: git init
B、关联远程创库: git remote add origin https://gitee.com/lxhjh2015/heroes.git
C、拉取代码到本地:git pull origin master
D、本地添加:git add .
E、本地提交:git commit -am "第一次提交"
F、推送代码:git push
G、为了记录本小节成果,建立本地分支: git checkout -b first
H、把本地分支上传到远程(远程创建分支):git push origin first
十、小结
1、这节主要是在sts中创建springboot类的heroapi项目,以及用Postman进行简单的、"正确性"的测试,最后在演示把项目推送到码云的git仓库.
2、这节代码https://gitee.com/lxhjh2015/heroes.git 的first分支。