版权声明:勇哥出品必属精品违者必究,相信勇哥幸福一生,不信勇哥抱憾终身,盗版一时爽全家火葬场! https://blog.csdn.net/weixin_42837637/article/details/83349632
1、nginx介绍和安装
2、访问控制
环境说明
| 环境说明 | ip | 服务 |
|---|---|---|
| centos7 | 192.168.69.128 | yum安装nginx |
| centos7 | 192.168.69.134 | httpd |
| redhat | 192.168.69.130 | 编译nginx |
2.1用于location段配置
allow:设定允许哪台主机访问,多个参数间用空格隔开
allow 允许ip:192.168.69.132/32
允许网段:192.168.0.0/16
deny:设定禁止哪台或哪些主机访问,多个参数间用空格隔开
2.2在nginx主机进行配置
举例说明:
[root@localhost ~]# vim  /usr/local/nginx/conf/nginx.conf
        location / {
            root   html;
            index  index.html index.htm;
            allow 192.168.69.134/32;                                //允许此主机访问
            deny all;                                                             // 限制其他用户
        }
[root@localhost ~]# nginx -s reload
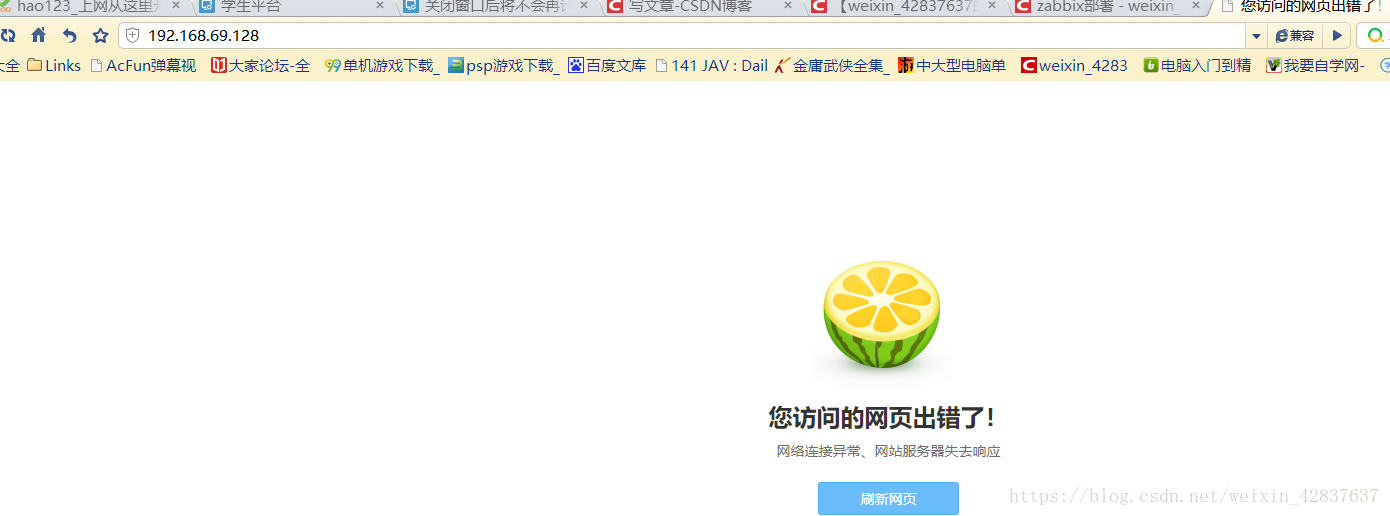
访问失败
[root@localhost ~]# vim  /usr/local/nginx/conf/nginx.conf
        location / {
            root   html;
            index  index.html index.htm;
            allow 192.168.69.1/16;                                //允许此网段访问
            deny all;                                                             // 限制其他用户
        }
[root@localhost ~]# nginx -s reload
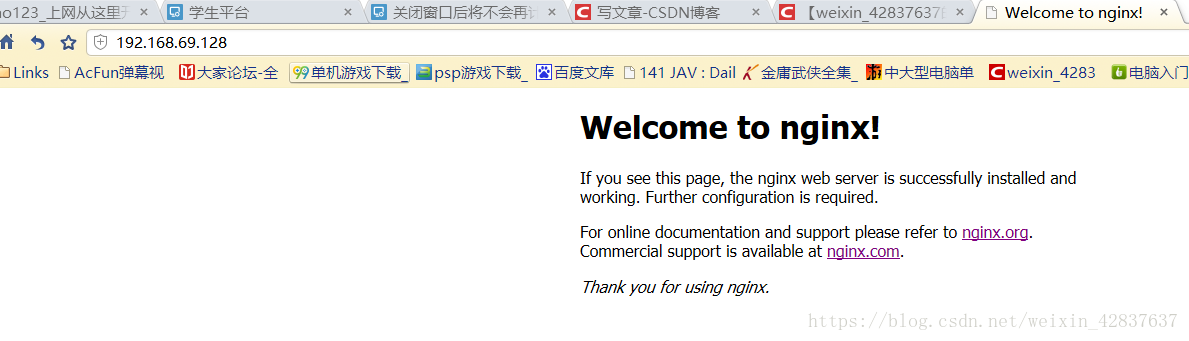
访问成功
3、用户认证
3.1在nginx主机上安装软件
[root@localhost ~]# yum provides *bin/htpasswd
[root@localhost ~]# yum -y install httpd-tools
[root@localhost ~]# htpasswd -c -m /usr/local/nginx/.qinyong qinyong                 \\设置路径+文件名+用户名
New password:                                                                                                 \\设置密码
Re-type new password:                                                                                      \\输第二次密码
Adding password for user qinyong
[root@localhost ~]# vim  /usr/local/nginx/conf/nginx.conf
        location / {
            root   html;
            index  index.html index.htm;
            auth_basic "welcome qinyong";                      \\添加访问信息
            auth_basic_user_file "/usr/local/nginx/.qinyong"        \\;添加访问用户信息
        }
nginx: the configuration file /usr/local/nginx/conf/nginx.conf syntax is ok
nginx: configuration file /usr/local/nginx/conf/nginx.conf test is successful
[root@localhost ~]# nginx -s reload
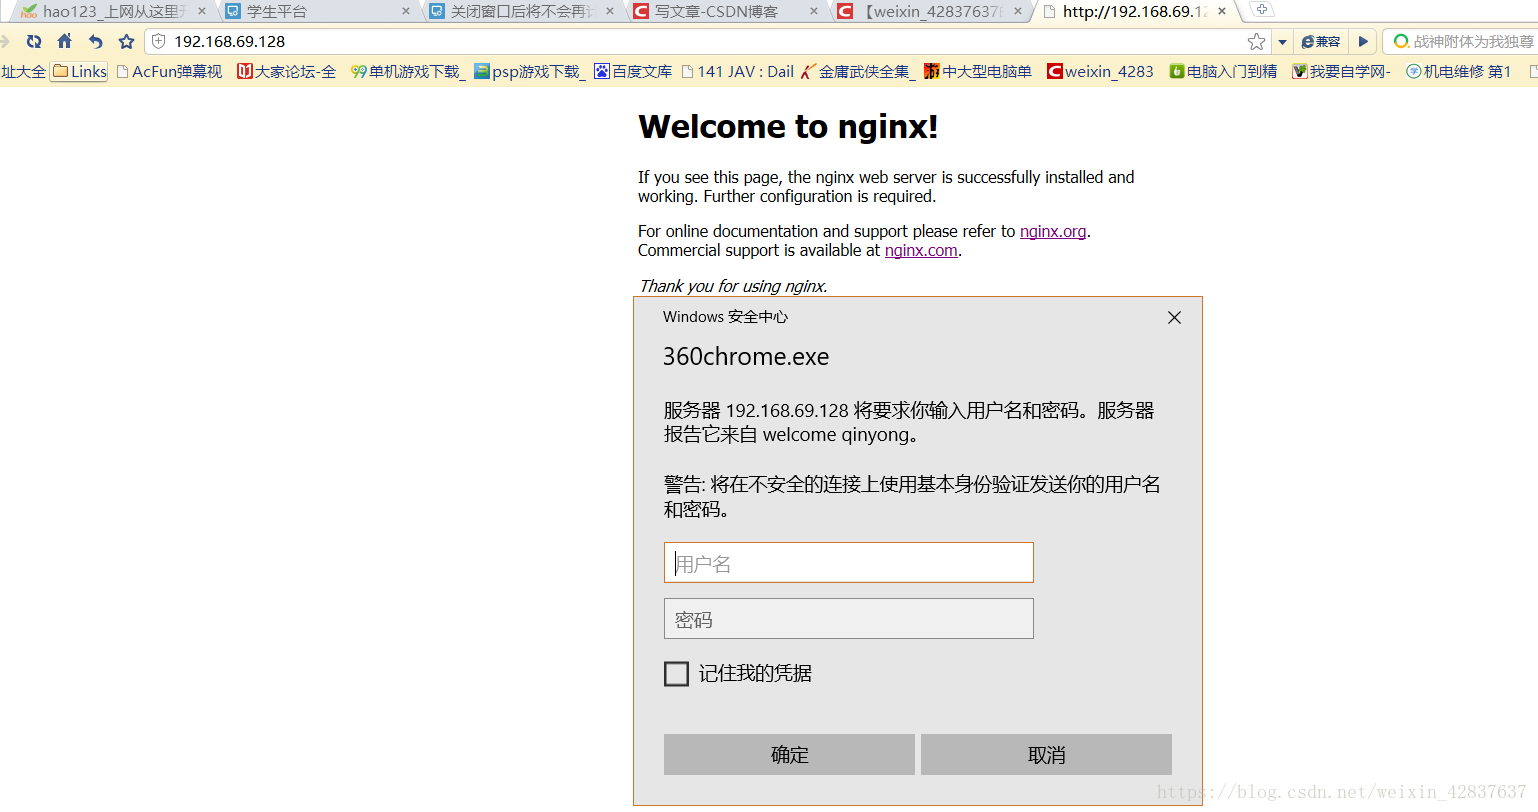
3.2进行验证
访问验证成功
4、ssl
[root@localhost CA]# (umask 077;openssl genrsa -out private/cakey.pem 2048)
Generating RSA private key, 2048 bit long modulus
............................................+++
..............................+++
e is 65537 (0x10001)
[root@localhost CA]# ls private/
cakey.pem
[root@localhost CA]# openssl rsa -in private/cakey.pem -pubout                                    \\一、.生成公钥
writing RSA key
-----BEGIN PUBLIC KEY-----
MIIBIjANBgkqhkiG9w0BAQEFAAOCAQ8AMIIBCgKCAQEA03Ed30BAIem08KriMLsu
eDslj/f+6MaWUiqPXEogLkpM1ZRthRaWs75ft5hJtd6kJDKgKDkv/U92uD+7pNxf
VVr5UP4Qpi4jmmig0xHgf7XmyEmGV3+O9una3zLlW3JBDx5HvCoG8ShhNQTsCn6O
m9kJy7RChsiXZe+bWu4KL/AOZlL+NLYuPg2Ivjfa8iIPqJo0q2FiXh6g57a7aJ3+
ZrVoSOPU/r3B8hvgCuGH6nYx2zezsHe27eIBwpKNH6EUJt5wA0exW64Yj0jESvBV
cj/dKCxYM5ES+0h4TesJzZ64Oh1XTlYPmbgj8QgKndBpVN/whdGIxxnQoJBLnqoS
2QIDAQAB
-----END PUBLIC KEY-----
[root@localhost CA]# openssl req -new -x509 -key private/cakey.pem -out cacert.pem -days 7   二. 设置信息资料
You are about to be asked to enter information that will be incorporated
into your certificate request.
What you are about to enter is what is called a Distinguished Name or a DN.
There are quite a few fields but you can leave some blank
For some fields there will be a default value,
If you enter '.', the field will be left blank.
-----
Country Name (2 letter code) [XX]:CN                                                     \\写国家
State or Province Name (full name) []:HHB                                           \\写省份
Locality Name (eg, city) [Default City]:WH                                                \\写城市
Organization Name (eg, company) [Default Company Ltd]:WWW.RUNTIME.COM   \\写公司
Organizational Unit Name (eg, section) []:www.runtime.com                                          \\写公司
Common Name (eg, your name or your server's hostname) []:www.runtime.com             \\写公司
Email Address []:[email protected]                                                   \\写邮箱
[root@localhost CA]# openssl x509 -text -in cacert.pem                      \\读取整数内容
[root@localhost CA]# touch index.txt && echo 01 > serial                  \\三、生成自我签署文件
[root@localhost CA]# ls
cacert.pem  certs  crl  index.txt  newcerts  private  serial
[root@localhost ssl]# (umask 077;openssl genrsa -out nginx.key 2048)           \\生成服务需要的密匙(例如:nginx)
Generating RSA private key, 2048 bit long modulus
..........................................................................+++
........................................................................................................................................+++
e is 65537 (0x10001)

[root@localhost ssl]# openssl req -new -key nginx.key -days 365 -out nginx.csr
You are about to be asked to enter information that will be incorporated
into your certificate request.
What you are about to enter is what is called a Distinguished Name or a DN.
There are quite a few fields but you can leave some blank
For some fields there will be a default value,
If you enter '.', the field will be left blank.
-----
Country Name (2 letter code) [XX]:CN                                                \\三、输入上面生成的公钥信息
State or Province Name (full name) []:HB
Locality Name (eg, city) [Default City]:WU^HWH
Organization Name (eg, company) [Default Company Ltd]:WWW.RUNTIME.COM
Organizational Unit Name (eg, section) []:www.runtime.com
Common Name (eg, your name or your server's hostname) []:www.runtime.com
Email Address []:[email protected]

Please enter the following 'extra' attributes
to be sent with your certificate request
A challenge password []:
An optional company name []:runtime
[root@localhost ssl]# openssl ca -in nginx.csr -out nginx.crt -days 7                 \\四、签署公钥协议
[root@localhost ssl]# scp nginx.crt [email protected]:/etc/nginx/ssl             \\五、发送密钥给客户端
[root@localhost ssl]# vim ../conf/nginx.con                                            \\六、开启nginx允许访问
    server {
        listen       443 ssl;
        server_name  www.runtime.com;                                             \\修改域名

        ssl_certificate      ssl/nginx.crt;                                      \\可以相对路径也可以绝对路径信息配置地址
        ssl_certificate_key  ssl/nginx.key;                                   \\可以相对路径也可以绝对路径密钥地址

        ssl_session_cache    shared:SSL:1m;
        ssl_session_timeout  5m;

        ssl_ciphers  HIGH:!aNULL:!MD5;
        ssl_prefer_server_ciphers  on;

        location / {
            root   html;
            index  index.html index.htm;
        }
    }
5、开启状态界面
[root@localhost ~]# vim /usr/local/nginx/conf/nginx.conf
        location / {
            root   html;
            index  index.html index.htm;
        }
        location /status {                                                              \\ 添加状态查看
            stub_status on;                                                          \\开启查看状态
        }
[root@localhost nginx]# nginx -t
nginx: [emerg] unexpected end of file, expecting "}" in /usr/local/nginx/conf/nginx.conf:119
nginx: configuration file /usr/local/nginx/conf/nginx.conf test faile
[root@localhost nginx]# nginx -s reload
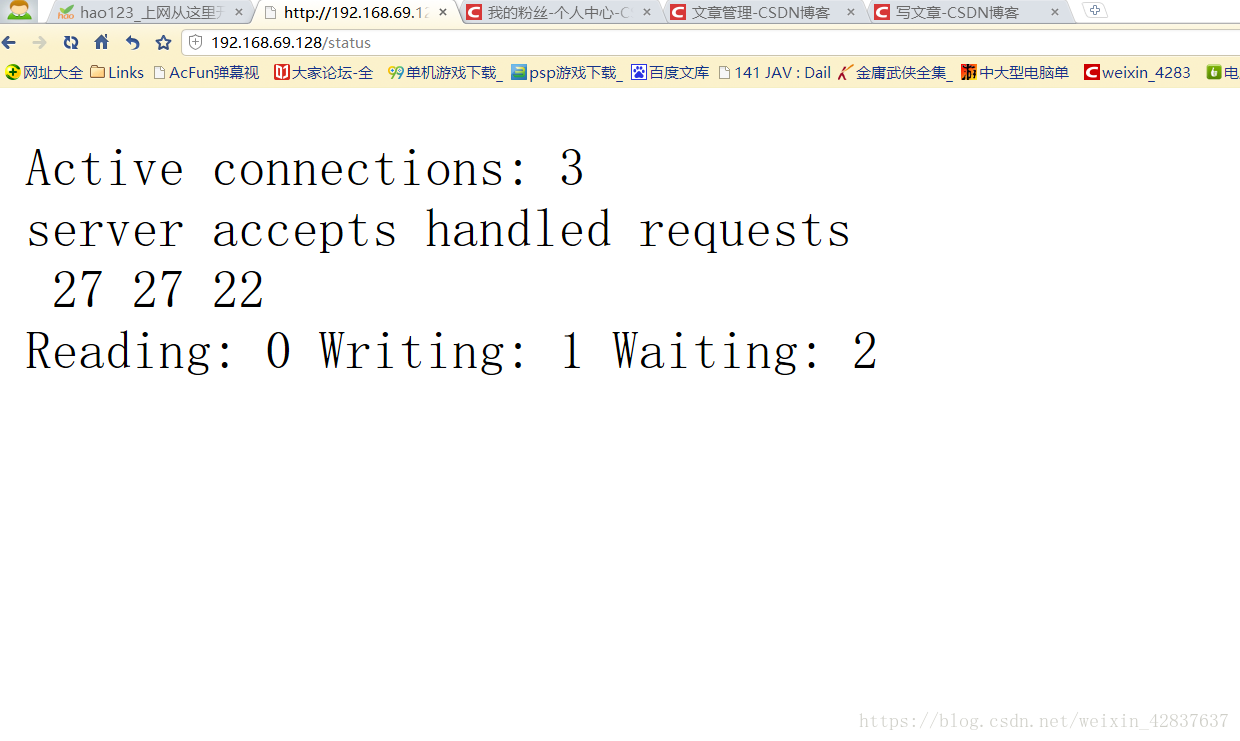
5.1进行验证
6、rewrite
6.1路径设置
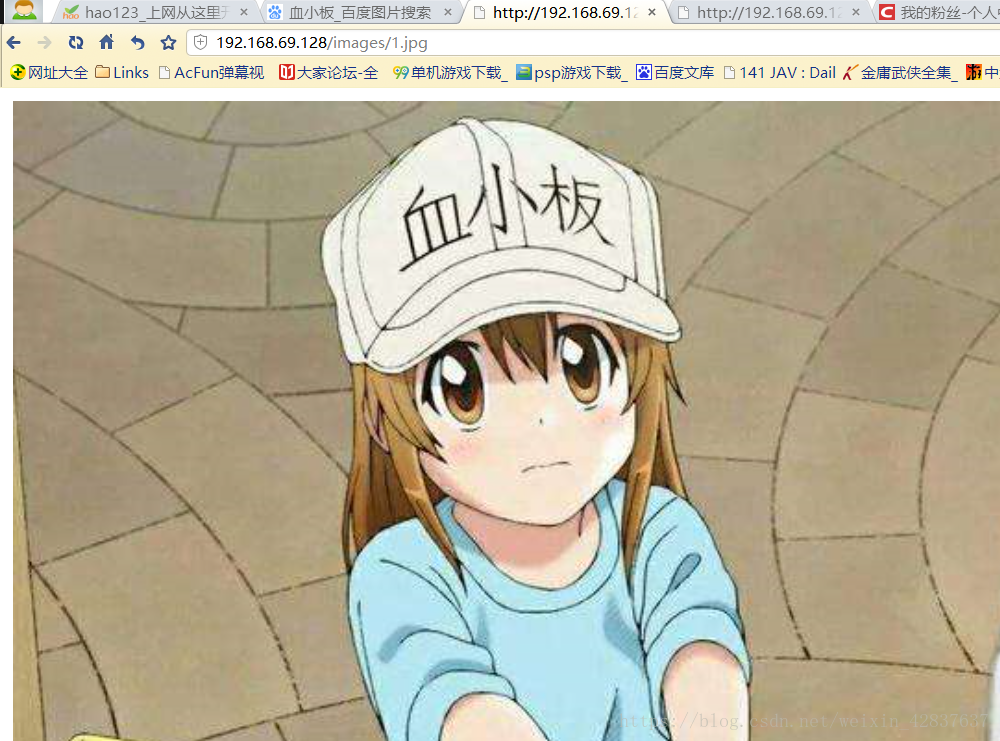
[root@localhost ~]# mkdir /usr/local/nginx/html/images/         \\创建路径文件夹
[root@localhost ~]# cd /usr/local/nginx/html/images/
[root@localhost  images]#ls
1.jpg                                                                 \\放入一张图片
6.2验证结果
在浏览器输入路径例如:192.168.69.128/images/1jpg
验证成功
确认虚拟机和本电脑通讯正常然后实验
如果无法显示请检查防火墙和setLinux是否关闭
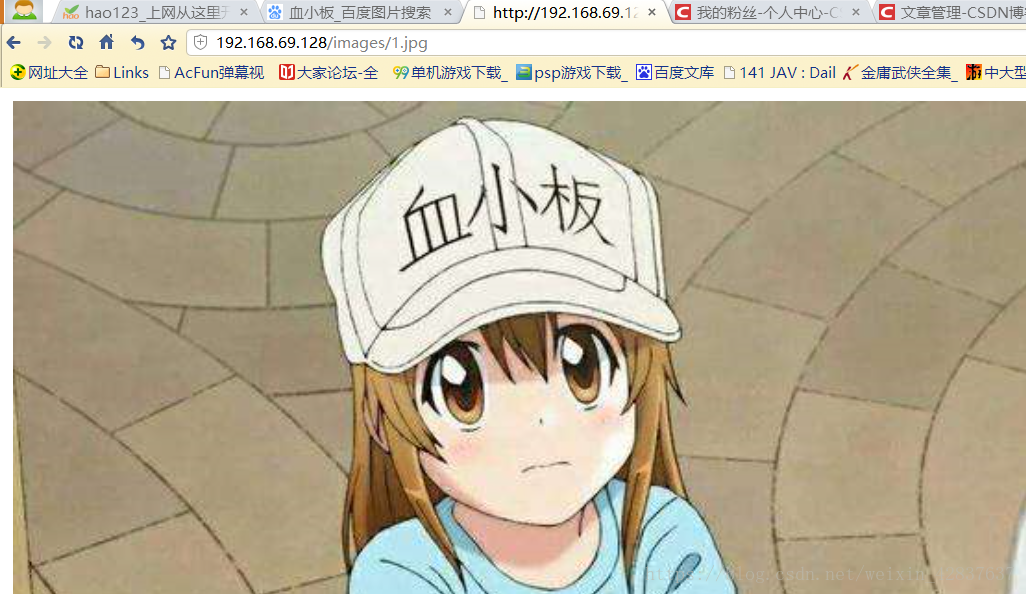
6.3 文件配置
主要为了验证按照原路径地址路径,是否可以转到其他目录地址下查找网址
[root@localhost ~]# cd /usr/local/nginx/html/
[root@localhost html]# ls
50x.html  images  index.html
[root@localhost html]# mv images momoda
-- 插入 --                                                                                   48,55         55%
        location / {
            root   html;
            index  index.html index.htm;
        }
        location /images {
          rewrite ^/images/(.*\.jpg)$ /momoda/$1 break;                           \\添加路径
        }
[root@localhost html]# nginx -s reload
6.4验证结果
成功查找到修改的路径内容并且保持原地址不变
6.5配置说明
last代表搜寻下一个
break代表搜寻终止
我们在修改配置的时候
举例:
[root@localhost ~]# vim /usr/local/nginx/conf/nginx.conf
          rewrite ^/images/(.*\.jpg)$ /momoda/$1 last;                        \\添加路径
          http://192.168.69.128/imges/1.jpg                                      \\原地址不用添加
          rewrite ^/imges/(.*\.jpg)$ http:www.baidu.com  break;                     \\最后ip地址路径
  [root@localhost html]# nginx -s reload                                               重启
7、反向代理和负载均衡
1.在[192.168.69.128web1]nginx下
[root@localhost ~]# cd /usr/share/nginx/html/
[root@localhost html]# echo 'web1' > index.htm
[root@localhost html]# yum -y install vim nginx
[root@localhost html]# nginx
[root@localhost html]# ss -antl
State       Recv-Q Send-Q                                                           Local Address:Port                                                                          Peer Address:Port
LISTEN      0      128                                                                          *:80                                                                                       *:*
LISTEN      0      128                                                                          *:22                                                                                       *:*
LISTEN      0      100                                                                  127.0.0.1:25                                                                                       *:*
LISTEN      0      128                                                                         :::22                                                                                      :::*
LISTEN      0      100                                                                        ::1:25                                                                                      :::*
2.在[192.168.69.134web1]httpd下
[root@localhost html]# vim /etc/httpd/conf/httpd.conf
ServerName www.example.com:80       \\取消掉前面#注释
[root@localhost html]# cd /var/www/html/
[root@localhost html]# echo 'web2' > index.html
[root@localhost html]# systemctl start httpd
3.在[192.168.69.130]nginx下
编译安装nginx前面文章有介绍
[root@localhost html]# vim /etc/nginx/nginx.conf
    upstream webservers {                                      \\添加项
       server 192.168.69.128:80;                           \\ 添加服务器以及端口 ,可添加weigtht=?
       server 192.168.69.134:80;                            \\添加服务器以及端口
    }                                                                         \\请注意以上八项必须添加在server前面
          location / {                                      \\去掉注释
            proxy_pass http:webservers;                         \\添加项
        }                                                                           \\去掉注释
3.1 集群管理配置注意事项(可选设置以下为知识拓展项)
1.集群在配置时候要放在一起
[root@localhost html]# vim /etc/nginx/nginx.conf
例如web服务器在一起  upstream webservers {
                           server 192.168.69.128:80;
                           server 192.168.69.134:80;
                         }
例如apachec服务器在一起  upstream application {
                           server 192.168.69.129:80;   weight=1
                           server 192.168.69.132:80;    weight=2
                         }
2.设置为轮询模式
例如web服务器在一起 upstream webservers {
ip_hash \增加这个选项
server 192.168.69.128:80; \web1
server 192.168.69.134:80; \web2
}
3.浏览器分离案例
 if ($http_user_agent ~ Firefox) {                         \\火狐浏览器
rewrite ^(.*)$ /firefox/$1 break;
}
if ($http_user_agent ~ MSIE) {                             \\IE浏览器
rewrite ^(.*)$ /msie/$1 break;
}
if ($http_user_agent ~ Chrome) {                           \\谷歌浏览器
rewrite ^(.*)$ /chrome/$1 break;
}
4.防盗链接案例
location ~* \.(jpg|gif|jpeg|png)$ {
  valid_referer none clocked www.baidu.com;                     \\锁定网址
  if ($invalid_referer) {
  rewrite ^/ http://www.baidu.com/403.html;                          \\未进入报错403
  }
}