版权声明:本博文仅供学习、参考、技术讨论,版权归笔者/译者所有。 https://blog.csdn.net/qq_38025219/article/details/87165219
前言:
对于系统业务实现,经常需要连接多个数据库的情况,一般项目只配置了一个数据库,现通过查询资料探究项目同时连接多个数据库,在需要的时候进行灵活切换。
操作步骤:
1、db.properties文件配置修改(本次测试连接两个数据源)
ds1.jdbc.driver=com.mysql.jdbc.Driver
ds1.jdbc.url=jdbc\:mysql\://10.128.XX.XX\:3306/fdc?useUnicode\=true&characterEncoding\=utf-8
jdbc.username=Ov4j7fKiCzY=
jdbc.password=IL4H6kEmHOOAyXoBoTkTRQ==

ds2.jdbc.driver=com.mysql.jdbc.Driver
ds2.jdbc.url=jdbc\:mysql\://10.128.XX.XX\:3306/xemc-data?useUnicode\=true&characterEncoding\=utf-8
2、applicationContext.xml文件配置
<?xml version="1.0" encoding="UTF-8"?>
<beans xmlns="http://www.springframework.org/schema/beans"
	xmlns:context="http://www.springframework.org/schema/context"
	xmlns:p="http://www.springframework.org/schema/p"
	xmlns:aop="http://www.springframework.org/schema/aop"
	xmlns:tx="http://www.springframework.org/schema/tx"
	xmlns:xsi="http://www.w3.org/2001/XMLSchema-instance"
	xmlns:cache="http://www.springframework.org/schema/cache"
	xsi:schemaLocation="http://www.springframework.org/schema/beans
	http://www.springframework.org/schema/beans/spring-beans-4.0.xsd
	http://www.springframework.org/schema/context
	http://www.springframework.org/schema/context/spring-context-4.0.xsd
	http://www.springframework.org/schema/aop
	http://www.springframework.org/schema/aop/spring-aop-4.0.xsd
	http://www.springframework.org/schema/tx
	http://www.springframework.org/schema/tx/spring-tx-4.0.xsd
	http://www.springframework.org/schema/util
	http://www.springframework.org/schema/util/spring-util-4.0.xsd
	http://www.springframework.org/schema/cache
	http://www.springframework.org/schema/cache/spring-cache-3.2.xsd"
	>
	<!-- 扫描 service -->
   	<context:component-scan base-package="XXX.XXX"
		annotation-config="true">
		<context:exclude-filter type="annotation"
			expression="org.springframework.stereotype.Controller" />
	</context:component-scan>

	<!-- 读取数据库配置文件 -->
	<bean class="XXXX" p:location="classpath:/db.properties"></bean>

	<!-- 数据库连接池   XXX.DynamicDataSource为第三步编写的类路径 -->
	<bean id="dynamicDataSource"  class="XXX.DynamicDataSource">
	    <property name="targetDataSources">
	       <map key-type="java.lang.String">
	       <!-- 指定lookupKey和与之对应的数据源 -->
	           <entry key="ds1" value-ref="ds1"></entry>
	           <entry key="ds2" value-ref="ds2"></entry>
	       </map>
	    </property>
	    <!-- 这里可以指定默认的数据源 -->
	    <property name="defaultTargetDataSource" ref="ds1" />
	</bean>


	<bean id="ds1" class="org.apache.commons.dbcp.BasicDataSource"
		destroy-method="close">
		<property name="driverClassName" value="${ds1.jdbc.driver}" />
		<property name="url" value="${ds1.jdbc.url}" />
		<property name="username" value="${jdbc.username}" />
		<property name="password" value="${jdbc.password}" />
		<property name="maxActive" value="10" />
		<property name="maxIdle" value="5" />
	</bean>
	<bean id="ds2" class="org.apache.commons.dbcp.BasicDataSource"
		destroy-method="close">
		<property name="driverClassName" value="${ds2.jdbc.driver}" />
		<property name="url" value="${ds2.jdbc.url}" />
		<property name="username" value="${jdbc.username}" />
		<property name="password" value="${jdbc.password}" />
		<property name="maxActive" value="10" />
		<property name="maxIdle" value="5" />
	</bean>

	<!-- Mybatis的工厂 -->
	<bean id="sqlSessionFactoryBean" class="org.mybatis.spring.SqlSessionFactoryBean">
		<property name="dataSource" ref="dynamicDataSource"/>
		<!-- 核心配置文件的位置 -->
		<property name="configLocation" value="classpath:sqlMapConfig.xml"/>
	</bean>

	<!-- Mapper动态代理开发   扫描 -->
	<bean class="org.mybatis.spring.mapper.MapperScannerConfigurer">
		<!-- 基本包 -->
		<property name="basePackage" value="com.scada.springmvc.dao"/>
	</bean>

	<!-- 注解事务 -->
    <bean id="transactionManager" class="org.springframework.jdbc.datasource.DataSourceTransactionManager">
	  <!-- 配置为dynamicDataSource -->
	  <property name="dataSource" ref="dynamicDataSource"/>
	</bean>
	<!-- 开启注解 -->
	<tx:annotation-driven transaction-manager="transactionManager"/>

	<!-- 缓存配置 -->
	<!-- 启用缓存注解功能(请将其配置在Spring主配置文件中) -->
	<cache:annotation-driven cache-manager="cacheManager" />

	<!-- Spring自己的基于java.util.concurrent.ConcurrentHashMap实现的缓存管理器(该功能是从Spring3.1开始提供的) -->
	<!-- <bean id="cacheManager" class="org.springframework.cache.support.SimpleCacheManager">
		<property name="caches"> <set> <bean name="myCache" class="org.springframework.cache.concurrent.ConcurrentMapCacheFactoryBean"/>
		</set> </property> </bean> -->

	<!-- 若只想使用Spring自身提供的缓存器,则注释掉下面的两个关于Ehcache配置的bean,并启用上面的SimpleCacheManager即可 -->
	<!-- Spring提供的基于的Ehcache实现的缓存管理器 -->
	<bean id="cacheManagerFactory"
		class="org.springframework.cache.ehcache.EhCacheManagerFactoryBean">
		<property name="configLocation" value="classpath:ehcache.xml" />
	</bean>
	<bean id="cacheManager" class="org.springframework.cache.ehcache.EhCacheCacheManager">
		<property name="cacheManager" ref="cacheManagerFactory" />
	</bean>

</beans>
3、获取当前使用的数据源
package xxx;

import org.springframework.jdbc.datasource.lookup.AbstractRoutingDataSource;
/**
 * Created by Robin on 2019-02-13.
 */
    public class DynamicDataSource extends AbstractRoutingDataSource {
    /**
     * 取得当前使用那个数据源。
     */ @Override protected Object determineCurrentLookupKey() {
    	 return DbContextHolder.getDbType();
    	 }
     }
4、切换数据源的工具类
package xxx;
/**
 * Created by Robin on 2019-02-13.
 */
public class DbContextHolder
{
	private static final ThreadLocal<String> contextHolder = new ThreadLocal<String>();
	/**
     * 设置当前数据库。
     * @param dbType
     */
     public static void setDbType(String dbType) {
    	 contextHolder.set(dbType);
    	 }
     /**
     * 取得当前数据源。
     * @return
     */
     public static String getDbType() {
    	 String str = (String) contextHolder.get();
    	 return str;
    	 }
     /**
     * 清除上下文数据
     */
     public static void clearDbType() {
    	 contextHolder.remove();
     }

}
5、在控制层进行业务调用
        //数据源切换
		DbContextHolder.setDbType("ds2");
		UserInfo userinfo = userLoginService.login(user);
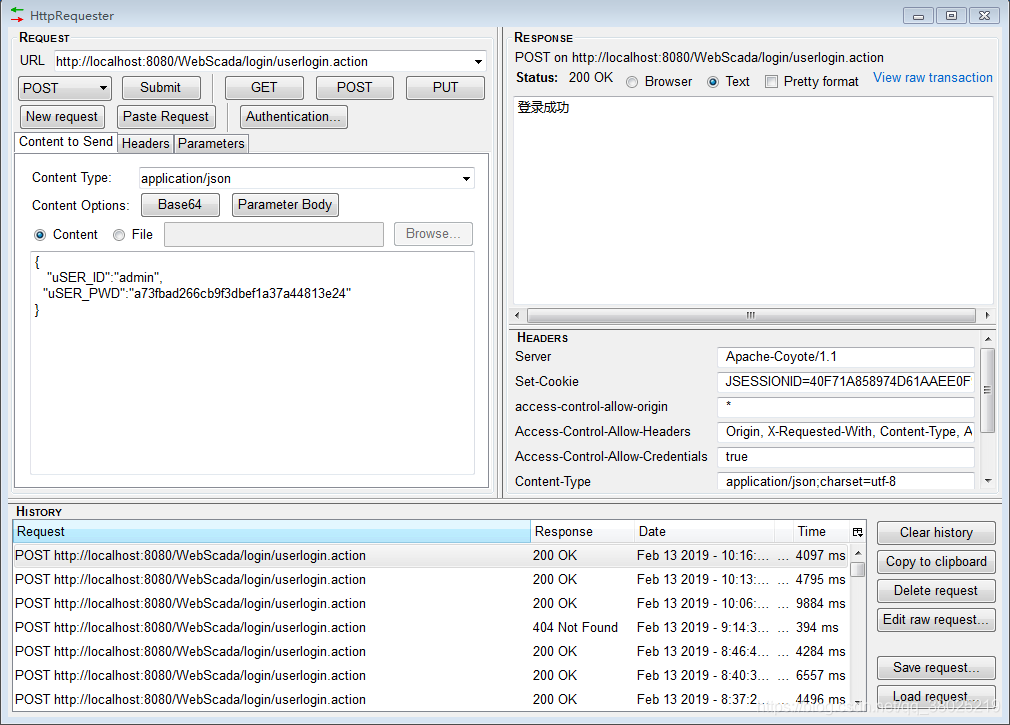
结果:
登录成功