如图,要设置类似这样的格式
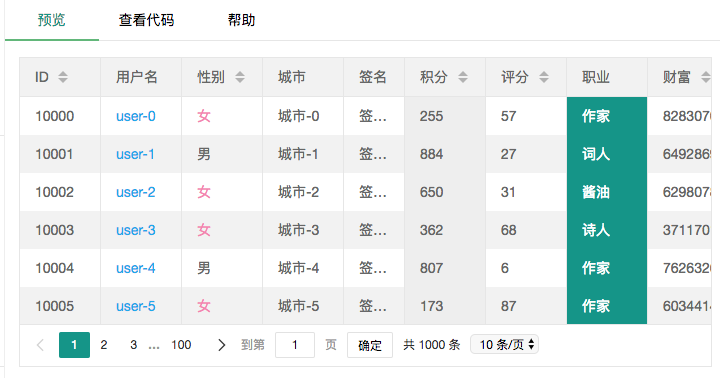
步骤如下:
1. 设置一个列表表格

2. 获取数据
table.render({
                            elem: '#pl-list'
                            ,id: 'pl_table'
                            ,height: 480
                            ,title: 'sku列表'
                            ,url: host + '/product/sku/listForProduct?page=1' //数据接口
                            ,where: _self.formData
                            ,parseData: function(res) {
                                return {
                                    "code": res.code,
                                    "msg": res.message,
                                    "count": res.data.total,
                                    "data": res.data.product_sku_list
                                }
                            }
                            ,cols: [[ //表头
                                {type:'checkbox'}
                                ,{field: 'id', title: 'ID', width: 90}
                                ,{field: 'product_id', hide: 'true'}
                                ,{field: 'name', title: '商品名称', width:120}
                                ,{field: 'brand', title: '品牌', width:80}
                                ,{field: 'category_name', title: '类目', width: 120}
                                ,{title: '图片', width:120, templet: function(d) {
                                        return `<img src=${d.image_path} />`
                                    }}
                                ,{field: 'marking_price', title: '划线价', width: 120}
                                ,{field: 'stock', title: '库存', width: 120}
                                ,{field: 'code', title: '商品编码', width: 120}
                                ,{field: 'service_type', title: '业务类型', width: 120}
                                ,{field: 'status', title: '上架状态', width: 120}
                                ,{field: 'created_at', title: '创建时间', width: 135}
                                ,{title: '操作', width: 135,  toolbar: '#barDemo', fixed: 'right'}
                            ]]
                            ,page: true //开启分页
3. 定义barDemo
        <script type="text/html" id="barDemo">
            <a class="layui-btn layui-btn-xs" lay-event="edit" >编辑</a>
            {{#  if(d.status === '下架'){ }}
            <a class="layui-btn layui-btn-danger layui-btn-xs" lay-event="del">上架</a>
            {{#  } else { }}
            <a class="layui-btn layui-btn-danger layui-btn-xs" lay-event="del">下架</a>
            {{#  } }}
        </script>
4. 大致细节就是如此,详细内容还是请查看官方文档