本章要学习的内容是,将用户输入的内容存储在数据库中,并且将数据库中的内容在网页上显示。
连接数据库
从原生支持轻量级的sqlite3数据库开始学习。在/mysite/mysite/settings.py文件中注册app,然后数据库才知道该给哪个APP创建表。
# Application definition

INSTALLED_APPS = [
    'django.contrib.admin',
    'django.contrib.auth',
    'django.contrib.contenttypes',
    'django.contrib.sessions',
    'django.contrib.messages',
    'django.contrib.staticfiles',
    'login'  #数据库使用第一步,注册APP
]
在/mysite/mysite/settings.py文件中配置数据库相关参数,这里使用默认的就行。
# Database
# https://docs.djangoproject.com/en/2.1/ref/settings/#databases

DATABASES = {
    'default': {
        'ENGINE': 'django.db.backends.sqlite3',
        'NAME': os.path.join(BASE_DIR, 'db.sqlite3'),
    }
}
编辑/mysite/login/models.py文件,用来创建数据库表单,表单名字为类名,共有2个字段,都是最大长度为32的字符型数据。
from django.db import models

# Create your models here.


class UserInfo(models.Model):
    user = models.CharField(max_length=32)
    pwd = models.CharField(max_length=32)
在Terminal中通过命令创建数据库表单
(venv) tracydeMacBook-Air:mysite tracy$ python manage.py makemigrations
Migrations for 'login':
  login/migrations/0001_initial.py
    - Create model UserInfo
(venv) tracydeMacBook-Air:mysite tracy$
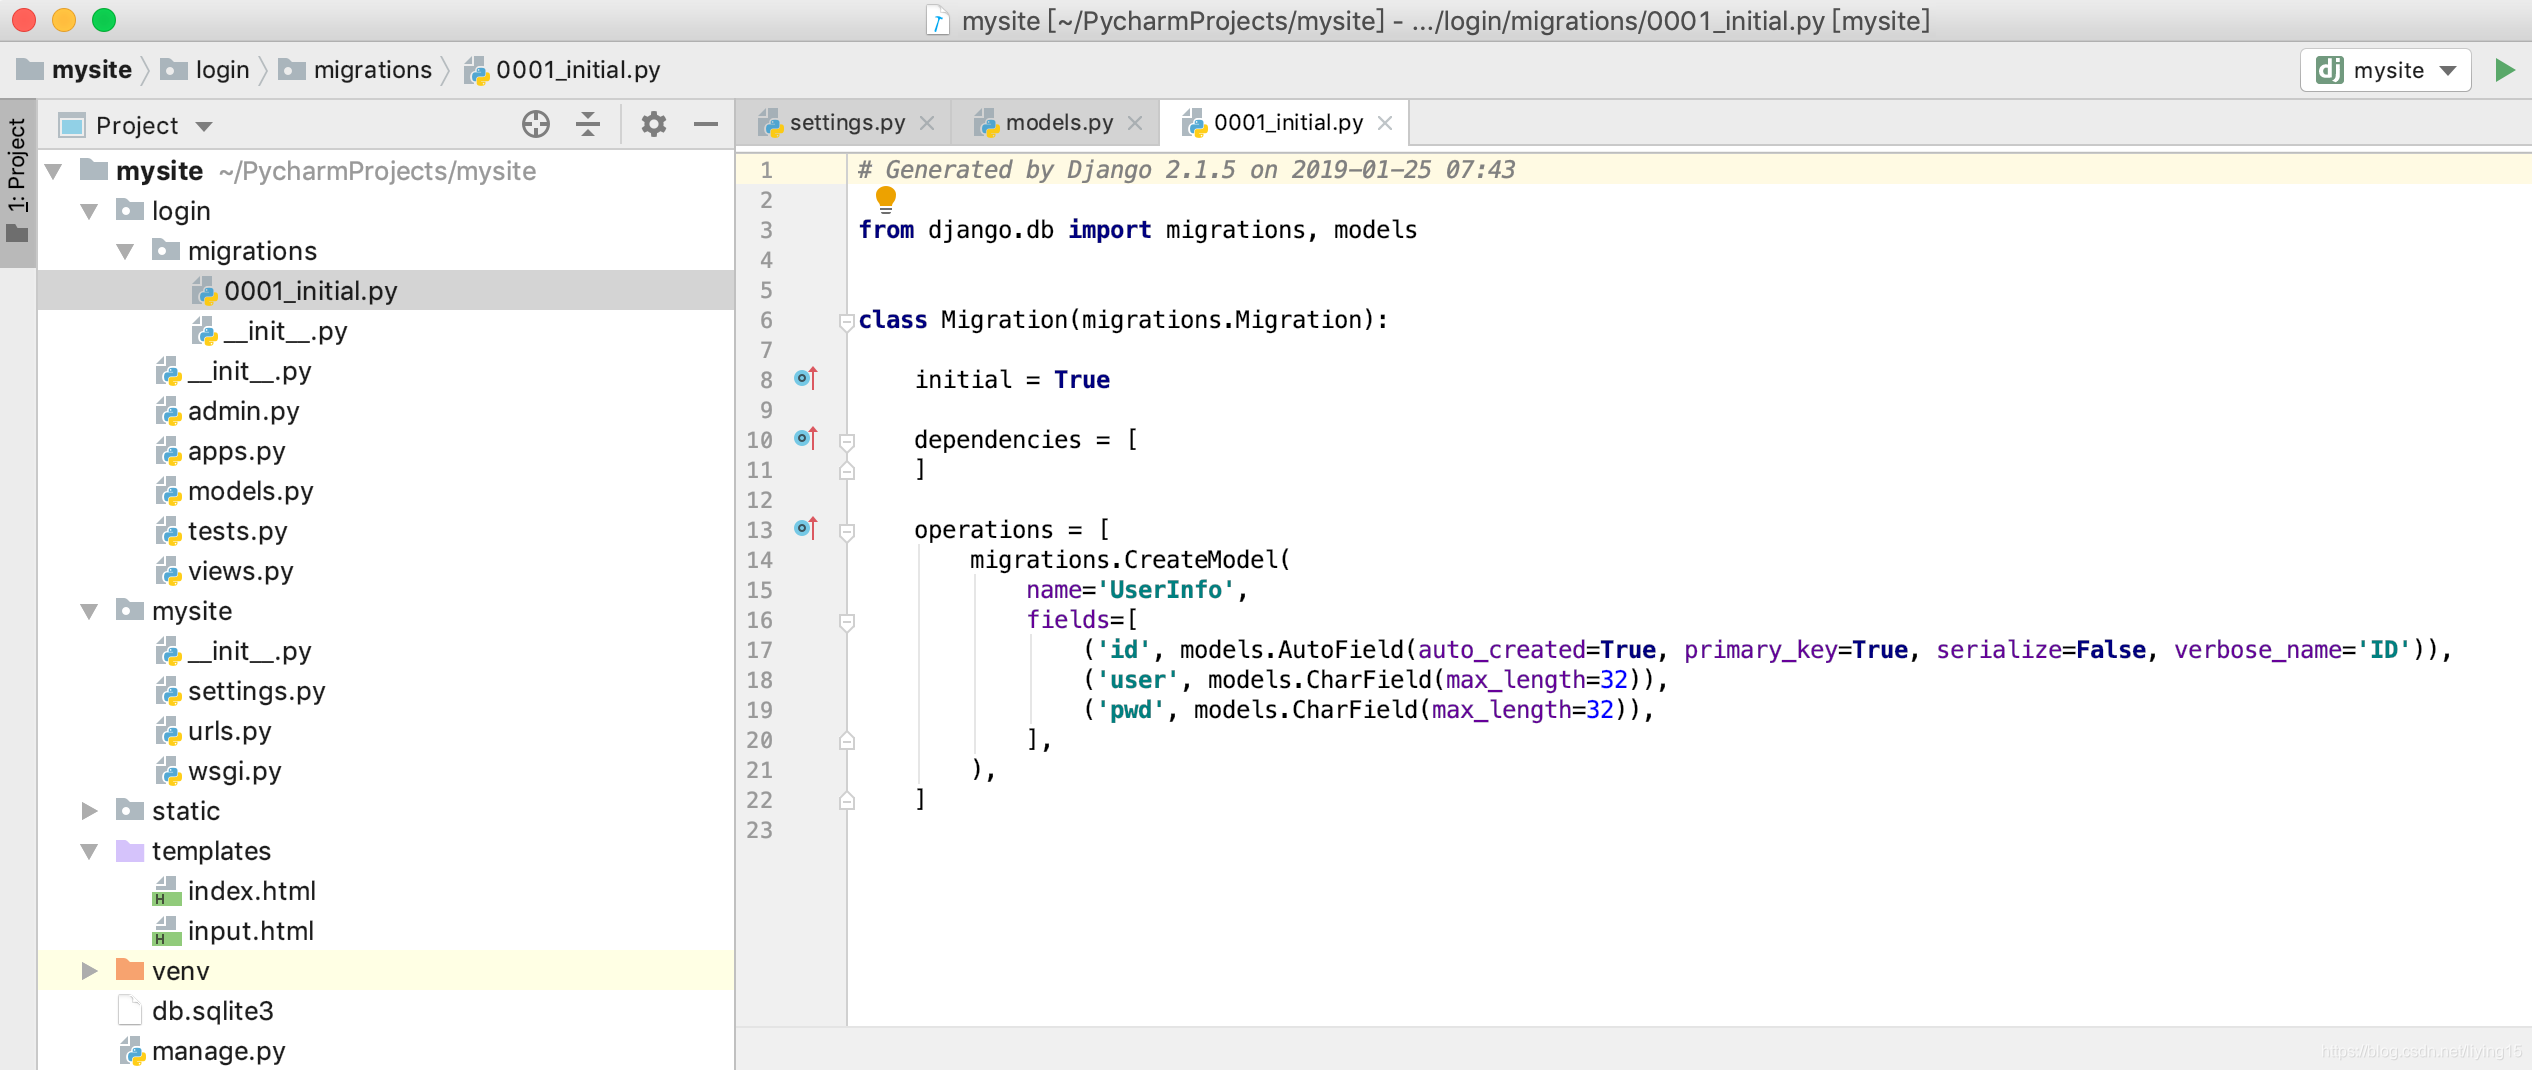
执行完命令以后,自动生成迁移记录文件/mysite/login/migrations/0001_initial.py
继续执行命令,生成数据库文件
(venv) tracydeMacBook-Air:mysite tracy$ python manage.py migrate
Operations to perform:
  Apply all migrations: admin, auth, contenttypes, login, sessions
Running migrations:
  Applying contenttypes.0001_initial... OK
  Applying auth.0001_initial... OK
  Applying admin.0001_initial... OK
  Applying admin.0002_logentry_remove_auto_add... OK
  Applying admin.0003_logentry_add_action_flag_choices... OK
  Applying contenttypes.0002_remove_content_type_name... OK
  Applying auth.0002_alter_permission_name_max_length... OK
  Applying auth.0003_alter_user_email_max_length... OK
  Applying auth.0004_alter_user_username_opts... OK
  Applying auth.0005_alter_user_last_login_null... OK
  Applying auth.0006_require_contenttypes_0002... OK
  Applying auth.0007_alter_validators_add_error_messages... OK
  Applying auth.0008_alter_user_username_max_length... OK
  Applying auth.0009_alter_user_last_name_max_length... OK
  Applying login.0001_initial... OK
  Applying sessions.0001_initial... OK
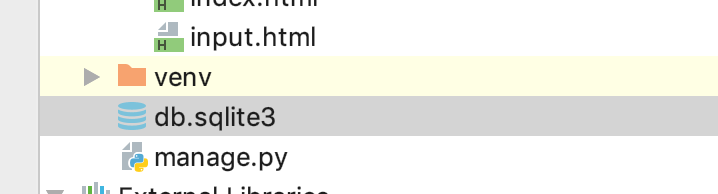
项目目录下出现数据库文件db.sqlite3
在网页显示数据库中的内容
修改/mysite/login/views.py文件内容
from django.shortcuts import render
from login import models  #导入models文件


user_list = [] #创建一个空列表,用来存放数据库中取出来的数据


def input(request):

    if request.method == 'POST':
        print('This is a post request')
        username = request.POST.get('username')
        password = request.POST.get('password')
        print(username, password)
        #将用户输入数据存到数据库中
        models.UserInfo.objects.create(user=username, pwd=password)

    #从数据库读取数据
    user_list = models.UserInfo.objects.all()

    return render(request,'input.html', {'data',user_list})
修改/mysite/templates/input.html页面内容:
<!DOCTYPE html>
<html lang="en">
<head>
    <meta charset="UTF-8">
    <title>用户管理</title>
</head>
<body>
    <h1>用户输入</h1>
    <form action="/input", method="post"> <!--action是html文件名字 -->
        {% csrf_token %}   <!--django有跨站请求保护机制要求必须添加此行 -->
        用户名:<input type="text" name="username"/><br/>
        密码:<input type="password" name="password"/><br/>
        <input type="submit" value="提交">
    </form>
    <h1>用户展示:</h1>
        <table border="1">
            <thead>
                <tr>用户名</tr>
                <tr>密码</tr>
            </thead>
            <tbody>
                {% for item in data %}
                <tr>
                    <td>{{ item.user }}</td>
                    <td>{{ item.pwd }}</td>
                </tr>
                {% endfor %}
            </tbody>
        </table>

</body>
</html>
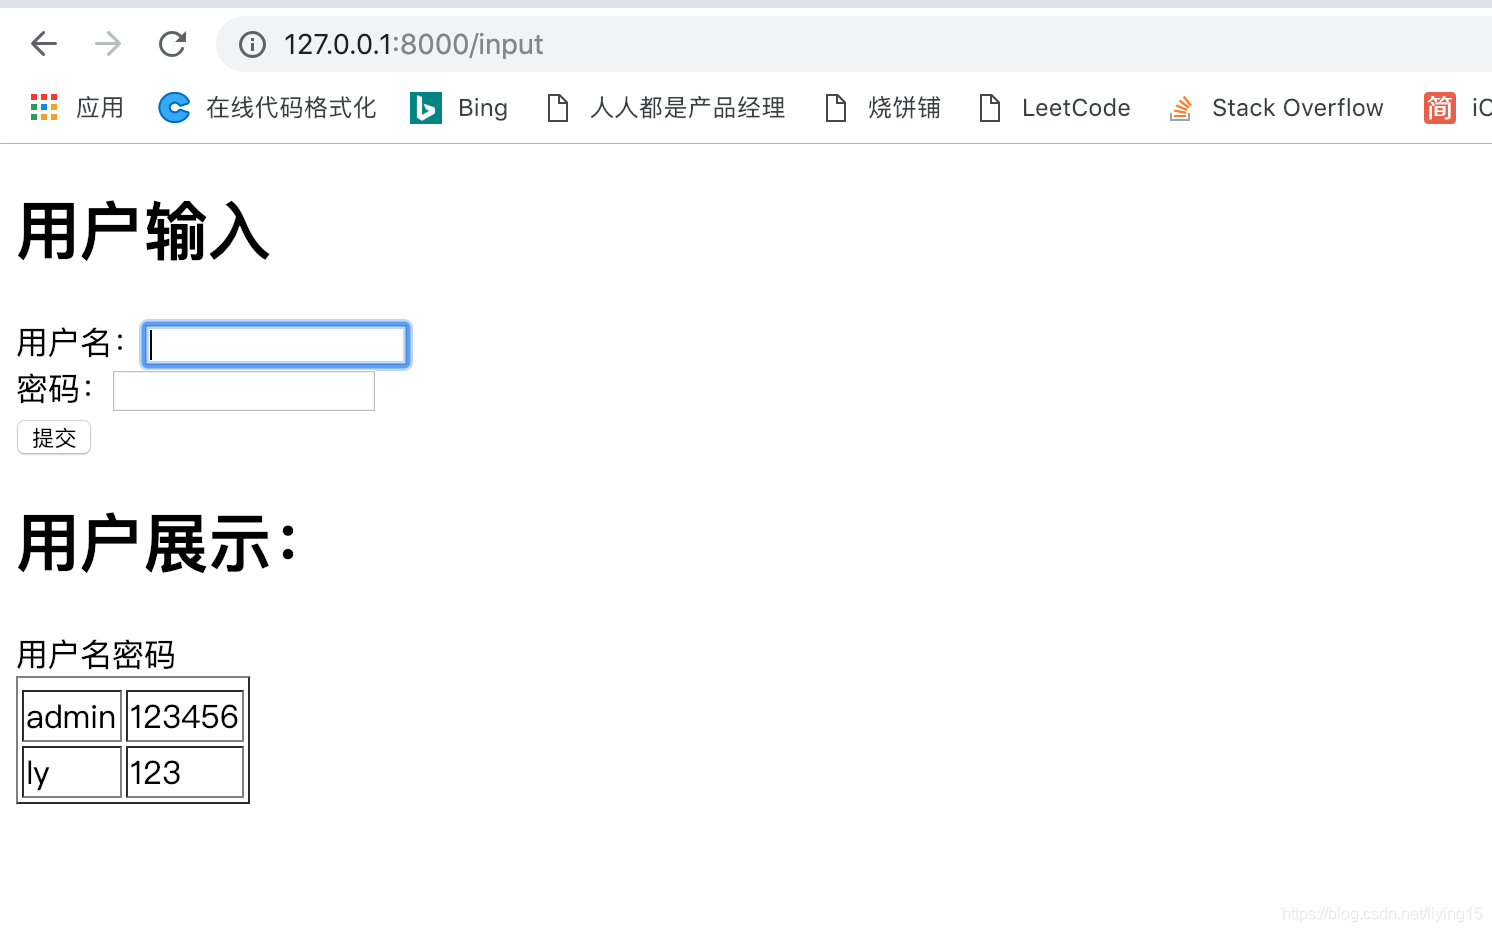
运行结果
在网页上输入用户名和密码后页面自动重新加载,将历史输入内容显示出来
参考资料:
http://www.liujiangblog.com/blog/36/