---恢复内容开始---
上次装Oracle出的问题真是太多太多了,MySQL会简单许多,这次就来分析下MySQL在Linux上的安装与初始化。同样系统是centos7.x
MySQL的安装方式很多。我主要用了2种方式:源码包方式(安装内容模块可以自定义,稳定性高,但是比较费时间)二进制包安装方式(比较方便,初始化安装后就可以用)
一、二进制包方式
1、登录MySQL官网:https://www.mysql.com/downloads/
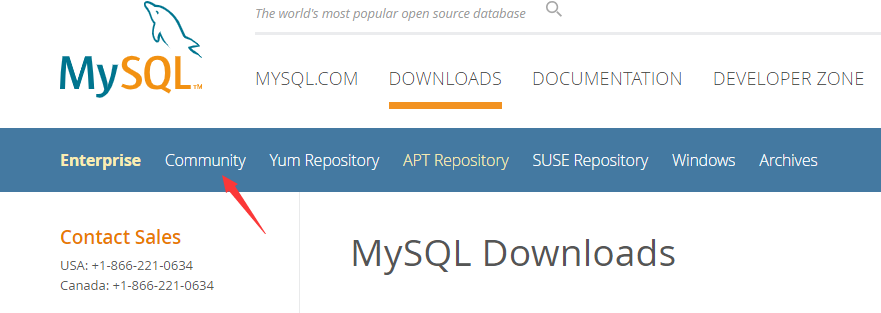
2、选择需要的安装版本(社区版)
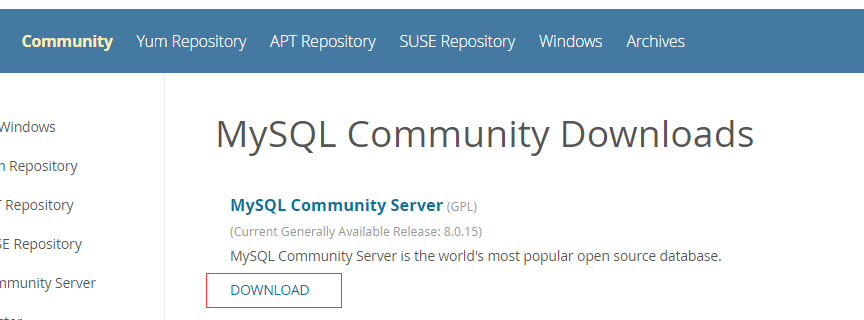
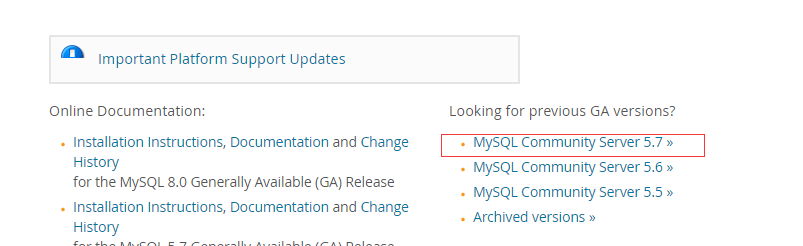

3、安装
上传下载的MySQL5.7x到centos7x虚拟机内,或者wget下载。
解压:
[root@centos7 opt]# tar -zxvf mysql-5.7.25-linux-glibc2.12-x86_64.tar.gz
[root@centos7 opt]# mv mysql-5.7.25-linux-glibc2.12-x86_64 /usr/local/mysql
[root@centos7 opt]# cd /usr/local/mysql/
[root@centos7 mysql]# useradd mysql
[root@centos7 mysql]# mkdir data
[root@centos7 mysql]# chown -R mysql:mysql /usr/local/mysql/
5.7.x之后的版本初始化数据库不再使用mysql_install_db,而是使用: bin/mysqld --initialize.
[root@centos7 bin]# ./mysql_install_db --basedir=/usr/local/mysql --datadir=/usr/local/mysql/data
2019-02-21 17:05:27 [WARNING] mysql_install_db is deprecated. Please consider switching to mysqld --initialize
2019-02-21 17:05:31 [WARNING] The bootstrap log isn't empty:
2019-02-21 17:05:31 [WARNING] 2019-02-21T09:05:28.203493Z 0 [Warning] --bootstrap is deprecated. Please consider using --initialize instead

[root@centos7 bin]#
使用mysqld --initialize:
[root@centos7 bin]# ./mysqld --initialize --basedir=/usr/local/mysql --datadir=/usr/local/mysql/data
2019-02-21T09:07:47.784915Z 0 [Warning] TIMESTAMP with implicit DEFAULT value is deprecated. Please use --explicit_defaults_for_timestamp server option (see documentation for more details).
2019-02-21T09:07:47.786735Z 0 [ERROR] --initialize specified but the data directory has files in it. Aborting.
2019-02-21T09:07:47.786768Z 0 [ERROR] Aborting

[root@centos7 bin]# rm -rf /usr/local/mysql/data/*
[root@centos7 bin]# ./mysqld --initialize --basedir=/usr/local/mysql --datadir=/usr/local/mysql/data
2019-02-21T09:09:32.773141Z 0 [Warning] TIMESTAMP with implicit DEFAULT value is deprecated. Please use --explicit_defaults_for_timestamp server option (see documentation for more details).
2019-02-21T09:09:34.064508Z 0 [Warning] InnoDB: New log files created, LSN=45790
2019-02-21T09:09:34.252282Z 0 [Warning] InnoDB: Creating foreign key constraint system tables.
2019-02-21T09:09:34.320052Z 0 [Warning] No existing UUID has been found, so we assume that this is the first time that this server has been started. Generating a new UUID: 67cc2fdb-35b8-11e9-a738-000c29186a7c.
2019-02-21T09:09:34.321735Z 0 [Warning] Gtid table is not ready to be used. Table 'mysql.gtid_executed' cannot be opened.
2019-02-21T09:09:34.330050Z 1 [Note] A temporary password is generated for root@localhost: >aHMp/_V3(Aq
[root@centos7 bin]#
ps:注意保存最后面的密码。
创建配置文件:
[root@centos7 bin]# vim /etc/my.cnf
发现存在my.cnf文件看来系统自带了mariadb,卸载它。
[root@centos7 bin]# rpm -qa |grep mariadb
mariadb-libs-5.5.52-1.el7.x86_64
[root@centos7 bin]# rpm -e --nodeps mariadb-libs-5.5.52-1.el7.x86_64
[root@centos7 bin]# rpm -qa |grep mariadb
现在已经卸载了系统自带的mariadb,继续创建my.cnf
编辑my.cnf:

[root@centos7 support-files]# cp ./mysql.server /etc/in
init.d/  inittab  inputrc
[root@centos7 support-files]# cp ./mysql.server /etc/init.d/mysqld
[root@centos7 support-files]# chmod +x /etc/init.d/mysqld
设置开机自启动:
[root@centos7 support-files]# chkconfig --add mysqld
[root@centos7 support-files]# chkconfig --list

注意:该输出结果只显示 SysV 服务,并不包含原生 systemd 服务。SysV 配置数据可能被原生 systemd 配置覆盖。
      如果您想列出 systemd 服务,请执行 'systemctl list-unit-files'。
      欲查看对特定 target 启用的服务请执行
      'systemctl list-dependencies [target]'。

mysqld             0:关    1:关    2:开    3:开    4:开    5:开    6:关
netconsole         0:关    1:关    2:关    3:关    4:关    5:关    6:关
network            0:关    1:关    2:开    3:开    4:开    5:开    6:关
将MySQL服务添加到系统服务以便设置开机自启:(2、3、4、5级别启动时开启MySQL)
redhalt7系统使用了systemctl 不过保留了原来的service 仍然可以使用。
启动MySQL:
[root@centos7 support-files]# service mysqld start
Starting MySQL.. ERROR! The server quit without updating PID file (/usr/local/mysql/data/centos7.pid).
出现错误:不能更新进程id文件:
解决重新进行初始化:
在初始化前先删除data里的全部文件
[root@centos7 bin]# ./mysqld --initialize --user=mysql --basedir=/usr/local/mysql/ --datadir=/usr/local/mysql/data/ --pid-file=/usr/local/mysql/data/mysql.pid
2019-02-22T01:02:07.626070Z 0 [Warning] TIMESTAMP with implicit DEFAULT value is deprecated. Please use --explicit_defaults_for_timestamp server option (see documentation for more details).
2019-02-22T01:02:08.873600Z 0 [Warning] InnoDB: New log files created, LSN=45790
2019-02-22T01:02:09.114675Z 0 [Warning] InnoDB: Creating foreign key constraint system tables.
2019-02-22T01:02:09.207208Z 0 [Warning] No existing UUID has been found, so we assume that this is the first time that this server has been started. Generating a new UUID: 7ac3daf9-363d-11e9-b3db-000c29186a7c.
2019-02-22T01:02:09.209157Z 0 [Warning] Gtid table is not ready to be used. Table 'mysql.gtid_executed' cannot be opened.
2019-02-22T01:02:09.213326Z 1 [Note] A temporary password is generated for root@localhost: s-jwb*inb5L4
[root@centos7 bin]# service mysqld start
Starting MySQL.Logging to '/usr/local/mysql/data/centos7.err'.
 SUCCESS!
[root@centos7 bin]# ps -ef |grep mysql
root       2919      1  0 09:02 pts/0    00:00:00 /bin/sh /usr/local/mysql/bin/mysqld_safe --datadir=/usr/local/mysql/data --pid-file=/usr/local/mysql/data/centos7.pid
mysql      3121   2919  2 09:02 pts/0    00:00:00 /usr/local/mysql/bin/mysqld --basedir=/usr/local/mysql --datadir=/usr/local/mysql/data --plugin-dir=/usr/local/mysql/lib/plugin --user=mysql --log-error=centos7.err --pid-file=/usr/local/mysql/data/centos7.pid --socket=/usr/local/mysql/data/mysql.sock --port=3306
root       3151   2080  0 09:02 pts/0    00:00:00 grep --color=auto mysql
[root@centos7 bin]#
登录MySQL:
在/usr/local/mysql/bin目录下执行:
[root@centos7 bin]# ./mysql -uroot -p
Enter password:
Welcome to the MySQL monitor.  Commands end with ; or \g.
Your MySQL connection id is 2
Server version: 5.7.25 MySQL Community Server (GPL)

Copyright (c) 2000, 2019, Oracle and/or its affiliates. All rights reserved.

Oracle is a registered trademark of Oracle Corporation and/or its
affiliates. Other names may be trademarks of their respective
owners.

Type 'help;' or '\h' for help. Type '\c' to clear the current input statement.

mysql>
这里因为在/etc/my.cnf里加入了skip-grant-tables选项因此不需要输入密码就可以登录,没有设置该参数,输入初始化产生的初始密码就可以了。(为了安全在更改密码后该参数需要删除)
更改密码;
mysql> use mysql;
Reading table information for completion of table and column names
You can turn off this feature to get a quicker startup with -A

Database changed
mysql> update user set authentication_string=password('123456') where user='root'
    -> ;
Query OK, 1 row affected, 1 warning (0.00 sec)
Rows matched: 1  Changed: 1  Warnings: 1

mysql> flush privileges;
Query OK, 0 rows affected (0.00 sec)

mysql> exit
Bye
第一次密码登录root用户后必须执行:
mysql> alter user 'root'@'localhost' identified by 'xxx' PASSWORD EXPIRE NEVER account unlock; #原本密码有效期为360天需要取消这个限制。

mysql> flush privileges;
重新登录mysql:
更改my.cnf
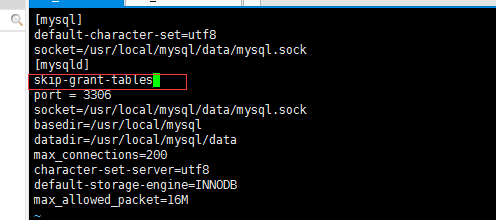
删除红框部分,保存!
重启mysql
[root@centos7 bin]# service mysqld restart
Shutting down MySQL.. SUCCESS!
Starting MySQL. SUCCESS!
登录后注意修改root密码期限。
登录MySQL并创建一个能够远程登录的用户:
使用sqlyog验证:

二、使用源码包方式安装MySQL5.7x
1.安装编译工具和所需要的依赖库:
yum -y install gcc gcc-c++ make autoconf libtool-ltdl-devel gd-devel freetype-devel libxml2-devel libjpeg-devel libpng-devel openssl-devel curl-devel bison patch unzip libmcrypt-devel libmhash-devel ncurses-devel sudo bzip2 flex libaio-devel
发现:
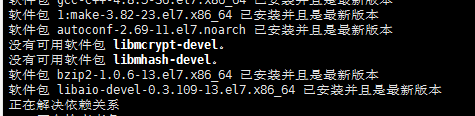
手动安装它:
一共安装4个文件:
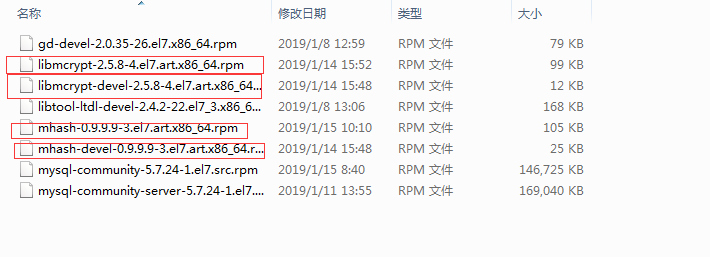
先安装libmcrypt 在安装devel。mhash也是同样
安装cmake编译工具:
下载;
wget http://www.cmake.org/files/v3.1/cmake-3.1.1.tar.gz
安装:
tar zxvf cmake-3.1.1.tar.gz
cd cmake-3.1.1
./bootstrap
make && make install
安装MySQL:
下载:
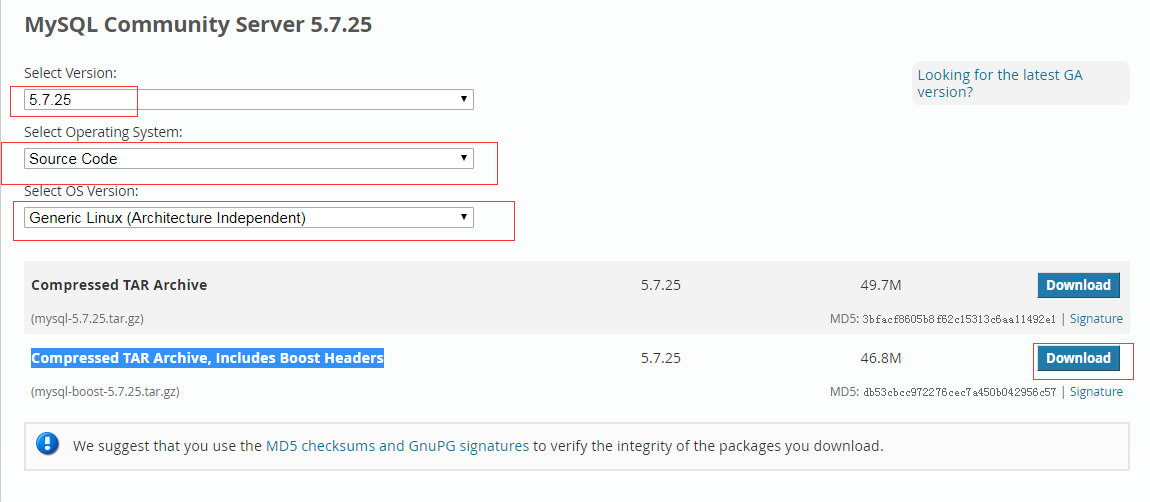
地址:https://dev.mysql.com/downloads/mysql/5.7.html#downloads
编译:
[root@centos opt]# tar -zxvf mysql-boost-5.7.25.tar.gz
[root@centos opt]# cd ./mysql-5.7.25/

[root@centos mysql-5.7.25]#
cmake . -DCMAKE_INSTALL_PREFIX=/usr/local/mysql \
-DMYSQL_DATADIR=/usr/local/mysql/data \
-DWITH_BOOST=/opt/mysql-5.7.25/boost \
-DSYSCONFDIR=/etc \
-DEFAULT_CHARSET=utf8mb4 \
-DDEFAULT_COLLATION=utf8mb4_general_ci \
-DENABLED_LOCAL_INFILE=1 \
-DEXTRA_CHARSETS=all
可能出现;
报错代码:
CMake Error at cmake/boost.cmake:81 (MESSAGE):
You can download it with -DDOWNLOAD_BOOST=1 -DWITH_BOOST=
解决办法:
1.在/usr/local下创建一个名为boost的文件夹
mkdir -p /usr/local/boost
2.进入这个新创建的文件夹然后下载boost
wget http://www.sourceforge.net/projects/boost/files/boost/1.59.0/boost_1_59_0.tar.gz
3.解压
tar -xvzf boost_1_59_0.tar.gz
4.重新cmake,后面更改以下参数
-DDOWNLOAD_BOOST=1 -DWITH_BOOST=/usr/local/boost/ \
安装:
make && make install
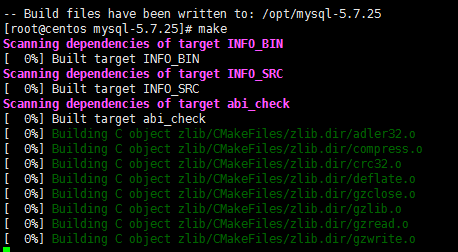
这个过程大概持续30min.......

接下来就是数据库的初始化:
初始化方法与二进制包方法一致:这里就不在赘述了。