大规模重做,因为之前的版本存在很多问题,比如内存占用,还有性能开销太大,比如以前的思路是,从拿到RenderTexture之后,把RT转换成texture,在转换成image,这样做实在是舍近求远,经过一番性能测试之后,我发现Graphics.Blit只用了2ms,而把rt转换为texture用了400ms,把texture转换成image更是用了1s多(我用的是5000*5000的原画),这个速度是不能接受的。
我现在的思路是不用image而改用rawimage,直接把RT赋值给image,用一个list来回收上此的RT,以免爆内存
比如翻转,以前的代码是:
 RenderTexture Disttexture = RenderTexture.GetTemporary(texture.width, texture.height, 0);
            Graphics.Blit(texture, Disttexture, overturnmaterial);
            int width = Disttexture.width;
            int height = Disttexture.height;
            Viewtexture = new Texture2D(width, height, TextureFormat.ARGB32, false);
            RenderTexture.active = Disttexture;
            Viewtexture.ReadPixels(new Rect(0, 0, width, height), 0, 0);
            Viewtexture.Apply();
            RenderTexture.active = null;
            RenderTexture.ReleaseTemporary(Disttexture);
            texture = Viewtexture;//因为旋转之后,仍需要其他shader参与
            updateBSC();
            image.GetComponent<RectTransform>().sizeDelta = new Vector2(Viewtexture.width, Viewtexture.height);
            Sprite sprite = Sprite.Create(Viewtexture, new Rect(0, 0, Viewtexture.width, Viewtexture.height), new Vector2(0.5f, 0.5f));
            image.sprite = sprite;
现在的代码:
            RenderTexture Disttexture = RenderTexture.GetTemporary(RTpic[0].width, RTpic[0].height, 0);
            Graphics.Blit(RTpic[0], Disttexture, overturnmaterial);
            RenderTexture.ReleaseTemporary(RTpic[0]);
            RTpic.Insert(0,Disttexture);
            int width = Disttexture.width;
            int height = Disttexture.height;
            updateBSC();
            image.GetComponent<RectTransform>().sizeDelta = new Vector2(width, height);
            image.GetComponent<RawImage>().texture = RTpic[0];
代码变得简洁,而且速度快了很多
我把上一次的RT释放,然后把当前的RT添加到list中,这样内存就不会爆了,
还有值得一提的是,在对RT进行旋转操作时要确保UV的xy都大于0(据说也可以设置为repeat,不过我没试过),所以我对旋转的shader进行了更改:
fixed4 frag (v2f i) : SV_Target
   {
   if(_Clockwise==1){
    i.uv=mul(float2x2(0,-1,1,0),i.uv);
    i.uv.x=1+i.uv.x;
   }
   if( _AnuiClockwise==1){
    i.uv=mul(float2x2(0,1,-1,0),i.uv);
    i.uv.y=1+i.uv.y;//这点很重要,因为对rt采样时,要确保xy都大于0,而texture就不用
   }
   fixed4 renderTex = tex2D(_MainTex,i.uv);
   return fixed4(renderTex);
   }
现在图片修改的速度很快完全没有GPU与CPU之间传递的瓶颈,我还在饱和度对比度亮度那个shader中添加了转换为灰度图功能
其实就是加了一个判断

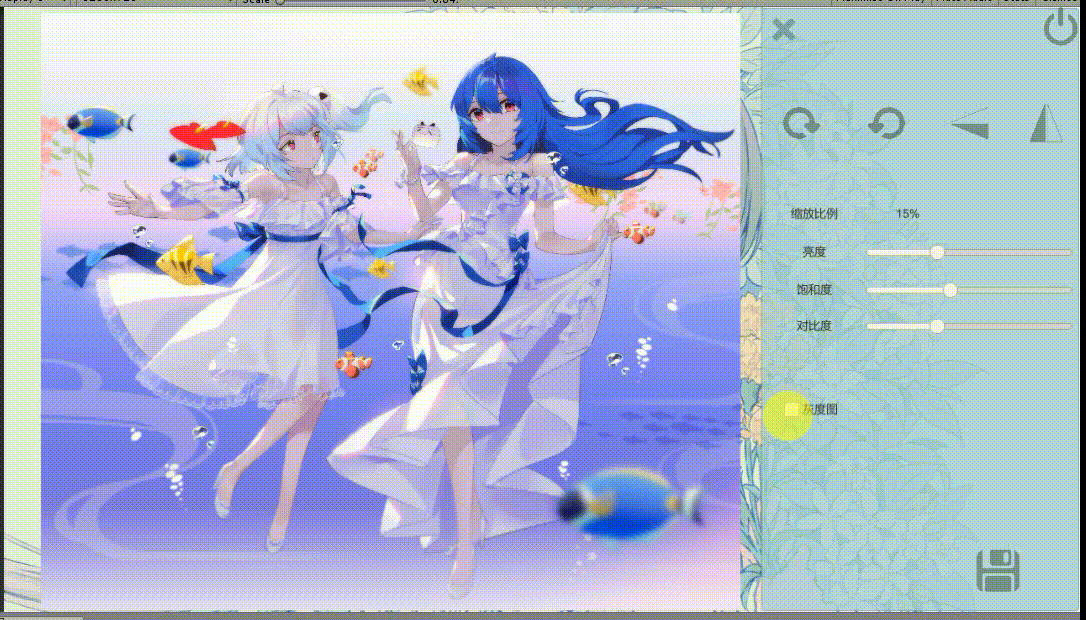
图片的分辨率是5196*4444,可以在B站下到,丝毫没有压力,这次重置,把性能问题解决了,非常舒服。
下次我会添加图片裁剪功能,或许还有高斯模糊,在添加完之后,我可能不会再添加更多功能了,到时候会在总结篇把项目文件分享。