1.安装Python环境
建议安装Anconda3 ,4.2.0版本
下载地址:
https://repo.continuum.io/archive/index.html
或
https://mirrors.tuna.tsinghua.edu.cn/anaconda/archive/?C=N&O=D

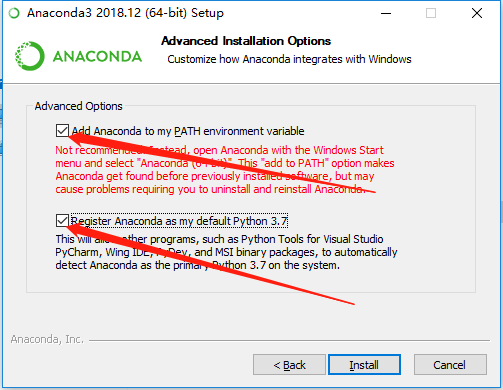
安装即可,记得全部勾选
2.Keras 安装
>>> pip install keras -U --pre
3.安装tensorflow
GPU 版本
>>> pip install --upgrade tensorflow-gpu
CPU 版本
>>> pip install --upgrade tensorflow
4.验证keras是否安装成功,在命令行中输入Python命令进入Python变成命令行环境(这是cpu版本)
C:\Users\mmm>python
Python 3.5.2 |Anaconda 4.2.0 (64-bit)| (default, Jul  5 2016, 11:41:13) [MSC v.1900 64 bit (AMD64)] on win32
Type "help", "copyright", "credits" or "license" for more information.
>>> import keras
Using TensorFlow backend.
>>>
没有报错,那么Keras就已经成功安装了。
5.Keras中mnist数据集测试 下载Keras开发包
>>> conda install git
>>> git clone https://github.com/fchollet/keras.git
>>> cd keras/examples/
>>> python mnist_mlp.py
程序无错进行,至此,keras安装完成。
参考:
https://developer.nvidia.com/cuda-80-ga2-download-archive
https://repo.continuum.io/archive/index.html
https://blog.csdn.net/yuejisuo1948/article/details/81043823
https://keras-cn.readthedocs.io/en/latest/for_beginners/keras_windows/#keras
https://mirrors.tuna.tsinghua.edu.cn/anaconda/archive/?C=N&O=D
https://developer.nvidia.com/cudnn
https://www.anaconda.com/distribution/