仓储层与逻辑层搭建
Lumen官方文档:https://lumen.laravel.com/docs/5.5
我的项目地址:https://github.com/BusinessL/big-lumen
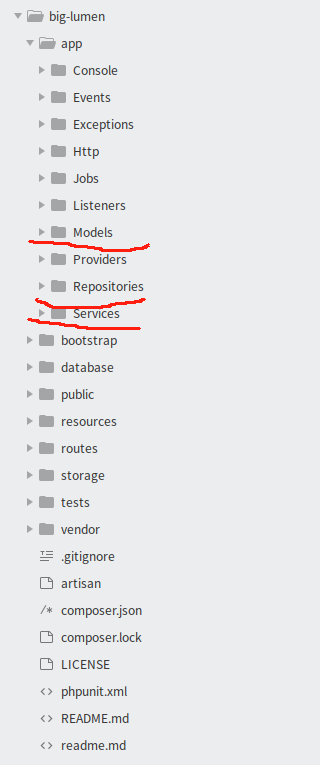
1.Lumen基础框架中,并不包含仓储层,与业务逻辑层,所以我们在app文件夹下,新建两个文件夹(Repositories、Services)。另外新建Models文件夹,用来存放数据源文件。
别害怕在Lumen预设目录以外建立其他目录,根据SOLID的单一职责原则,class功能越多,责任也越多,因此违法单一职责原则,所以你应该将你的程式分割成更小的部分,每个部分都有它专属的功能,而不是一个class功能包山包海,所以整个架构体系不应该只有MVC三个部分,放手根据你的需求建立适当的目录,并将适当的class放到该目录,只要我们的class有namespace帮我们分类即可。
如何使用仓储层?
使用理由:在 CRUD 中,CUD 比较稳定,但 R 的部分則千变万化,大部分的业务逻辑都在描述 R 的部分,若將业务逻辑写在 controller 或 model 都不适当,会造成 controller 与 model 肥大,造成日后难以维护。
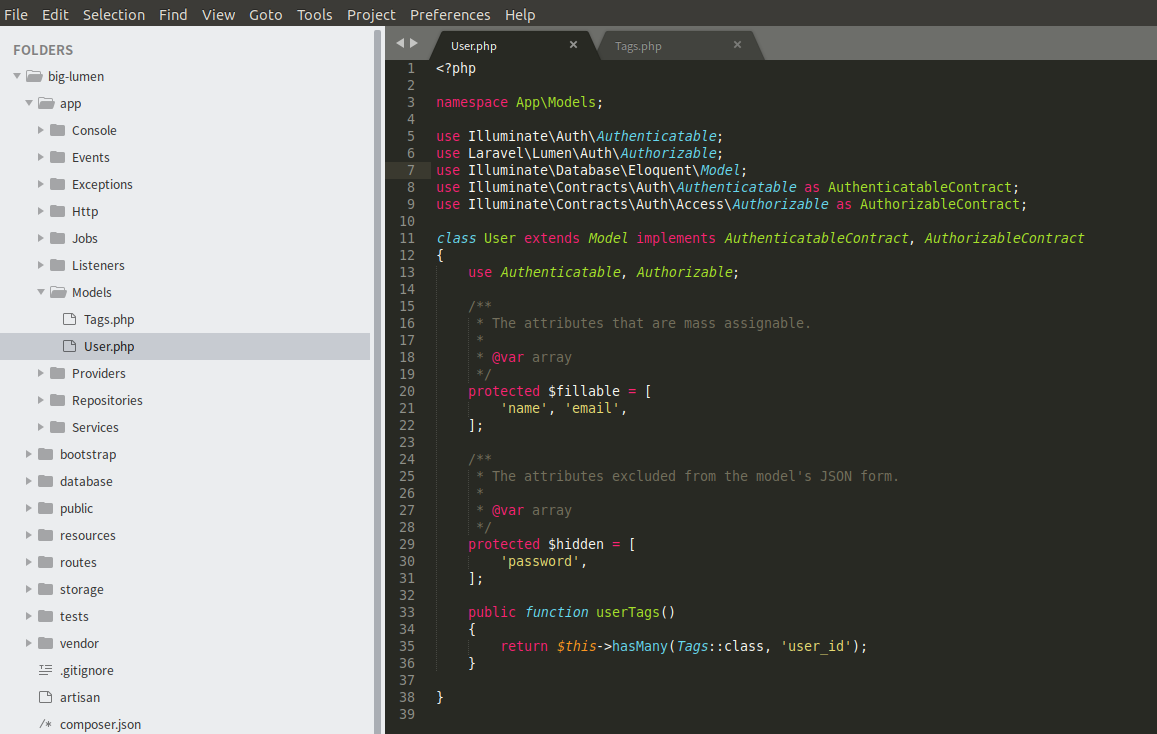
注意:使用 repository 之后,model 仅当成Eloquent class 即可,不要包含业务逻辑,仅保留以下部分 :
①基础属性:例如 $fillable、$hidden 等。

②Method: relation类的 method,例如 hasMany() 与 belongsTo() 等。
仓储层建立:
在 仓储层与逻辑层搭建一节中,我已经创建了Repositories文件夹,这个文件夹用来存放仓储文件。再重申一下,仓储的定义,它是数据访问层,与底层MySQL、Oracle等进行数据交互。
底层的数据层是多变的,我们这里根据依赖倒置原则(Dependence Inversion Principle),是程序要依赖于抽象接口(interface),不要依赖于具体实现。简单的说就是要求对抽象进行编程,不要对实现进行编程,这样就降低了客户与实现模块间的耦合。
下面我们在仓储Repositories文件夹中,再新建两个文件夹用来存放接口及其实现,取名为Contracts与Eloquents。Contracts存放接口,Eloquents用来存放接口的实现。
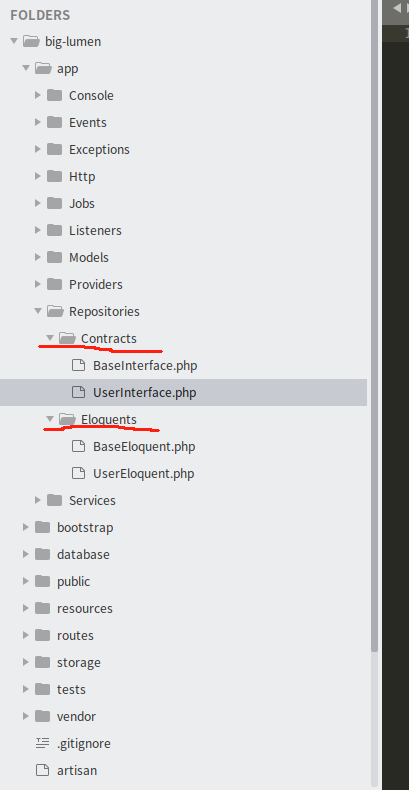
首先,我们在仓储层中,新建一个BASE接口文件(BaseInterface)与它的抽象类实现(BaseEloquent),可以在其中定义通用方法,具体参见我的代码库https://github.com/BusinessL/big-lumen。
BaseInterface文件内容如下所示:
<?php

namespace App\Repositories\Contracts;

use Illuminate\Database\Eloquent\Collection;
use Illuminate\Database\Eloquent\Model;

interface BaseInterface
{
      /**
       *  更新
       */
  public function update(array $where, array $attributes);
}
BaseEloquent内容如下所示
<?php

namespace App\Repositories\Eloquents;

use App\Repositories\Contracts\BaseInterface;

abstract class BaseEloquent implements BaseInterface
{
    /**
     * Instance that extends Illuminate\Database\Eloquent\Model
     *
     * @var Model
     */
    protected $model;

    /**
     * Constructor
     */
    public function __construct()
    {
    $this->makeModel();

    }
   /**
     * Specify Model class name.
     *
     * @return mixed
     */
    abstract public function model();

    /**
     * 注入
     * @return Model|mixed
     * @throws GeneralException
     */
    public function makeModel()
    {
        $model = app()->make($this->model());

        return $this->model = $model;
    }

  /**
    *  更新
    */
    public function update(array $where, array $attributes)
   {
      return $this->model->where($where)->update($attributes);
   }
}
注意:一个类需要绑定、注册至容器中,才能被“制造”。对,一个类要被容器所能够提取,必须要先注册至这个容器。既然 Laravel 称这个容器叫做服务容器,那么我们需要某个服务,就得先注册、绑定这个服务到容器,那么提供服务并绑定服务至容器的东西,就是服务提供者(Service Provider)。如下代码使用bind绑定方法。
示例代码如下:
<?php

namespace App\Providers;

use Illuminate\Support\ServiceProvider;

class RepositoriesServiceProvider extends ServiceProvider
{
    /**
     * Indicates if loading of the provider is deferred.
     *
     * @var bool
     */
    protected $defer = true;

    /**
     * Register any application services.
     *
     * @return void
     */
    public function register()
    {
        $this->app->bind(
            \App\Repositories\Contracts\UserInterface::class,
            \App\Repositories\Eloquents\UserEloquent::class
        );
    }
}
好了,现在我们就可以定义每个model的数据访问文件,继承BaseEloquent并实现相应的接口了。
下一节,来讲解下Model层,字段转换功能以及Transformer工具的使用。