EntityFramework是一种。net对象和数据库对象关系映射程序(ORM)
一.EF Core 和EF6
1.运行环境
(1)EF6:使用.netFramework包,只能运行在Windows平台上
(2)EFCore:使用最新的EntityFramework Core包,支持跨平台
2.功能比较
(1)EFCore中新增了一些新的功能,同时也缺少一些EF6的功能
二.同时使用EF6和EFCore
1.通过命名空间别名指令轻松消除多义性
2.using Microsoft.EntityFrameworkCore; // use DbContext for EF Core
3.using EF6 = System.Data.Entity; // use EF6.DbContext for the EF6 version
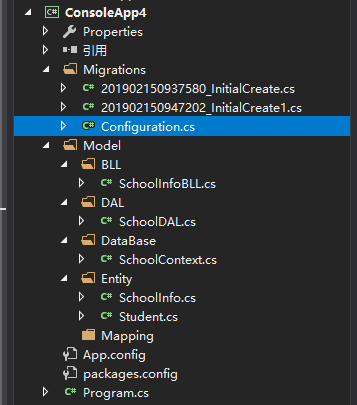
EF使用流程
1.创建项目引入EF6
2.创建XXXContext,继承DBContext
 public class SchoolContext : DbContext
    {
        public SchoolContext() : base("name=SchoolDBName")//配置文件中连接数据库语句的Name
        {

        }
        public DbSet<SchoolInfo> SchoolInfo { get; set; }
        public DbSet<Student> Student { get; set; }
    }
3.创建实体模型
 public class SchoolInfo
    {
        [Key]
        public Guid Guid { get; set; }
        public string SchoolName { get; set; }
        public string SchoolUrl { get; set; }
        public string Address { get; set; }
        public DateTime CreateSchool { get; set; }
        public string Phone { get; set; }
        public bool state { get; set; }
    }
 public class Student
    {
        [Key]
        public Guid Guid { get; set; }
        public string Name { get; set; }
        public Guid SchoolGuid { get; set; }
        public bool Sex { get; set; }
    }
4.设置连接的数据库
 <connectionStrings>
    <add name="SchoolDBName" connectionString="Data Source=.;database=SchoolDB;uid=sa;pwd=sasa;" providerName="System.Data.SqlClient" />
  </connectionStrings>
5.填写执行方法
 static void Main(string[] args)
        {
            SchoolInfo schoolInfo = new SchoolInfo()
            {
                Guid = System.Guid.NewGuid(),
                SchoolName = "SchoolName",
                SchoolUrl = "SchoolUrl",
                Address = "Address",
                CreateSchool = DateTime.Now,
                Phone = "123456789",
                state = true,
            };
            if (new SchoolInfoBLL().Add(schoolInfo))
            {
                Console.WriteLine("成功");

            }
            else {
                Console.WriteLine("失败");
            }
            Console.ReadKey();
        }
如果类属性发生变化
1.执行 enable-migrations -contexttypename SchoolContext
2.修改configuration.cs
 internal sealed class Configuration : DbMigrationsConfiguration<ConsoleApp4.Model.DataBase.SchoolContext>
    {
        public Configuration()
        {
            //开启自动迁移
            AutomaticMigrationsEnabled = true;
            ContextKey = "ConsoleApp4.Model.DataBase.SchoolContext";
        }

        protected override void Seed(ConsoleApp4.Model.DataBase.SchoolContext context)
        {
            //  This method will be called after migrating to the latest version.

            //  You can use the DbSet<T>.AddOrUpdate() helper extension method
            //  to avoid creating duplicate seed data.
        }
    }
3.执行add-migration InitialCreate
4.执行 update-database
注:之后的完属性直接执行第4部即可