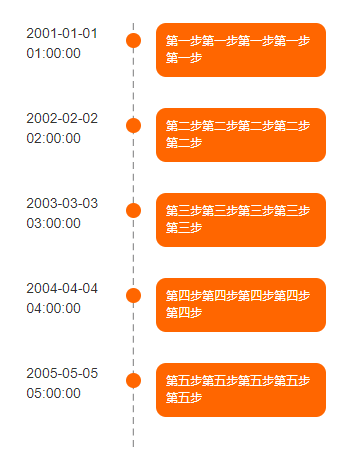
实现思路及步骤:
页面分为四个部分
1、左侧时间
2、中间圆点
3、右侧内容
4、虚线部分
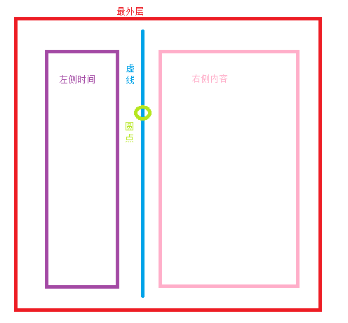
最外层div,relative布局,方便子元素计算尺寸
左侧时间固定宽度,显示时间(本demo:100px),之后absolute绝对定位(left:0)
中间圆点absolute绝对定位,因为左侧宽度已经定为100px,圆点left值只需要大于100px肯定就会显示在时间右侧(具体值可以根据需求修改)
扫描二维码关注公众号,回复:
5164490 查看本文章

最右侧的内容展示区域同理也是ab定位,值大于左侧时间left值+圆点时间left值就可以(具体值可以根据需求修改)
最后只剩下虚线部分就可以得出结论,虚线的left值 = 圆点距离左侧时间-圆点宽度的一半
此时,虚线正好压在圆点中间部分,调整一下圆点和虚线的z-index值,即可
HTML代码:
<div class='time-line'>
	<div v-for='item in testList' class='time-line-div'>
		<p>{{item.time}}</p>
		<p ref='circular'></p>
		<p>{{item.text}}</p>
	</div>
	<div class='img-dotted' ref='dotted'></div>
</div>


JS代码:
mounted() {
	this.$refs.dotted.style.left = this.$refs.circular[0].offsetLeft - 12 + 'px'
}

Css代码:
.time h2{
	color:#FF6600;
	margin: 20px auto 30px auto;
}
.time-line{
	position: relative;
	width:300px;
	margin:0 auto;
}
.time-line-div{
	position:relative;
	min-height:85px;
}
.time-line-div>p:nth-child(1){
	position: absolute;
	left:0;
	width:100px;
}
.time-line-div>p:nth-child(2){
	position:absolute;
	left: 100px;
	width:15px;
	height:15px;
	top:10px;
	background:#5CB85C;
	border-radius: 50%;
	z-index: 10
}
.time-line-div>p:nth-child(3){
	position:absolute;
	left: 130px;
	padding: 10px;
	background: #317EF3;
	font-size:.8rem;
	color:#fff;
	border-radius: 10px;
}
.img-dotted{
	position:absolute;
	width:20px;
	height:100%;
	top:0;
	z-index: 1;
	background:url('/static/images/vue/dotted.png');
}
.time-line-detail>p{
	margin-left: 30px;
	margin-bottom: 10px;
}