一、动态添加碎片
1》
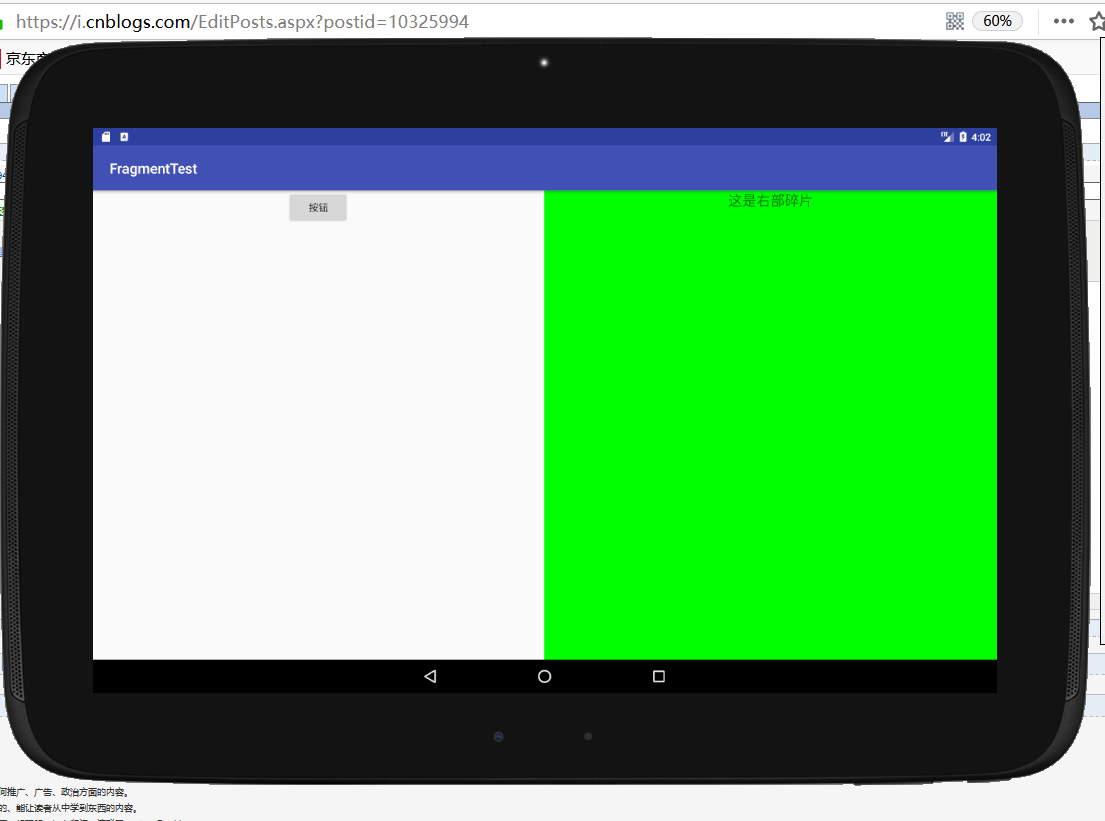
新建三个布局
<?xml version="1.0" encoding="utf-8"?>
<LinearLayout xmlns:android="http://schemas.android.com/apk/res/android"
 android:orientation="vertical" android:layout_width="match_parent"
 android:layout_height="match_parent">
 <Button
 android:id="@+id/b1"
 android:layout_width="wrap_content"
 android:layout_height="wrap_content"
 android:layout_gravity="center_horizontal"
 android:text="按钮"/>
</LinearLayout>

======================================================================
<?xml version="1.0" encoding="utf-8"?>
<LinearLayout xmlns:android="http://schemas.android.com/apk/res/android"
 android:orientation="vertical" android:layout_width="match_parent"
 android:layout_height="match_parent"
 android:background="#00ff00">
 <TextView
 android:layout_gravity="center_horizontal"
 android:layout_width="wrap_content"
 android:layout_height="wrap_content"
 android:textSize="20sp"
 android:text="这是右部碎片"/>
</LinearLayout>
===========================================================================
<?xml version="1.0" encoding="utf-8"?>
<LinearLayout xmlns:android="http://schemas.android.com/apk/res/android"
android:orientation="vertical" android:layout_width="match_parent"
android:layout_height="match_parent"
android:background="#ffff00">
<TextView
 android:layout_gravity="center_horizontal"
 android:layout_width="wrap_content"
 android:layout_height="wrap_content"
 android:textSize="20sp"
 android:text="这是另一个右部碎片"/>
</LinearLayout>
====================================================================================
2》新建三个类与三个布局对应
三个类的内容几乎相同重写Fragment类中的onCreateView方法使用inflater将布局引入到view中
package com.example.fragmenttest;

import android.os.Bundle;
import android.support.annotation.Nullable;
import android.support.v4.app.Fragment;
import android.view.LayoutInflater;
import android.view.View;
import android.view.ViewGroup;

/**
 * Created by lenovo on 2019/1/27.
 */

public class LeftFragment extends Fragment {
 @Nullable
 @Override
 public View onCreateView(LayoutInflater inflater, @Nullable ViewGroup container, @Nullable Bundle savedInstanceState) {
 View view=inflater.inflate(R.layout.feft_fragment,container,false);
 return view;
 }
}
======================================================================================
public class RightFragment extends Fragment {
    @Nullable
    @Override
    public View onCreateView(LayoutInflater inflater, @Nullable ViewGroup container, @Nullable Bundle savedInstanceState) {
 View view=inflater.inflate(R.layout.rightfragment,container,false);
 return view;
 }
}
======================================================================================
public class AnotherRightFragment extends Fragment {
    @Nullable
    @Override
    public View onCreateView(LayoutInflater inflater, @Nullable ViewGroup container, @Nullable Bundle savedInstanceState) {
 View view=inflater.inflate(R.layout.another_right_fragment,container,false);
 return view;
 }
}
3》编写主界面
将第二个fragment换成了FrameLayout布局
<?xml version="1.0" encoding="utf-8"?>
<LinearLayout xmlns:android="http://schemas.android.com/apk/res/android"
 android:orientation="horizontal" android:layout_width="match_parent"
 android:layout_height="match_parent">
 <fragment
 android:name="com.example.fragmenttest.LeftFragment"
 android:layout_width="0dp"
 android:layout_height="match_parent"
 android:layout_weight="1"
 android:id="@+id/left_fragment"/>
 <FrameLayout
 android:name="com.example.fragmenttest.RightFragment"
 android:layout_width="0dp"
 android:layout_height="match_parent"
 android:layout_weight="1"
 android:id="@+id/right_fragment"/>

</LinearLayout>

======================================================================================
下面代码中有repaceFragment函数用于往FramLayout中添加布局
(1)创建待添加布局的实例
(2)获取FragmentManager实例可用getSupportFragmentManager();获取
(3)开启一个事务FragmentTransaction transaction=fragmentManager.beginTransaction()
(4)向容器中添加或替换布局replace()需要传入容器id和待添加的碎片实例
(5)提交事务,commit
package com.example.fragmenttest;

import android.support.v4.app.Fragment;
import android.support.v4.app.FragmentManager;
import android.support.v4.app.FragmentTransaction;
import android.support.v7.app.AppCompatActivity;
import android.os.Bundle;
import android.view.View;
import android.widget.Button;

public class MainActivity extends AppCompatActivity implements View.OnClickListener{

 @Override
 protected void onCreate(Bundle savedInstanceState) {
 super.onCreate(savedInstanceState);
 setContentView(R.layout.activity_main);
 Button button=(Button)findViewById(R.id.b1);
 button.setOnClickListener(this);
 repaceFragment(new RightFragment());
 }

 @Override
 public void onClick(View view) {
 switch (view.getId()){
 case R.id.b1:
 repaceFragment(new AnotherRightFragment());
 break;
 default:
 break;
 }
 }
 public void repaceFragment(Fragment fragment){
 FragmentManager fragmentManager=getSupportFragmentManager();
 FragmentTransaction transaction=fragmentManager.beginTransaction();
 transaction.replace(R.id.right_fragment,fragment);
 transaction.commit();
 }
}

4》