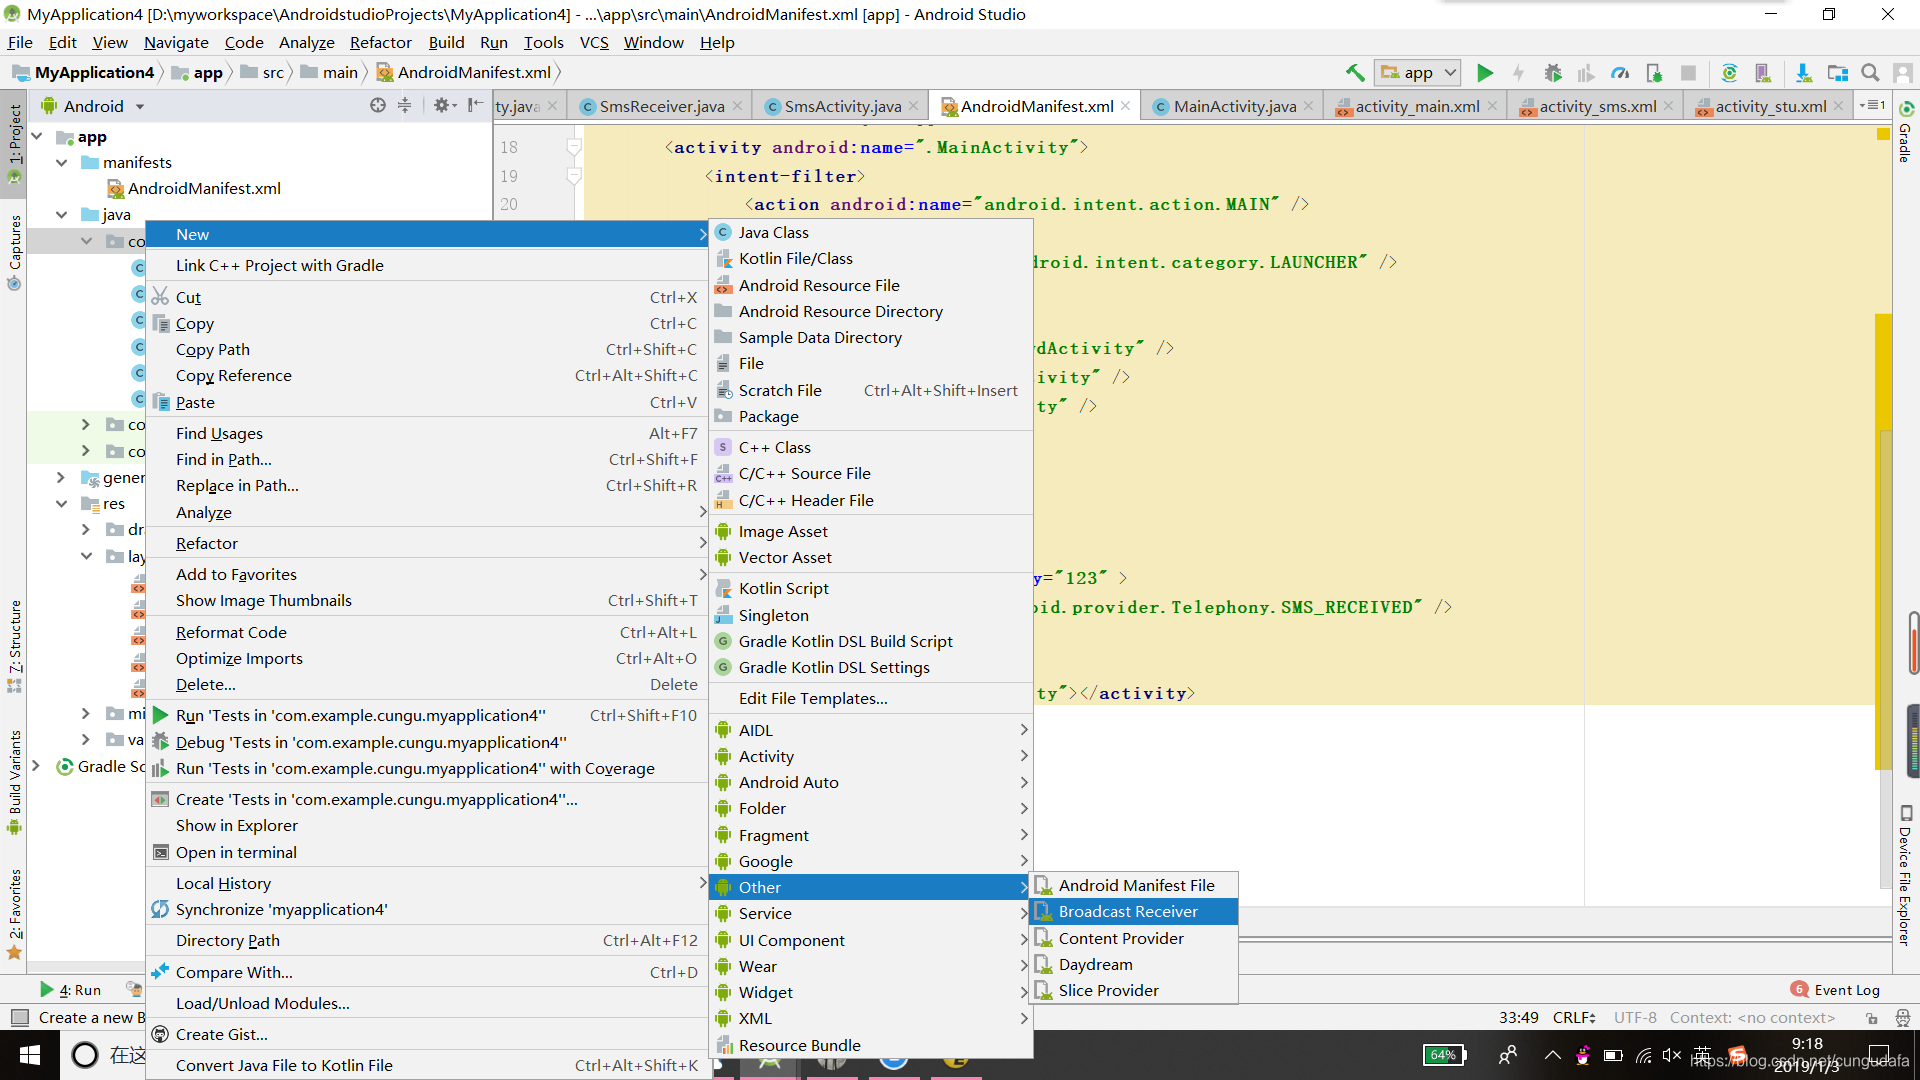
一、新建Receiver并赋予权限
- 新建SmsReceiver继承BroadcastReceiver:
- 赋予权限
<uses-permission android:name="android.permission.RECEIVE_SMS" /> <!-- 接收短信权限 -->
<uses-permission android:name="android.permission.READ_SMS" /> <!-- 读取短信权限 -->
.......略..........
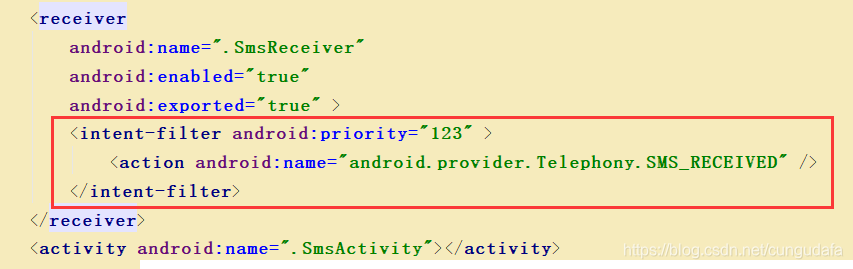
<receiver
android:name=".SmsReceiver"
android:enabled="true"
android:exported="true" >
<intent-filter android:priority="123" >
<action android:name="android.provider.Telephony.SMS_RECEIVED" />
</intent-filter>
</receiver>

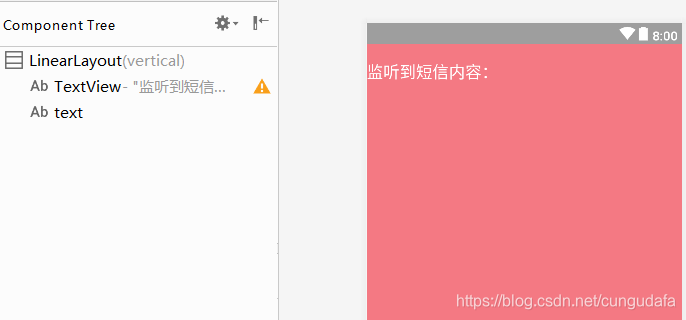
二、新建activity.xml和SmsActivity.java
xml:
<?xml version="1.0" encoding="utf-8"?>
<LinearLayout xmlns:android="http://schemas.android.com/apk/res/android"
xmlns:app="http://schemas.android.com/apk/res-auto"
xmlns:tools="http://schemas.android.com/tools"
android:layout_width="match_parent"
android:layout_height="match_parent"
android:orientation="vertical"
android:background="@color/colorPrimary"
tools:context=".SmsActivity">
<TextView
android:layout_width="wrap_content"
android:layout_height="wrap_content"
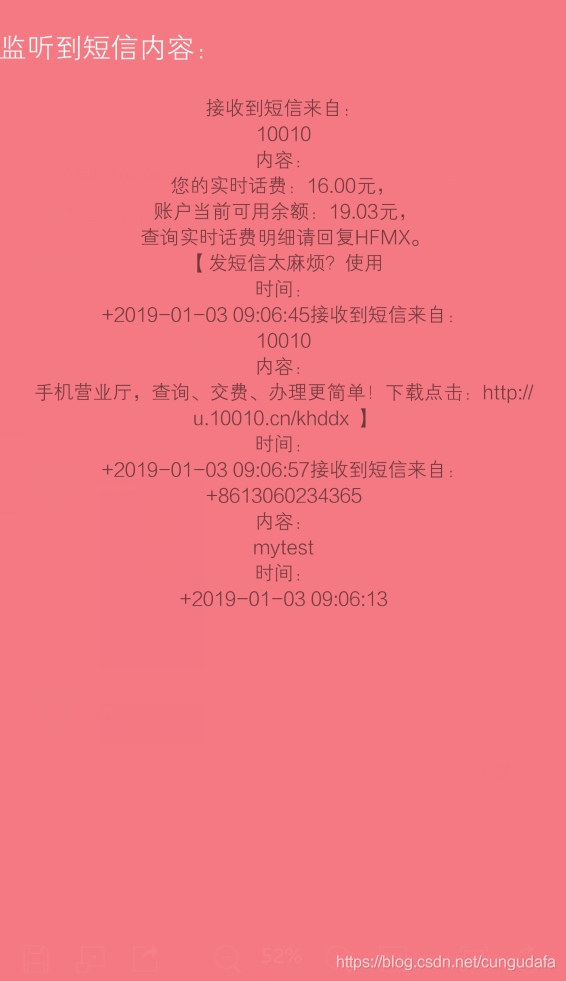
android:text="监听到短信内容: "
android:layout_marginTop="20dp"
android:textSize="20sp"
android:textColor="#ffffff"/>
<TextView
android:layout_width="match_parent"
android:layout_height="wrap_content"
android:layout_marginTop="20dp"
android:gravity="center_horizontal"
android:id="@+id/text"
/>
</LinearLayout>
- java
package com.example.cungu.myapplication4;

import android.support.v7.app.AppCompatActivity;
import android.os.Bundle;
import android.widget.TextView;

public class SmsActivity extends AppCompatActivity {
    public static TextView textView;
    @Override
    protected void onCreate(Bundle savedInstanceState) {
        super.onCreate(savedInstanceState);
        setContentView(R.layout.activity_sms);
        textView=findViewById(R.id.text);
    }
}
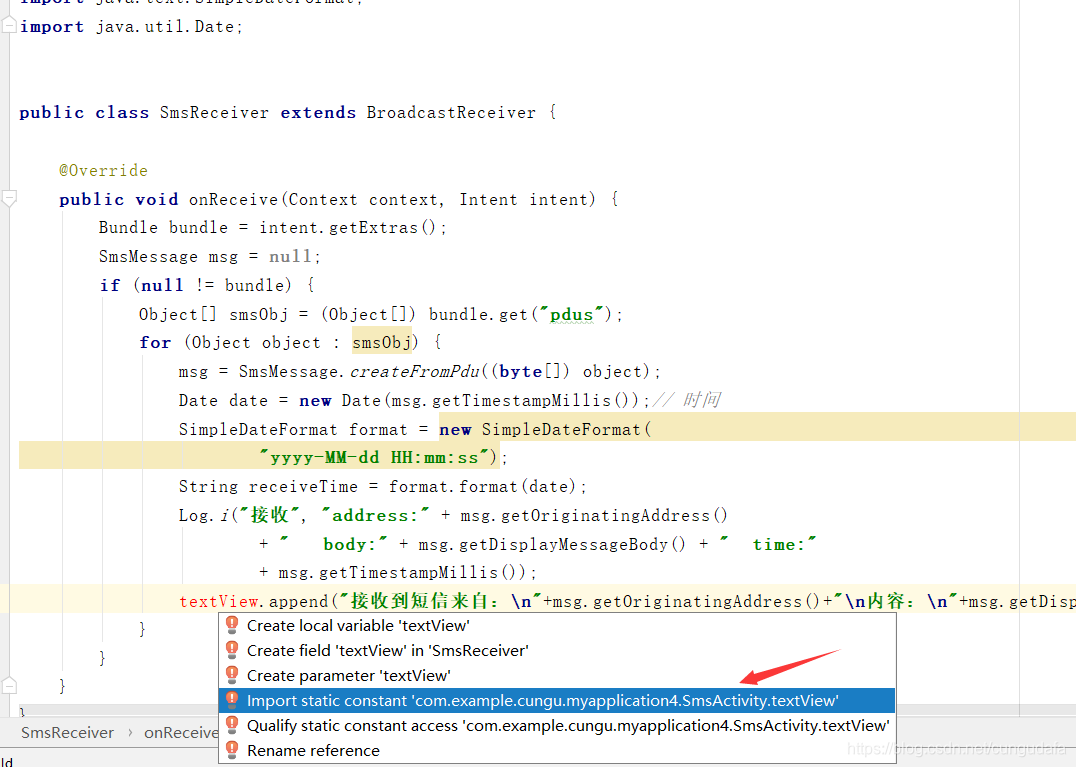
三、编辑自定义SmsReceiver.java:
把内容显示到上面创建的textView中:
package com.example.cungu.myapplication4;
import android.content.BroadcastReceiver;
import android.content.Context;
import android.content.Intent;
import android.os.Bundle;
import android.telephony.SmsMessage;
import android.util.Log;
import java.text.SimpleDateFormat;
import java.util.Date;
import static com.example.cungu.myapplication4.SmsActivity.textView;
public class SmsReceiver extends BroadcastReceiver {
@Override
public void onReceive(Context context, Intent intent) {
Bundle bundle = intent.getExtras();
SmsMessage msg = null;
if (null != bundle) {
Object[] smsObj = (Object[]) bundle.get("pdus");
for (Object object : smsObj) {
msg = SmsMessage.createFromPdu((byte[]) object);
Date date = new Date(msg.getTimestampMillis());// 时间
SimpleDateFormat format = new SimpleDateFormat(
"yyyy-MM-dd HH:mm:ss");
String receiveTime = format.format(date);
Log.i("接收", "address:" + msg.getOriginatingAddress()
+ " body:" + msg.getDisplayMessageBody() + " time:"
+ msg.getTimestampMillis());
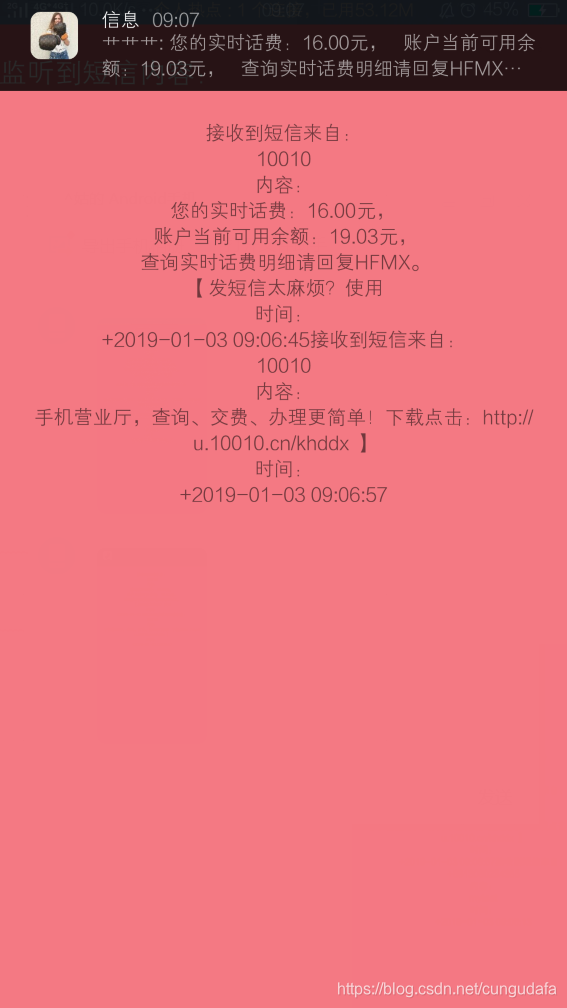
textView.append("接收到短信来自:\n"+msg.getOriginatingAddress()+"\n内容:\n"+msg.getDisplayMessageBody()+"\n时间:\n+"+ receiveTime);
}
}
}
}
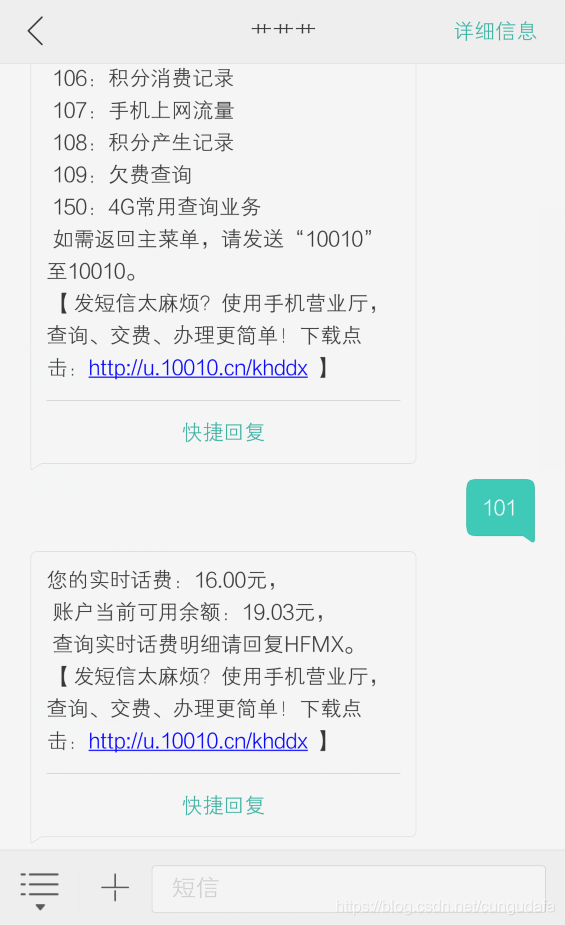
最终效果:
我向10010发送一条查询短信后: