iOS组件化
iOS组件化经典文章:
文章:
步骤
1.基础组件拆分
以下内容来自:
将拆分好的组件放到远程仓库,使用Cocoapods进行统一的管理
其实就是一个Cocoapods创建创建私有库的过程(Cocoapods创建私有库),需要创建远程索引库、远程代码库,引用iOS组件化(上篇)- 拆分基础组件一张图:

关键步骤:
a.创建索引库,获取库地址https://github.com/winfredzen/WZSpecs.git
b.添加本地索引库
- 使用
pod repo查看本地已有的本地索引库
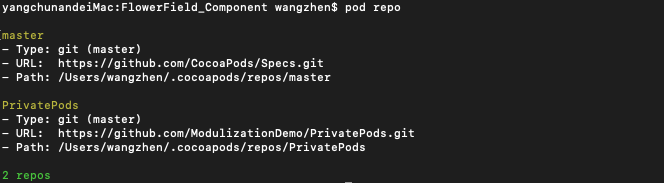
- 使用
pod repo add <本地索引库的名字> <远程索引库的地址>创建本地索引库并和远程索引库做关联pod repo add WZSpecs https://github.com/winfredzen/WZSpecs.git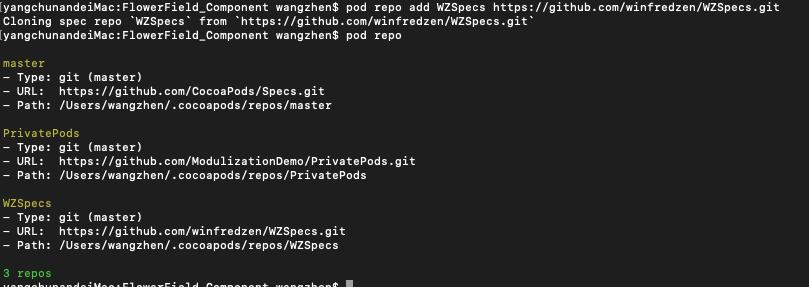
c.创建远程代码库
例如创建一个WZCategoryKit,远程代码地址为https://github.com/winfredzen/WZCategoryKit.git
d.创建本地代码库
使用pod lib create <组件名>创建本地代码组件模版库
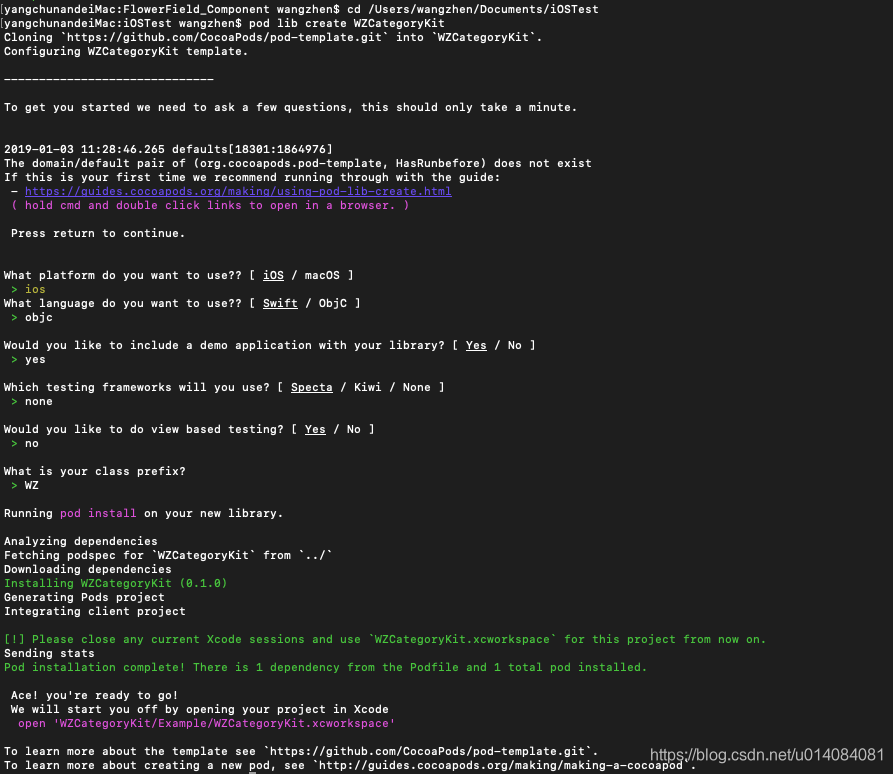
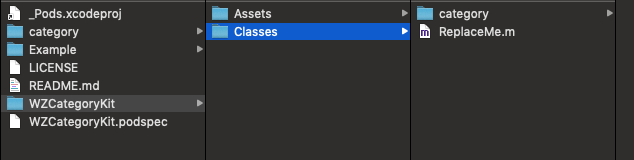
-
添加代码,将代码文件拖到
Classes文件目录下
-
然后cd 到 Example 文件目录下,运行
pod install
 扫描二维码关注公众号,回复: 5022766 查看本文章
-
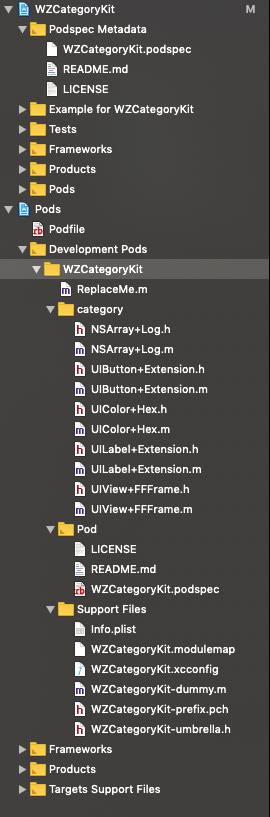
此时的工程结构为
e.修改WZCategoryKit.podspec文件
#
# Be sure to run `pod lib lint WZCategoryKit.podspec' to ensure this is a
# valid spec before submitting.
#
# Any lines starting with a # are optional, but their use is encouraged
# To learn more about a Podspec see https://guides.cocoapods.org/syntax/podspec.html
#

Pod::Spec.new do |s|
  s.name             = 'WZCategoryKit'
  s.version          = '0.1.0'
  s.summary          = 'A short description of WZCategoryKit.'

# This description is used to generate tags and improve search results.
#   * Think: What does it do? Why did you write it? What is the focus?
#   * Try to keep it short, snappy and to the point.
#   * Write the description between the DESC delimiters below.
#   * Finally, don't worry about the indent, CocoaPods strips it!

  s.description      = <<-DESC
  分类
                       DESC

  s.homepage         = 'https://github.com/winfredzen/WZCategoryKit'
  # s.screenshots     = 'www.example.com/screenshots_1', 'www.example.com/screenshots_2'
  s.license          = { :type => 'MIT', :file => 'LICENSE' }
  s.author           = { 'winfredzen' => '[email protected]' }
  s.source           = { :git => 'https://github.com/winfredzen/WZCategoryKit.git', :tag => s.version.to_s }
  # s.social_media_url = 'https://twitter.com/<TWITTER_USERNAME>'

  s.ios.deployment_target = '8.0'

  s.source_files = 'WZCategoryKit/Classes/**/*'

  # s.resource_bundles = {
  #   'WZCategoryKit' => ['WZCategoryKit/Assets/*.png']
  # }

  # s.public_header_files = 'Pod/Classes/**/*.h'
  # s.frameworks = 'UIKit', 'MapKit'
  # s.dependency 'AFNetworking', '~> 2.3'
end
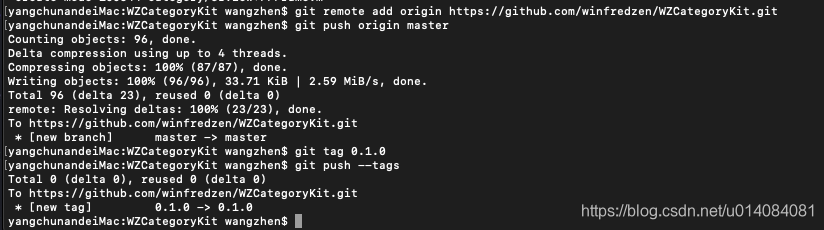
f.提交组件到远程代码库并打tag
- git add .
- git commit -m “xxx"
- git remote add origin 远程代码仓库地址
- git push origin master
- git tag 版本号 (注:这里的版本号必须和podspec里写的版本号一致)
- git push --tags
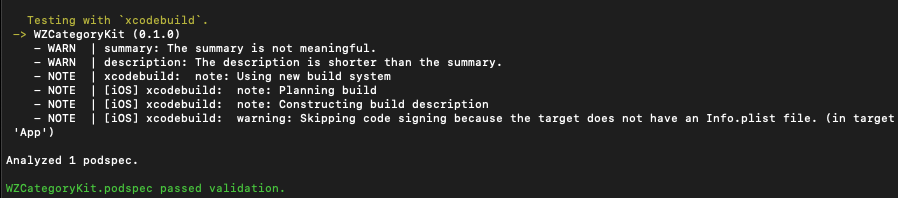
g.验证.podspec文件
pod spec lint --verbose --allow-warnings
h.验证之后,将.podspec文件提交到远程索引库
格式为pod repo push <本地索引库> <索引文件名> - -verbose - -allow-warnings
pod repo push WZSpecs WZCategoryKit.podspec --verbose --allow-warnings
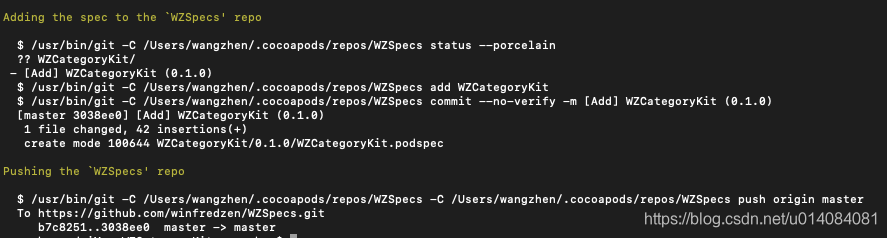
查看/Users/wangzhen/.cocoapods/repos/WZSpecs目录

2.主工程依赖拆分的组件
修改Podfile文件,添加source
source 'https://github.com/CocoaPods/Specs.git'
#添加source
source 'https://github.com/winfredzen/WZSpecs.git'

use_frameworks!
platform :ios, '8.0'
target ‘FlowerField’ do

pod 'MBProgressHUD'
pod 'AFNetworking'
pod 'Masonry'
pod 'YYWebImage'
pod 'FMDB'
pod 'ReactiveCocoa', '~> 2.5'

#引入WZCategoryKit
pod 'WZCategoryKit'

end
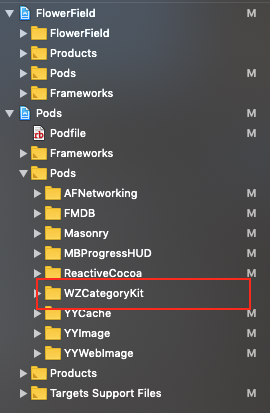
之后pod install
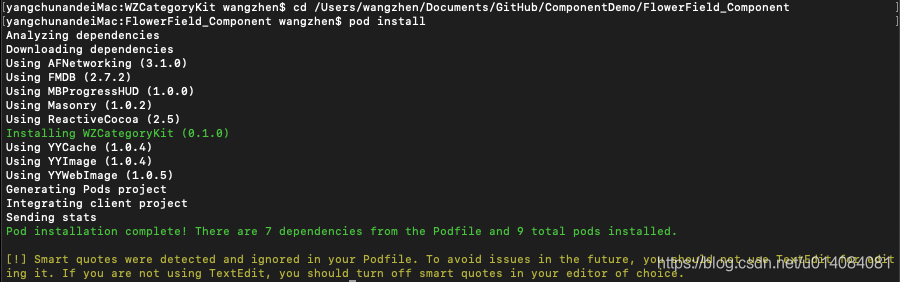
可以发现pod中已导入该依赖
总结
创建了一个远程索引库:
6个组件库:
工程文件地址:ComponentDemo
遇到的问题
1.私有库依赖私有库
比如上面提到的教程中,WZAPIsKit依赖WZToolsKit,即一个私有库依赖另一个私有库
在WZAPIsKit.podspec中依赖WZToolsKit
s.dependency 'WZToolsKit'
在WZAPIsKit的demo工程中的Podfile中,加入私有的source,这样可以正常安装
use_frameworks!

source 'https://github.com/winfredzen/WZSpecs.git'
source 'https://github.com/CocoaPods/Specs.git'
另外在验证WZAPIsKit.podspec时,需要加上source,参考:
在私有库引用了私有库的情况下,在验证和推送私有库的情况下都要加上所有的资源地址,不然pod会默认从官方repo查询。
pod spec lint --sources=‘私有仓库repo地址,https://github.com/CocoaPods/Specs’
pod repo push 本地repo名 podspec名 --sources=‘私有仓库repo地址,https://github.com/CocoaPods/Specs’
在pod spec lint时,我使用的是:
pod spec lint **.podspec --verbose --allow-warnings --sources='https://github.com/winfredzen/WZSpecs.git, https://github.com/CocoaPods/Specs.git'
可以正常工作,而在使用 pod repo push 时,使用
pod repo push WZSpecs WZAPIsKit.podspec --verbose --allow-warnings --sources='https://github.com/winfredzen/WZSpecs.git ,https://github.com/CocoaPods/Specs'
却提示出错,最后直接使用pod repo push WZSpecs WZAPIsKit.podspec --verbose --allow-warnings,却是正常的,有哪位大神指导是为什么吗?
2.pod spec lint 与 pod lib lint 区别
pod lib lint是只从本地验证你的pod能否通过验证
pod spec lint是从本地和远程验证你的pod能否通过验证
2.业务组件拆分
按照iOS组件化(中篇)-拆分业务组件介绍的内容,一步步来,创建了4个组件库:
遇到的问题
1.提示include of non-modular header inside framework module

貌似的意思是说:在framework模块中包含了一个非模块的header,参考教程中的例子,予以解决
3.加载XIB、图片资源
参考:
在专题页面点击Cell,跳转到详情FFSpecialDetailController页面,在详情页面有如下的代码报错:
self.detailView = [[NSBundle mainBundle] loadNibNamed:@"FFSecialDetailView" owner:self options:nil].lastObject;
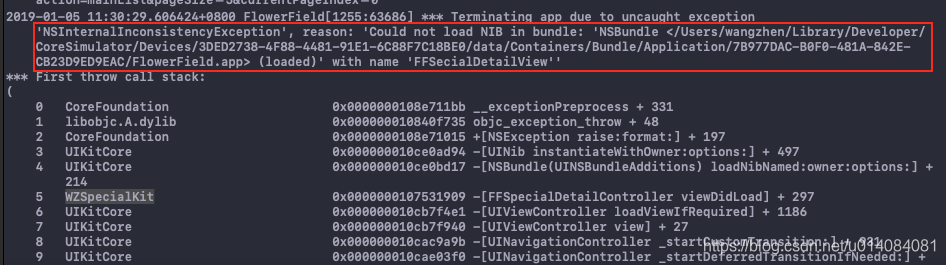
我在实际操作中遇到了如下的问题,我是这样操作的:
1.先修改WZSpecialKit,按照教程里所说的方式修改xib的加载方式
    NSBundle *xibBundle = [NSBundle bundleForClass:[self class]];
    self.detailView = [xibBundle loadNibNamed:@"FFSecialDetailView" owner:self options:nil].lastObject;
2.修改后,提交的git,修改tag,push tag,推送到repo上后,pod install后,发现运行的还是以前的老代码
一样提示上面的错误
3.之后,在xcode中选中Clean Build Folder,再运行,才可以正常的运行