1 启用MVC配置
1.1 @EnableWebMvc配置
1、启用MVC Java config 或 MVC XML namespace
想要启用MVC Java config,只需要将@EnableWebMvc添加到你的一个@Configuration class即可。
@Configuration
@EnableWebMvc
public class WebConfig {

}
1.2 XML配置
2 在XML中,需要在你的DispatcherServlet context (或你的root context – 如果没有定义DispatcherServlet context的话)内使用 mvc:annotation-driven 元素:
<?xml version="1.0" encoding="UTF-8"?>
<beans xmlns="http://www.springframework.org/schema/beans"
    xmlns:mvc="http://www.springframework.org/schema/mvc"
    xmlns:xsi="http://www.w3.org/2001/XMLSchema-instance"
    xsi:schemaLocation="
        http://www.springframework.org/schema/beans
        http://www.springframework.org/schema/beans/spring-beans.xsd
        http://www.springframework.org/schema/mvc
        http://www.springframework.org/schema/mvc/spring-mvc.xsd">

    <mvc:annotation-driven/>

</beans>
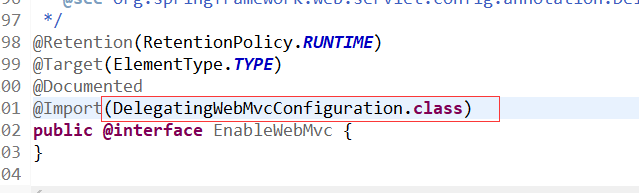
2 @EnableWebMvc
本文主要以@EnableWebMvc java配置为主,一下为相关类图和代码:

想要以Java形式定制默认的配置,你可以简单的实现WebMvcConfigurer接口,或者继承WebMvcConfigurerAdapter并重写需要的方法:
@Configuration
@EnableWebMvc
public class WebConfig extends WebMvcConfigurerAdapter {

    // Override configuration methods...

}
2.1 HandlerMapping
@EnableWebMvc 会自动向Spring容器注入HanleMapping子类


HandlerMapping类图,如下图所示:

2.2 HandlerAdapter
@EnableWebMvc 会自动向Spring容器注入HandlerAdapter子类

HandlerAdapter类图,如下图所示:
