在Android 项目开发中,需要对功能函数,api接口进行本地测试,于是需要android本地的测试,
首先,创建测试文件,在项目src目录下,创建androidtest,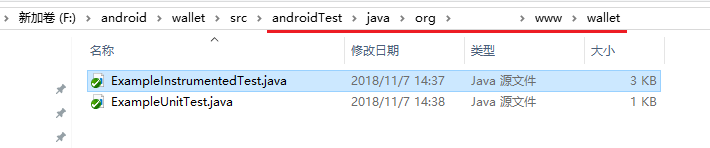
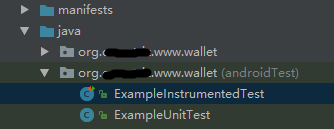
在Android项目中如下图
创建测试类,ExampleInstrumentedTest.java代码如下
package org.xmstring.www.wallet;

import android.content.Context;
import android.support.test.InstrumentationRegistry;
import android.support.test.runner.AndroidJUnit4;
import android.util.Log;

import org.junit.Test;
import org.junit.runner.RunWith;

import static org.junit.Assert.*;

/**
 * Instrumented test, which will execute on an Android device.
 *
 * @see <a href="http://d.android.com/tools/testing">Testing documentation</a>
 */
@RunWith(AndroidJUnit4.class)
public class ExampleInstrumentedTest {

    /**
     * 测试所用flag
     */
    private static final String testFlag = "wjltest";
    @Test
    public void useAppContext() throws Exception {
        // Context of the app under test.
        Context appContext = InstrumentationRegistry.getTargetContext();

        assertEquals("org.xmstring.www.wallet", appContext.getPackageName());
    }
 }
在项目目录的文件夹中的build.gradle,增加测试包的依赖,
defaultConfig {
    testInstrumentationRunner "android.support.test.runner.AndroidJUnitRunner"
}
dependencies {
    testImplementation 'junit:junit:4.12'
    androidTestImplementation 'com.android.support.test:runner:1.0.1'
    androidTestImplementation 'com.android.support.test.espresso:espresso-core:3.0.1'
}
运行测试

测试结果

测试完成,采用Android本地测试,可以调用Android系统的api,但是相对测试速度比较慢。