版权声明:本文为博主原创文章,未经博主允许不得转载。 https://blog.csdn.net/qq_33440246/article/details/79252855
主题词:使用Spring boot搭建JavaWeb项目
- SpringBoot依赖的JDK版本为1.8及以上
SpringBoot Demo入门
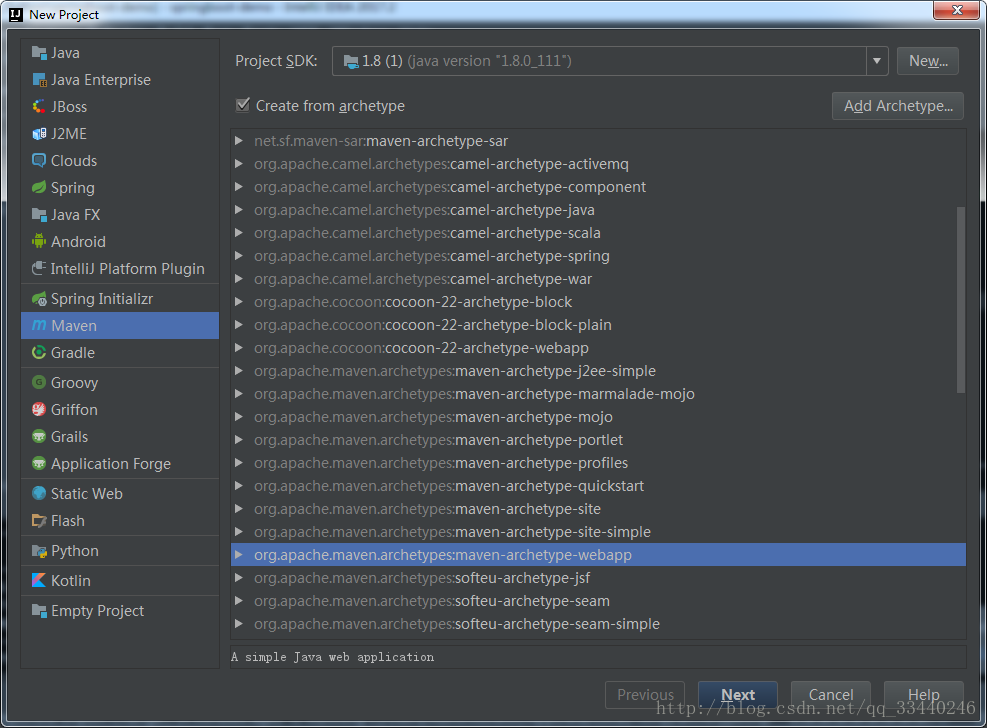
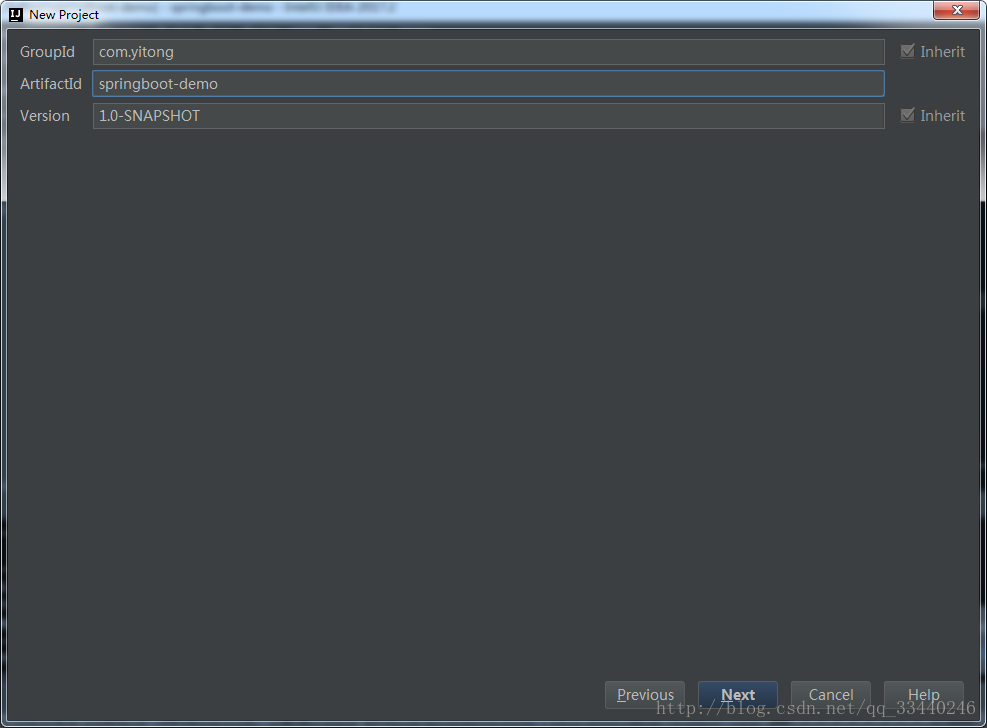
1、File->new,选择maven,创建一个空项目,直接next
2、pom文件中添加依赖
<parent>
    <groupId>org.springframework.boot</groupId>
    <artifactId>spring-boot-starter-parent</artifactId>
    <version>1.5.9.RELEASE</version>
</parent>
<!-- spring boot相关包 -->
<dependency>
<groupId>org.springframework.boot</groupId>
<artifactId>spring-boot-starter</artifactId>
</dependency>
<dependency>
<groupId>org.springframework.boot</groupId>
<artifactId>spring-boot-starter-test</artifactId>
<scope>test</scope>
</dependency>
<dependency>
<groupId>org.springframework.boot</groupId>
<artifactId>spring-boot-starter-web</artifactId>
</dependency>build插件
<plugins>
  <plugin>
    <groupId>org.springframework.boot</groupId>
    <artifactId>spring-boot-maven-plugin</artifactId>
  </plugin>
</plugins>
3、在com.yitong报下创建SpringMain.java
package com.yitong;

import org.springframework.boot.SpringApplication;
import org.springframework.boot.autoconfigure.SpringBootApplication;

/**
 * Author:
 * Desc: spring boot 入口
 * DateTime:2017-12-13 14:06
 */
@SpringBootApplication
public class SpringMain {
    public static void main(String[] args) {
        SpringApplication.run(SpringMain.class, args);
    }
}
4、在com.yitong.controller报下创建DemoController.java
package com.yitong.controller;
import org.springframework.web.bind.annotation.RequestMapping;
import org.springframework.web.bind.annotation.RestController;
/**
* Author:
* DateTime:2017-12-13 14:08
*/
@RestController
public class DemoController {
@RequestMapping("/helloWorld")
public String helloWorld() {
return "This is a helloWorld";
}
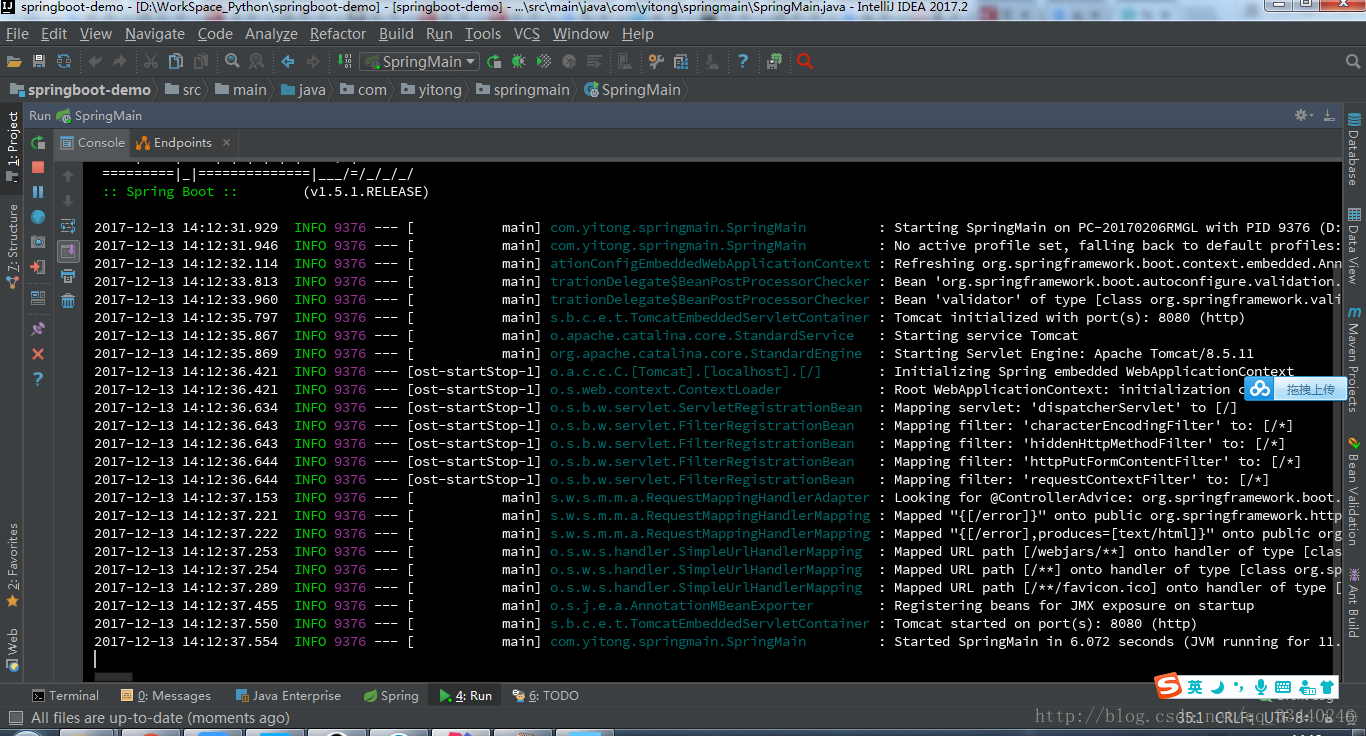
}5、在SpringMain.java中启动springboot-demo,Run SpringMain

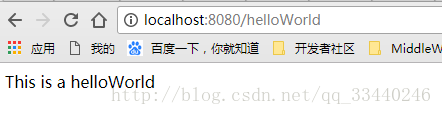
6、在浏览器中访问:
http://localhost:8080/helloWorld
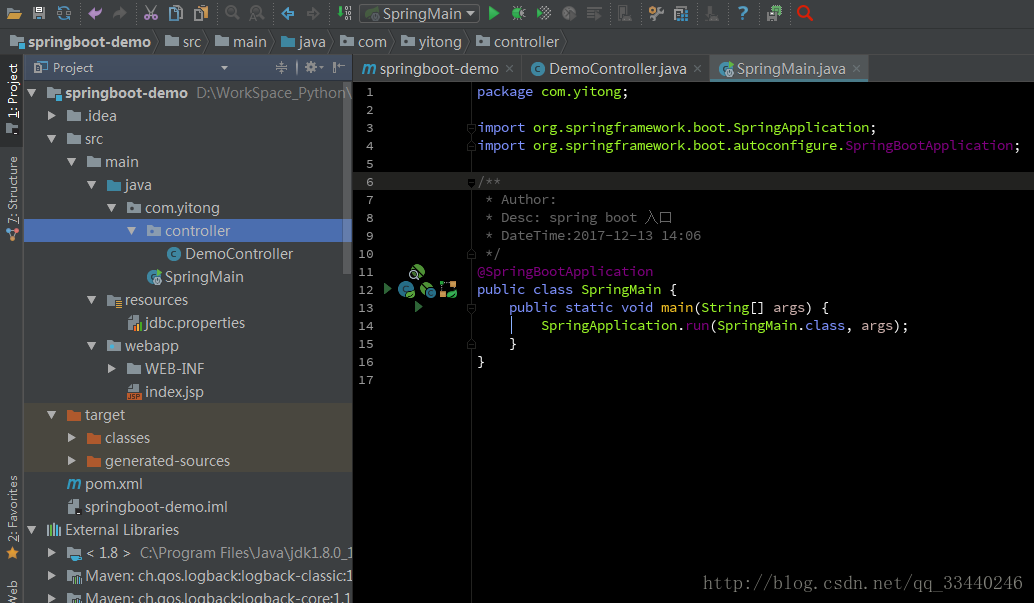
7、项目文件结构总览
SpringBoot整合Mybatis
1、pom.xml添加依赖
<!-- 添加mysql驱动依赖 -->
<dependency>
  <groupId>mysql</groupId>
  <artifactId>mysql-connector-java</artifactId>
  <version>5.1.29</version>
</dependency>
<dependency>
  <groupId>org.mybatis.spring.boot</groupId>
  <artifactId>mybatis-spring-boot-starter</artifactId>
  <version>1.3.1</version>
</dependency>
2、创建com.yitong.bean.User.java
package com.yitong.bean;

public class User {
    public Integer userId;
    public Integer age;
    public String name;

    public Integer getUserId() {
        return userId;
    }

    public void setUserId(Integer userId) {
        this.userId = userId;
    }

    public Integer getAge() {
        return age;
    }

    public void setAge(Integer age) {
        this.age = age;
    }

    public String getName() {
        return name;
    }

    public void setName(String name) {
        this.name = name;
    }

    @Override
    public String toString() {
        return "User{" +
                "userId=" + userId +
                ", age=" + age +
                ", name='" + name + '\'' +
                '}';
    }
}
3、创建com.yitong.mapper.UserMapper.java
package com.yitong.mapper;

import com.yitong.bean.User;
import org.apache.ibatis.annotations.Mapper;
import org.apache.ibatis.annotations.Param;
import org.apache.ibatis.annotations.Select;

/**
 * Author:
 * DateTime:2017-12-13 16:30
 */
@Mapper
public interface UserMapper {
    @Select("SELECT * FROM USER WHERE userId = #{userId}")
    User getByUserId(@Param("userId") int userId);
}
4、在resources报下创建application.properties,spring约定名称必须为application
spring.datasource.driverClassName=com.mysql.jdbc.Driver
spring.datasource.url=jdbc:mysql://localhost:3306/dbcp?useUnicode=true&characterEncoding=utf-8&zeroDateTimeBehavior=convertToNull
spring.datasource.username=root
spring.datasource.password=****
5、在创建com.yitong.SpringBootMybatisApplication.java,其中userMapper报错可以忽略
package com.yitong;

import com.yitong.bean.User;
import com.yitong.mapper.UserMapper;
import org.slf4j.Logger;
import org.slf4j.LoggerFactory;
import org.springframework.beans.factory.annotation.Autowired;
import org.springframework.boot.CommandLineRunner;
import org.springframework.boot.SpringApplication;
import org.springframework.boot.autoconfigure.SpringBootApplication;

/**
 * Author:
 * DateTime:2017-12-13 16:34
 */
@SpringBootApplication
public class SpringBootMybatisApplication implements CommandLineRunner {

    @Autowired
    private UserMapper userMapper;

    private Logger logger = LoggerFactory.getLogger(SpringBootMybatisApplication.class);

    public static void main(String[] args) {
        SpringApplication.run(SpringBootMybatisApplication.class, args);
    }

    @Override
    public void run(String... args) throws Exception {
        User user = this.userMapper.getByUserId(6);
        logger.info("user" + user);
    }
}
6、运行SpringBootMybatisApplication

扫描二维码关注公众号,回复:
4762396 查看本文章
