Linux上安装jdk、tomcat,mysql (转自我的个人微博非他人博客)

Linux上安装jdk、tomcat,mysql
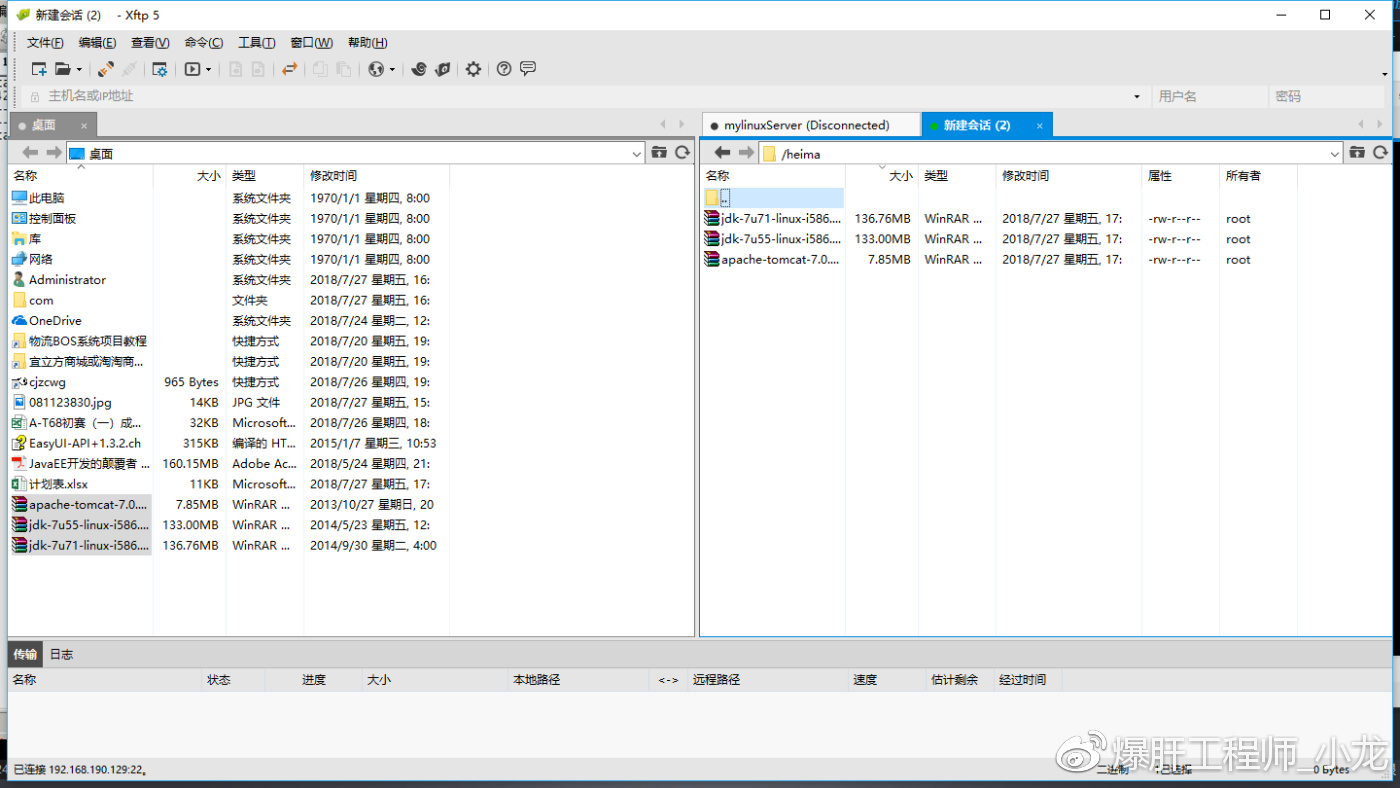
1 上传三个安装包
2 安装jdk

tar -zxvf jdk-7u55-linux-i586.tar.gz
如果出现
lib/ld-linux.so.2: bad ELF interpreter: No such file or directory
请输入
sudo yum install glibc.i686
解压后,发现多了个目录

配置环境变量
使用root用户 输入
vim /etc/profile
最后加上这句话

使用source /etc/profile 使配置文件生效,再次java -version即可

安装成功!
安装Tomcat
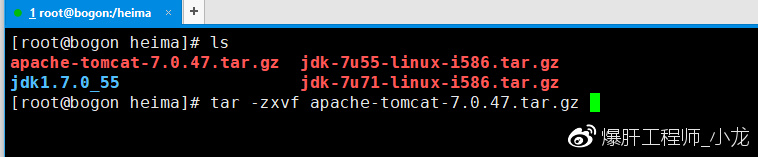
tar -zxvf apache-tomcat-7.0.47.tar.gz
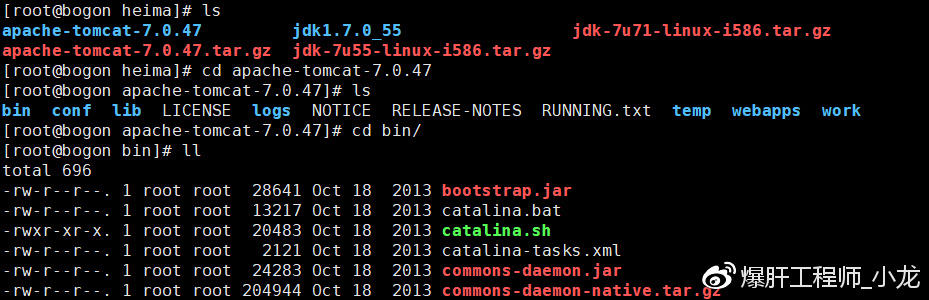
发现就有tomcat了

进入他的bin目录
启动服务

this time not accout!
need guan bi fang huo qiang

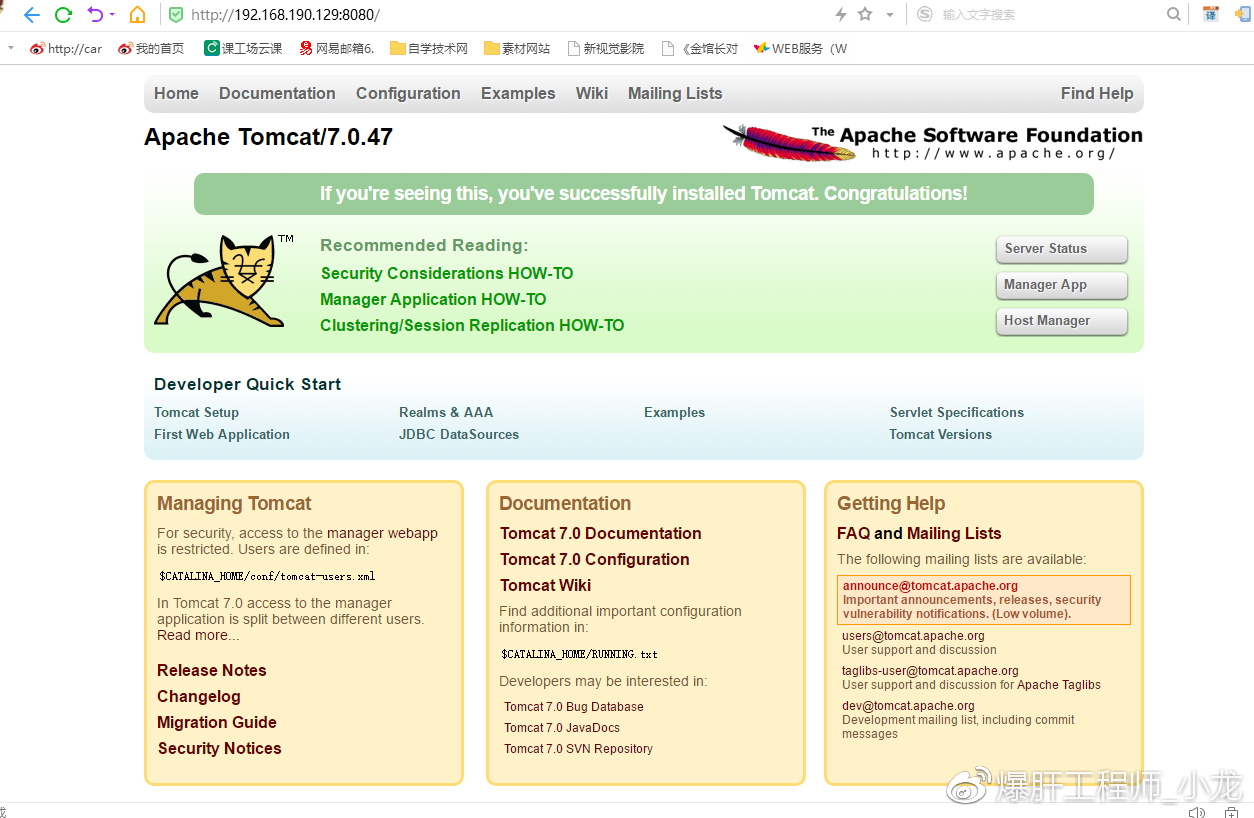
tomcat comple !
安装MySQL
查看能安装什么MySQL版本
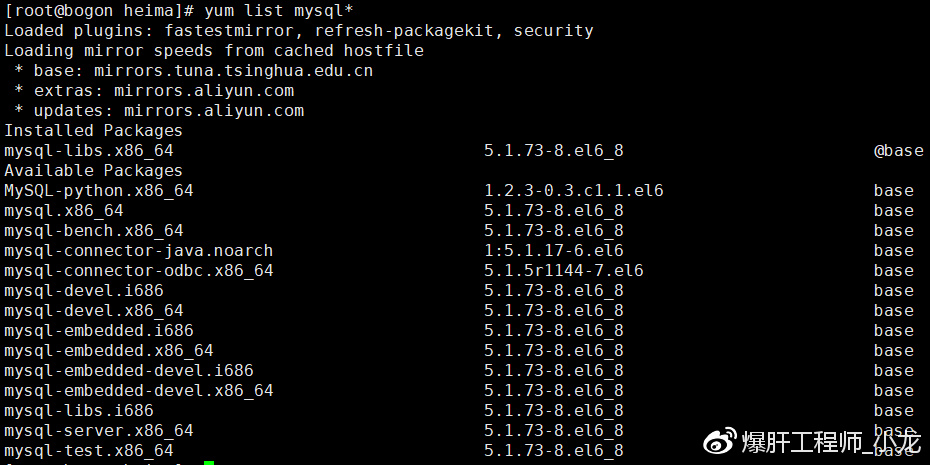
yum list mysql*
再使用 如下命令开始安装(注意 该步骤需要网)
yum install mysql*
【小提示】完美卸载mysql 教程:https://www.jb51.net/article/97516.htm
启动服务
service mysqld start
创建用户名和密码
/usr/bin/mysqladmin -u root password 'root'
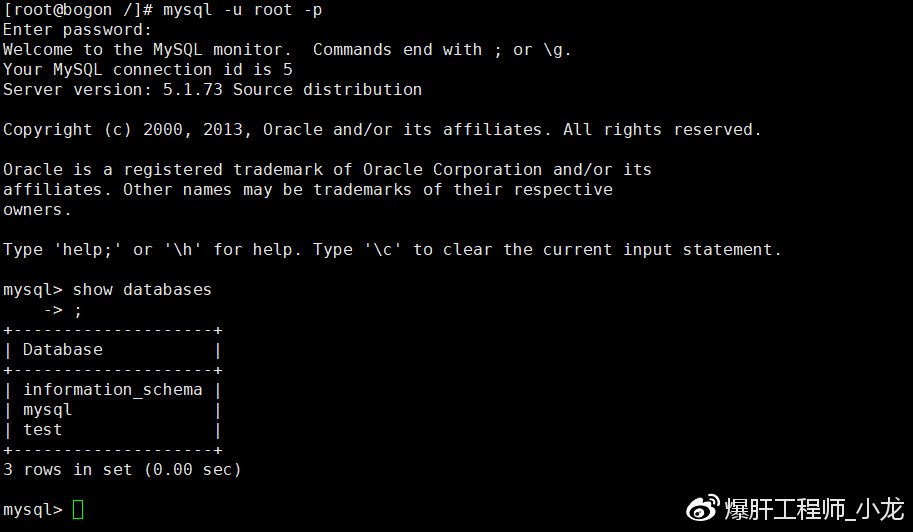
使用root用户登陆
mysql -u root -p