版权声明:转发请注明,谢谢配合 https://blog.csdn.net/qq_31289187/article/details/85116371
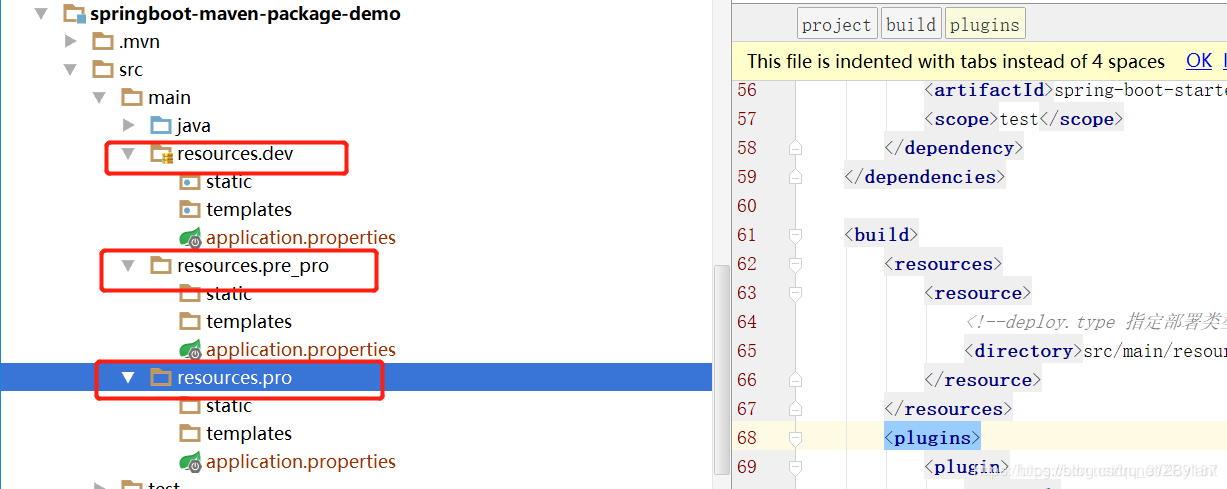
1、创建springboot项目,然后创建不同的resource
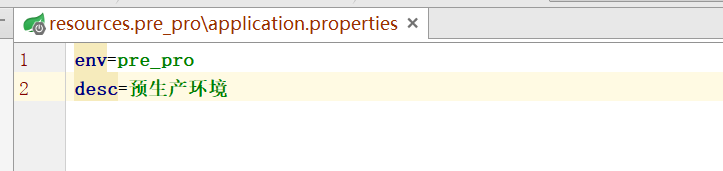
2、application.properties加上一个标志,方便测试
3、在pom.xml中定义全局配置信息
   <?xml version="1.0" encoding="UTF-8"?>
<project xmlns="http://maven.apache.org/POM/4.0.0" xmlns:xsi="http://www.w3.org/2001/XMLSchema-instance"
   xsi:schemaLocation="http://maven.apache.org/POM/4.0.0 http://maven.apache.org/xsd/maven-4.0.0.xsd">
   <modelVersion>4.0.0</modelVersion>
   <parent>
   	<groupId>org.springframework.boot</groupId>
   	<artifactId>spring-boot-starter-parent</artifactId>
   	<version>2.1.1.RELEASE</version>
   	<relativePath/> <!-- lookup parent from repository -->
   </parent>
   <groupId>com.cn.dl</groupId>
   <artifactId>springboot-maven-package-demo</artifactId>
   <version>0.0.1-SNAPSHOT</version>
   <name>springboot-maven-package-demo</name>
   <description>Demo project for Spring Boot</description>
   <properties>
   	<java.version>1.8</java.version>
   </properties>


   <!--定义全局的配置信息-->
   <profiles>
   	<profile>
   		<id>dev</id>  <!--开发环境-->
   		<properties>
   			<deploy.type>dev</deploy.type>
   		</properties>
   		<activation>
   			<activeByDefault>true</activeByDefault>
   		</activation>
   	</profile>
   	<profile>
   		<id>pro</id> <!--生产环境-->
   		<properties>
   			<deploy.type>pro</deploy.type>
   		</properties>
   	</profile>
   	<profile>
   		<id>pre_pro</id> <!--预生产环境-->
   		<properties>
   			<deploy.type>pre_pro</deploy.type>
   		</properties>
   	</profile>
   </profiles>


   <dependencies>
   	<dependency>
   		<groupId>org.springframework.boot</groupId>
   		<artifactId>spring-boot-starter-web</artifactId>
   	</dependency>

   	<dependency>
   		<groupId>org.springframework.boot</groupId>
   		<artifactId>spring-boot-starter-test</artifactId>
   		<scope>test</scope>
   	</dependency>
   </dependencies>

   <build>
   	<resources>
   		<resource>
   			<!--deploy.type 指定部署类型:dev、pre_pro、pro-->
   			<directory>src/main/resources.${deploy.type}</directory>
   		</resource>
   	</resources>
   	<plugins>
   		<plugin>
   			<groupId>org.springframework.boot</groupId>
   			<artifactId>spring-boot-maven-plugin</artifactId>
   		</plugin>
   	</plugins>
   </build>

</project>
4、打包测试
1、使用命令:mvn clean package -P参数
p:就是前面定义的profiles文件,-p后面的参数就是profile中配置的id值
例如执行命令:
F:\ideaWorkSpace\practice\springboot-maven-package-demo>mvn clean package -Ppro
作者:燕少江湖
来源:CSDN
原文:https://blog.csdn.net/qq_31289187/article/details/85116371
版权声明:本文为博主原创文章,转载请附上博文链接!