1.创建Django工程
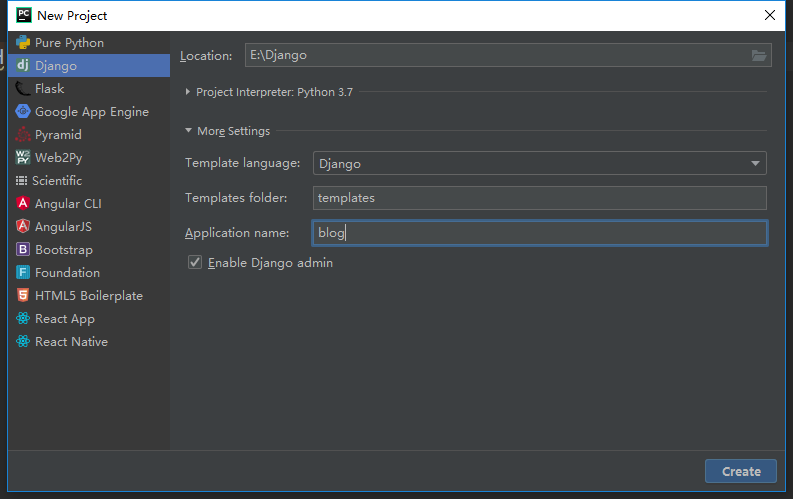
再newproject中选择Django工程,在Location中输入建立的项目文件夹名称,Application name中输入要建立的app名称后电机Create。
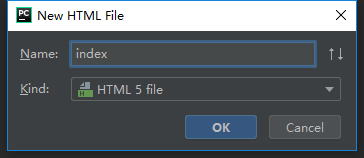
2.在templates文件夹中创建想要使用的html文件。
html文件内容:
<!DOCTYPE html>
<html lang="en">
<head>
    <meta charset="UTF-8">
    <title>Title</title>
</head>
<body>
    <h1>time: {{ time }}</h1>
</body>
</html>
{{ }}为特殊标记,标记出前端中等待通过后端传入值的参数。
3.在blog文件夹下的views.py文件下加入如下程序:
from django.shortcuts import render
import time

# Create your views here.

def show_time(req):
    t = time.ctime()
    return render(req, 'index.html', {'time': t})
view是视图的意思,自定义函数传入参数是访问的请求信息,返回值是服务器的响应信息
在render(着色)函数中第一个参数是请求参数,第二个参数是需要渲染的html文件,第三个参数是字典其键对应html中的变量,其值对应服务器中的变量。
4.在Django的文件夹下的urls.py文件中加入如下程序:
扫描二维码关注公众号,回复:
4596861 查看本文章

"""Django URL Configuration

The `urlpatterns` list routes URLs to views. For more information please see:
    https://docs.djangoproject.com/en/2.1/topics/http/urls/
Examples:
Function views
    1. Add an import:  from my_app import views
    2. Add a URL to urlpatterns:  path('', views.home, name='home')
Class-based views
    1. Add an import:  from other_app.views import Home
    2. Add a URL to urlpatterns:  path('', Home.as_view(), name='home')
Including another URLconf
    1. Import the include() function: from django.urls import include, path
    2. Add a URL to urlpatterns:  path('blog/', include('blog.urls'))
"""
from django.contrib import admin
from django.urls import path
from blog import views

urlpatterns = [
    path('admin/', admin.site.urls),
    path('show_time/', views.show_time),
]
urlpatterns函数是服务器请求的分发函数,path中的第一个参数是通过正则函数查询的内容,通过GET拿到的字符串中含有的部分,找到对应的函数。
5.在Terminal窗口中输入以下指令启动框架运行。
E:\Django>python manage.py runserver 127.0.0.1:8081
成功效果如下:
Performing system checks...

System check identified no issues (0 silenced).

You have 15 unapplied migration(s). Your project may not work properly until you apply the migrations for app(s): admin, auth, contenttypes,
sessions.
Run 'python manage.py migrate' to apply them.
December 21, 2018 - 21:20:07
Django version 2.1.4, using settings 'Django.settings'
Starting development server at http://127.0.0.1:8081/
Quit the server with CTRL-BREAK.
manage.py是这个Djando工程的启动函数,输入IP地址和监听端口号可以开始监听。
6.在网页中访问http://127.0.0.1:8081/show_time/ 得到访问结果:

通过以上6步完成通过Django框架显示时间功能。