TPOT介绍
自动化机器学习(AML)是一种流水线(也称管线),它能够让你自动执行机器学习(ML)问题中的重复步骤,从而节省时间,让你专注于使你的专业知识发挥更高价值。 最重要的是,它不仅是一些模糊的想法,而且还有一些基于标准python ML包建立的应用包,如scikit-learn。
在这种情况下,任何熟悉机器学习的人都可能会回想起网格搜索(grid search)这个概念。 他们这样想是完全正确的。 实际上,AML是在scikit-learn中应用的网格搜索的扩展,而不是迭代这些值预先定义的集合和其组合,它通过搜索方法,特征,变换和参数值来获得最佳解决方案。 因此,AML“网格搜索”不需要在可能的配置空间上进行详尽的搜索 - AML有一个很赞的应用叫做TPOT包,其提供了像 遗传算法这样的应用,可用来在某个配置中混合各个参数并达到最佳设置。
TPOT 是一个 Python 编写的软件包,利用遗传算法行特征选择和算法模型选择,仅需几行代码,就能生成完整的机器学习代码。
TPOT github:https://github.com/rhiever/tpot
TPOT 官方文档:http://rhiever.github.io/tpot/
众所周知,一个机器学习问题或者数据挖掘问题整体上有如下几个处理步骤:从数据清洗、特征选取、特征重建、特征选择、算法模型算法和算法参数优化,以及最后的交叉验证。整个步骤异常繁琐,但使用TPOT可以轻松解决特征提取和算法模型选择的问题,如下图阴影部分所示。

从下图对MNIST数据集进行处理的流程可以看到,TPOT可以轻松取得98.4%的结果,这个结果还是很不错的(在传统方法中,TPOT暂时没有添加任何神经网络算法,如CNN)。最最重要的是TPOT还可以将整个的处理流程输出为Python代码,好激动啊有木有!Talk is simple,show you the code。
TPOT安装
TPOT是运行在Python环境下的,所以你首先需要按照相应的Python库:
- NumPy
- SciPy
- scikit-learn
- DEAP
- update_checker
- tqdm
此外TPOT还支持xgboost模型,所以你可以自行安装xgboost。
pip install xgboost
最后安装
pip install tpot
TPOT安装可以参考官方文档,也可以直接到github项目页面提交issue。
TPOT例子
1.IRIS
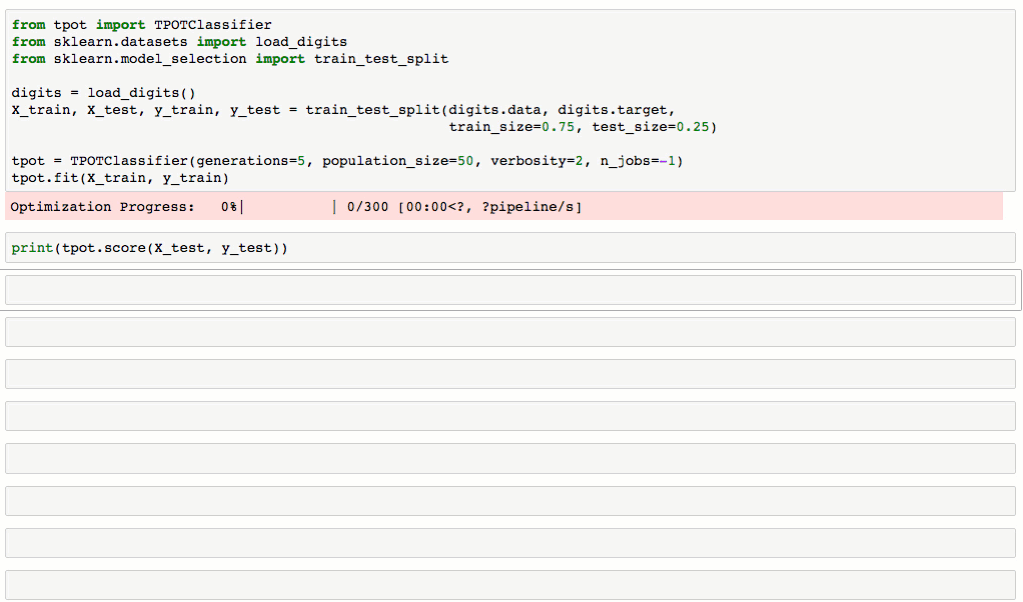
TPOT使用起来很简单:首先载入数据,声明TPOTClassifier,fit,最后export代码。
from tpot import TPOTClassifier
from sklearn.datasets import load_iris
from sklearn.cross_validation import train_test_split
import numpy as np

iris = load_iris()
X_train, X_test, y_train, y_test = train_test_split(iris.data.astype(np.float64),
    iris.target.astype(np.float64), train_size=0.75, test_size=0.25)

tpot = TPOTClassifier(generations=5, population_size=20, verbosity=2)
tpot.fit(X_train, y_train)
print(tpot.score(X_test, y_test))
tpot.export('tpot_iris_pipeline.py')
生成的tpot_iris_pipeline.py是这样的:
import numpy as np

from sklearn.cross_validation import train_test_split
from sklearn.ensemble import VotingClassifier
from sklearn.linear_model import LogisticRegression
from sklearn.pipeline import make_pipeline, make_union
from sklearn.preprocessing import FunctionTransformer, PolynomialFeatures

tpot_data = np.recfromcsv('PATH/TO/DATA/FILE', sep='COLUMN_SEPARATOR', dtype=np.float64)
features = np.delete(tpot_data.view(np.float64).reshape(tpot_data.size, -1), tpot_data.dtype.names.index('class'), axis=1)
training_features, testing_features, training_classes, testing_classes = \
    train_test_split(features, tpot_data['class'], random_state=42)

exported_pipeline = make_pipeline(
    PolynomialFeatures(degree=2, include_bias=False, interaction_only=False),
    LogisticRegression(C=0.9, dual=False, penalty="l2")
)

exported_pipeline.fit(training_features, training_classes)
results = exported_pipeline.predict(testing_features)
2.Titanic Kaggle
由于TPOT并不包含数据清洗的功能,所以需要人工进行数据清洗,整个例子代码,最后生成的代码如下:
import numpy as np
import pandas as pd

from sklearn.cross_validation import train_test_split
from sklearn.ensemble import AdaBoostClassifier
from sklearn.preprocessing import PolynomialFeatures

# NOTE: Make sure that the class is labeled 'class' in the data file
tpot_data = pd.read_csv('PATH/TO/DATA/FILE', delimiter='COLUMN_SEPARATOR')
training_indices, testing_indices = train_test_split(tpot_data.index, stratify = tpot_data['class'].values, train_size=0.75, test_size=0.25)

result1 = tpot_data.copy()

# Use Scikit-learn's PolynomialFeatures to construct new features from the existing feature set
training_features = result1.loc[training_indices].drop('class', axis=1)

if len(training_features.columns.values) > 0 and len(training_features.columns.values) <= 700:
    # The feature constructor must be fit on only the training data
    poly = PolynomialFeatures(degree=2, include_bias=False)
    poly.fit(training_features.values.astype(np.float64))
    constructed_features = poly.transform(result1.drop('class', axis=1).values.astype(np.float64))
    result1 = pd.DataFrame(data=constructed_features)
    result1['class'] = result1['class'].values
else:
    result1 = result1.copy()

result2 = result1.copy()
# Perform classification with an Ada Boost classifier
adab2 = AdaBoostClassifier(learning_rate=0.15, n_estimators=500, random_state=42)
adab2.fit(result2.loc[training_indices].drop('class', axis=1).values, result2.loc[training_indices, 'class'].values)

result2['adab2-classification'] = adab2.predict(result2.drop('class', axis=1).values)
TPOT Notes
1. TPOTClassifier()
TPOT最核心的就是整个函数,在使用TPOT的时候,一定要弄清楚TPOTClassifier()函数中的重要参数。
generation:遗传算法进化次数,可理解为迭代次数population_size:每次进化中种群大小num_cv_folds:交叉验证scoring:也就是损失函数
generation和population_size共同决定TPOT的复杂度,还有其他参数可以在官方文档中找到。
TPOT 大规模数据上的一些tips
TPOT在处理小规模数据非常快,结果很给力。但处理大规模的数据问题,速度非常慢,很慢。所以在做数据挖掘问题,可以尝试在数据清洗之后,抽样小部分数据跑一下TPOT,最初能得到一个还不错的算法。
一些建议:
- Set
n_jobs=1for TPOT object and make sure there are enough RAM to avoid memory issue; - Use
TPOT lightconfiguration; - Apply MDR or other features selection/dimension reduction algorithms for reducing feature numbers before using TPOT.
As TPOT is based on scikit-learn, it supports large-scale ML about as well as scikit-learn does (i.e., not great). My recommendation is to look into ML packages based on TensorFlow and/or that have GPU support to scale ML to that size of data.
If you plan to use Dask for parallel training, make sure to install dask[delay] and dask_ml.