一.需要安装mysql和Gcc和g++
yum install gcc
yum install g++
在linux下,C++的编译器不是g++这个名称,而是gcc-c++,由此看来的确是我想当然了。然后直接运行
yum install gcc-c++ libstdc++-devel
二.下载 sphinx-for-chinese.tar.gz(点击下载) 放在/usr/local 目录下并且解压
三.进入安装目录执行,将程序安装到 /usr/local/sphinxforchinese目录下
./configure --prefix=/usr/local/sphinxforchinese --with-mysql
make
make install
四.生成字典(先进入到 /usr/local/sphinxforchinese)
1.将文件夹中的 xdict_1.1.txt (点击下载)文件丢到 /usr/local/sphinxforchinese目录下
2.执行如下命令
cd /usr/local/sphinxforchinese
/usr/local/sphinxforchinese/bin/mkdict xdict_1.1.txt etc/xdict
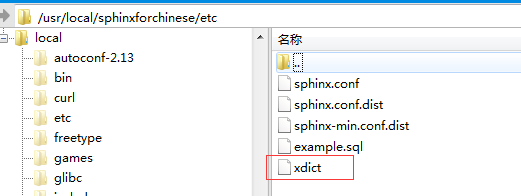
成功后发现/usr/local/sphinxforchinese/etc/文件夹中有 xdict代表成功
五: 重新新建索引
将 sphinx.conf 丢到 /usr/local/sphinxforchinese/etc 中并且配置数据库连接信息
/usr/local/sphinxforchinese/bin/indexer -c /usr/local/sphinxforchinese/etc/sphinx.conf --all --rotate
sphinx.conf 文件信息如下
source main{
	type            = mysql
    sql_host        = 127.0.0.1
    sql_user        = yourusername #数据库用户名
    sql_pass        = yourpassword #数据库密码
    sql_db          = yourdb       #使用数据库
    sql_port        = 3306
    sql_sock=/tmp/mysql.sock       #mysql文件
    sql_query_pre   = SET NAMES utf8
    sql_query       = \
	SELECT id, sid,title, img_cover,url_link,updatetime FROM blog_test
    sql_attr_uint       = sid
    sql_attr_timestamp  = updatetime
}


source src1throttled : main{

}


index testindex{
source=main
path=/usr/local/sphinxforchinese/data/testindex
charset_type    = utf-8
chinese_dictionary = /usr/local/sphinxforchinese/etc/xdict
}

indexer{
mem_limit = 256M
}
searchd
{
listen = 9312
listen = 9306:mysql41
log = /usr/local/sphinxforchinese/log/searchd.log
query_log = /usr/local/sphinxforchinese/log/query.log
read_timeout = 5
max_children = 30
pid_file = /usr/local/sphinxforchinese/log/searchd.pid
seamless_rotate= 1
preopen_indexes= 1
unlink_old = 1
workers = threads # for RT to work
binlog_path = /usr/local/sphinxforchinese/data

}
六:启动sphinx
/usr/local/sphinxforchinese/bin/searchd -c /usr/local/sphinxforchinese/etc/sphinx.conf
七:查看是否成功
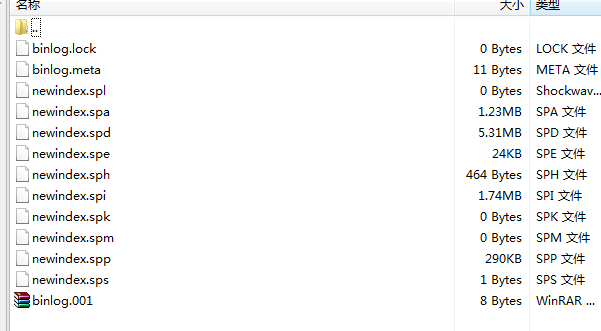
检查 /usr/local/sphinxforchinese/var/data 中是否有 newindex开头的几个文件
更多内容请参考原文地址:https://www.codelovers.cn/article/20181211163543.html