前两章我们讲了RabbitMQ的direct模式和fanout模式,本章介绍topic主题模式的应用。如果对direct模式下通过routingkey来匹配消息的模式已经有一定了解那fanout也很好理解。简单的可以理解成direct是通过routingkey精准匹配的,而topic是通过routingkey来模糊匹配。
在topic模式下支持两个特殊字符的匹配。
* (星号) 代表任意 一个单词
# (井号) 0个或者多个单词
注意:上面说的是单词不是字符。
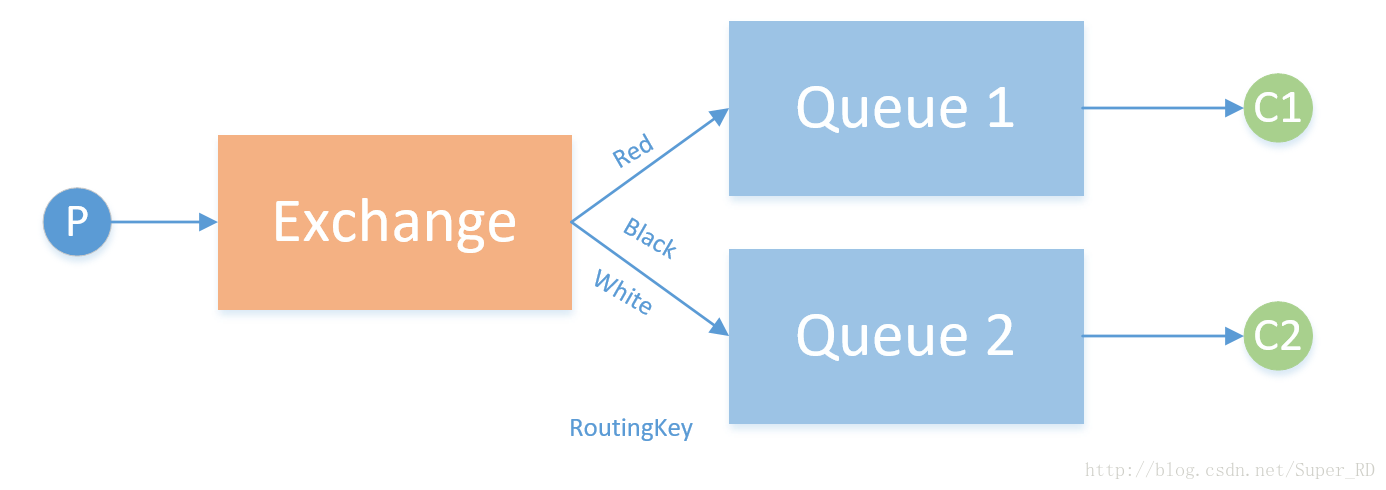
如下图所示,RabbitMQ direct模式通过RoutingKey来精准匹配,RoutingKey为red的投递到Queue1,RoutingKey为black和white的投递到Queue2。
我们可以假设一个场景,我们要做一个日志模块来收集处理不同的日志,日志区分包含三个维度的标准:模块、日志紧急程度、日志重要程度。模块分为:red、black、white;紧急程度分为:critical、normal;把重要程度分为:medium、low、high在RoutingKey字段中我们把这三个维度通过两个“.“连接起来。
现在我们需要对black模块,紧急程度为critical,重要程度为high的日志分配到队列1打印到屏幕;对所以模块重要程度为high的日志和white紧急程度为critical的日志发送到队列2持久化到硬盘。如下示例:
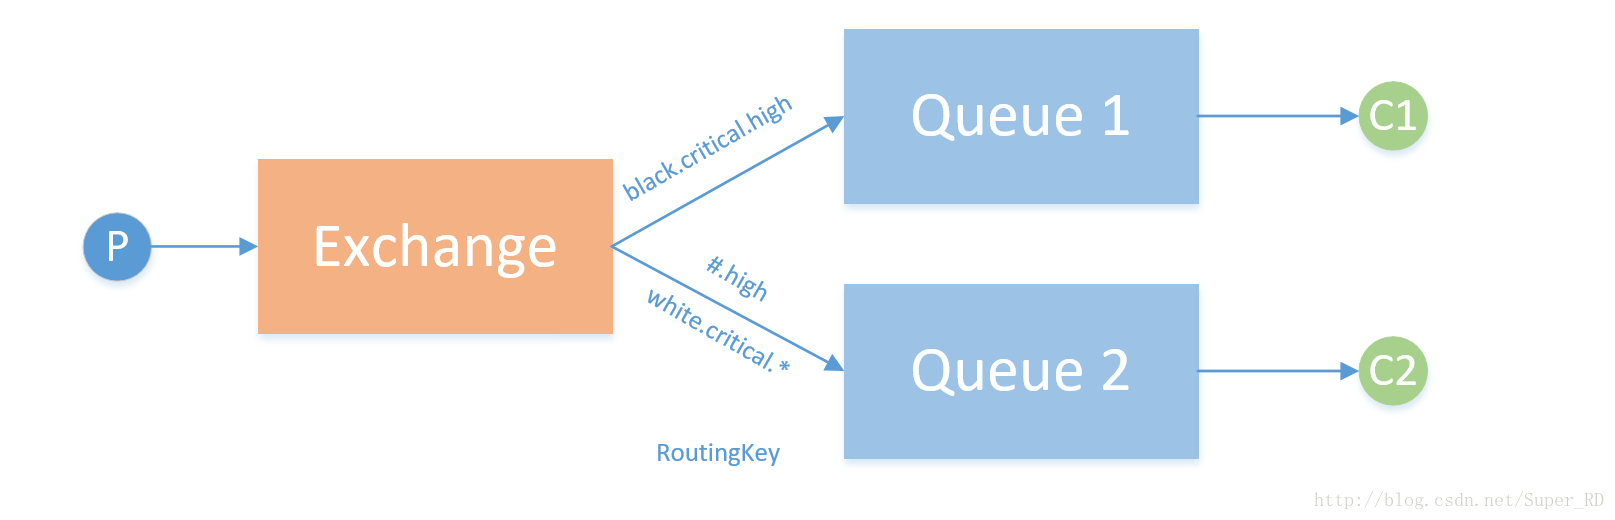
RoutingKey为“black.critical.high”的日志会投递到queue1和queue2,。
RoutingKey为“red.critical.high”的日志会只投递到queue2。
RoutingKey为“white.critical.high”的日志会投递到queue2,并且虽然queue2的两个匹配规则都符合但只会向queue2投递一份。
新建topic.php用来发布三种routingkey的消息。
<?php

/*
 * topic 模式
 * create by superrd
 */

$exchangeName = 'extopic';
$routeKey1 = "black.critical.high";
$routeKey2 = "red.critical.high";
$routeKey3 = "white.critical.high";

$message1 = 'black-critical-high!';
$message2 = 'red-critical-high!';
$message3 = 'white-critical-high!';

$connection = new AMQPConnection(array('host' => '10.99.121.137', 'port' => '5672', 'vhost' => '/', 'login' => 'superrd', 'password' => 'superrd'));
$connection->connect() or die("Cannot connect to the broker!\n");
try {
        $channel = new AMQPChannel($connection);
        $exchange = new AMQPExchange($channel);
        $exchange->setName($exchangeName);
        $exchange->setType(AMQP_EX_TYPE_TOPIC);
        $exchange->setFlags(AMQP_DURABLE);
        $exchange->declareExchange();

        $exchange->publish($message1,$routeKey1);
        var_dump("[x] Sent ".$message1);
        $exchange->publish($message2,$routeKey2);
        var_dump("[x] Sent ".$message2);
        $exchange->publish($message3,$routeKey3);
        var_dump("[x] Sent ".$message3);

} catch (AMQPConnectionException $e) {
        var_dump($e);
        exit();
}
 $connection->disconnect();
q1.php用来监听queue1队列:
<?php

/*
 * topic 模式
 * create by superrd
 */

$queueName = 'queue1';
$exchangeName = 'extopic';
$routeKey = "black.critical.high";

$connection = new AMQPConnection(array('host' => '10.99.121.137', 'port' => '5672', 'vhost' => '/', 'login' => 'superrd', 'password' => 'superrd'));
$connection->connect() or die("Cannot connect to the broker!\n");

$channel = new AMQPChannel($connection);
$exchange = new AMQPExchange($channel);
$exchange->setName($exchangeName);
$exchange->setType(AMQP_EX_TYPE_TOPIC);
$exchange->setFlags(AMQP_DURABLE);
$exchange->declareExchange();

$queue = new AMQPQueue($channel);
$queue->setName($queueName);
$queue->setFlags(AMQP_DURABLE);
$queue->declareQueue();

$queue->bind($exchangeName, $routeKey);

//阻塞模式接收消息

echo "Message:\n";
while(True){
        $queue->consume('processMessage');
//自动ACK应答
        //$queue->consume('processMessage', AMQP_AUTOACK);
}

$conn->disconnect();
/*
* 消费回调函数
* 处理消息
*/
function processMessage($envelope, $q) {
    $msg = $envelope->getBody();
    echo $msg."\n"; //处理消息
    $q->ack($envelope->getDeliveryTag()); //手动发送ACK应答
}
q2.php用来监听queue2队列:
<?php

/*
 * topic 模式
 * create by superrd
 */

$queueName = 'queue2';
$exchangeName = 'extopic';
$routeKey1 = "#.high";
$routeKey2 = "white.critical.*";

$connection = new AMQPConnection(array('host' => '10.99.121.137', 'port' => '5672', 'vhost' => '/', 'login' => 'superrd', 'password' => 'superrd'));
$connection->connect() or die("Cannot connect to the broker!\n");

$channel = new AMQPChannel($connection);
$exchange = new AMQPExchange($channel);
$exchange->setName($exchangeName);
$exchange->setType(AMQP_EX_TYPE_TOPIC);
$exchange->setFlags(AMQP_DURABLE);
$exchange->declareExchange();

$queue = new AMQPQueue($channel);
$queue->setName($queueName);
$queue->setFlags(AMQP_DURABLE);
$queue->declareQueue();

$queue->bind($exchangeName, $routeKey1);
$queue->bind($exchangeName, $routeKey2);


//阻塞模式接收消息

echo "Message:\n";
while(True){
        $queue->consume('processMessage');
//自动ACK应答
        //$queue->consume('processMessage', AMQP_AUTOACK);
}

$conn->disconnect();
/*
* 消费回调函数
* 处理消息
*/
function processMessage($envelope, $q) {
    $msg = $envelope->getBody();
    echo $msg."\n"; //处理消息
    $q->ack($envelope->getDeliveryTag()); //手动发送ACK应答
}
先运行q1.php和q2.php脚本保持订阅状态。然后执行topic.php脚本发布消息。q1和q2收到的消息如下:
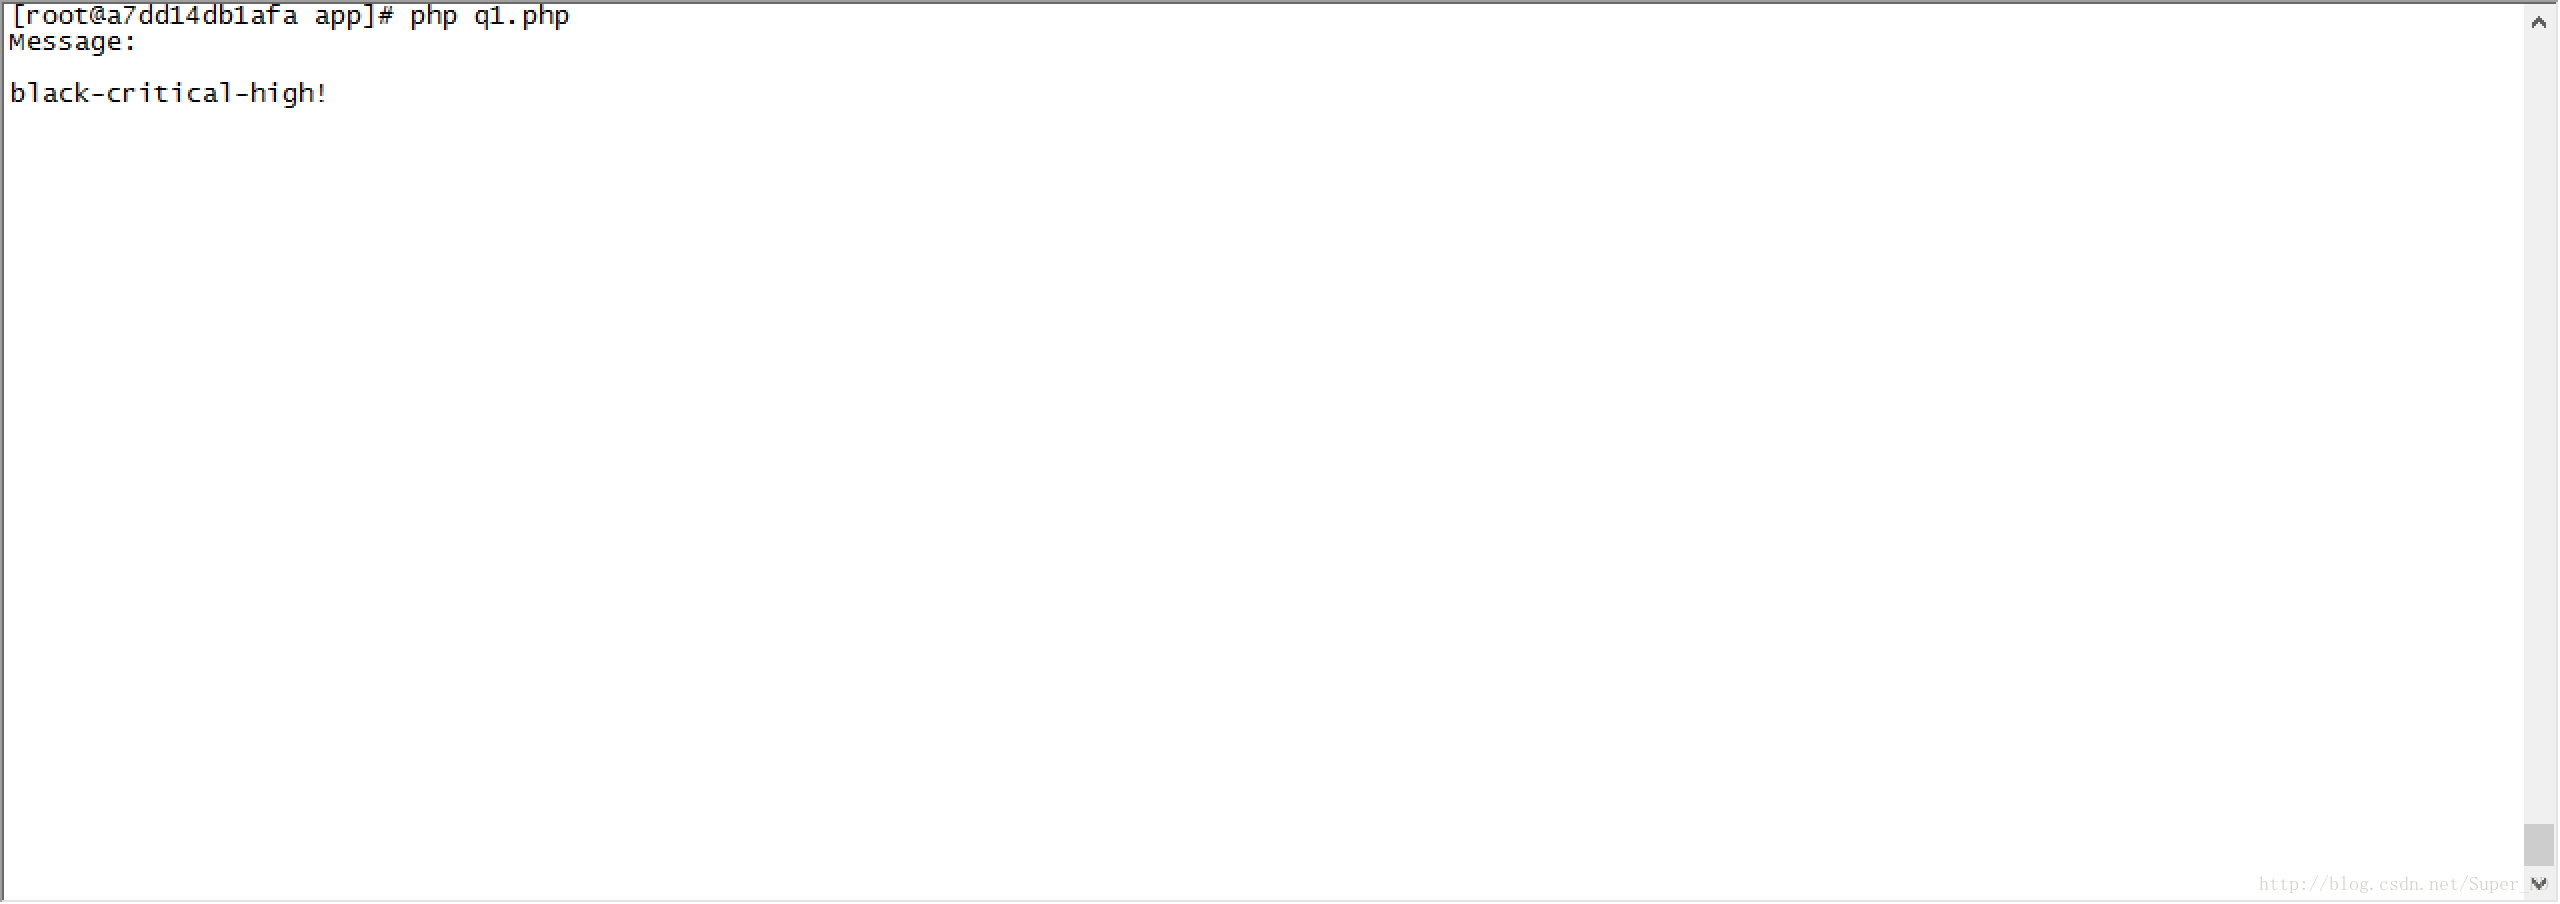
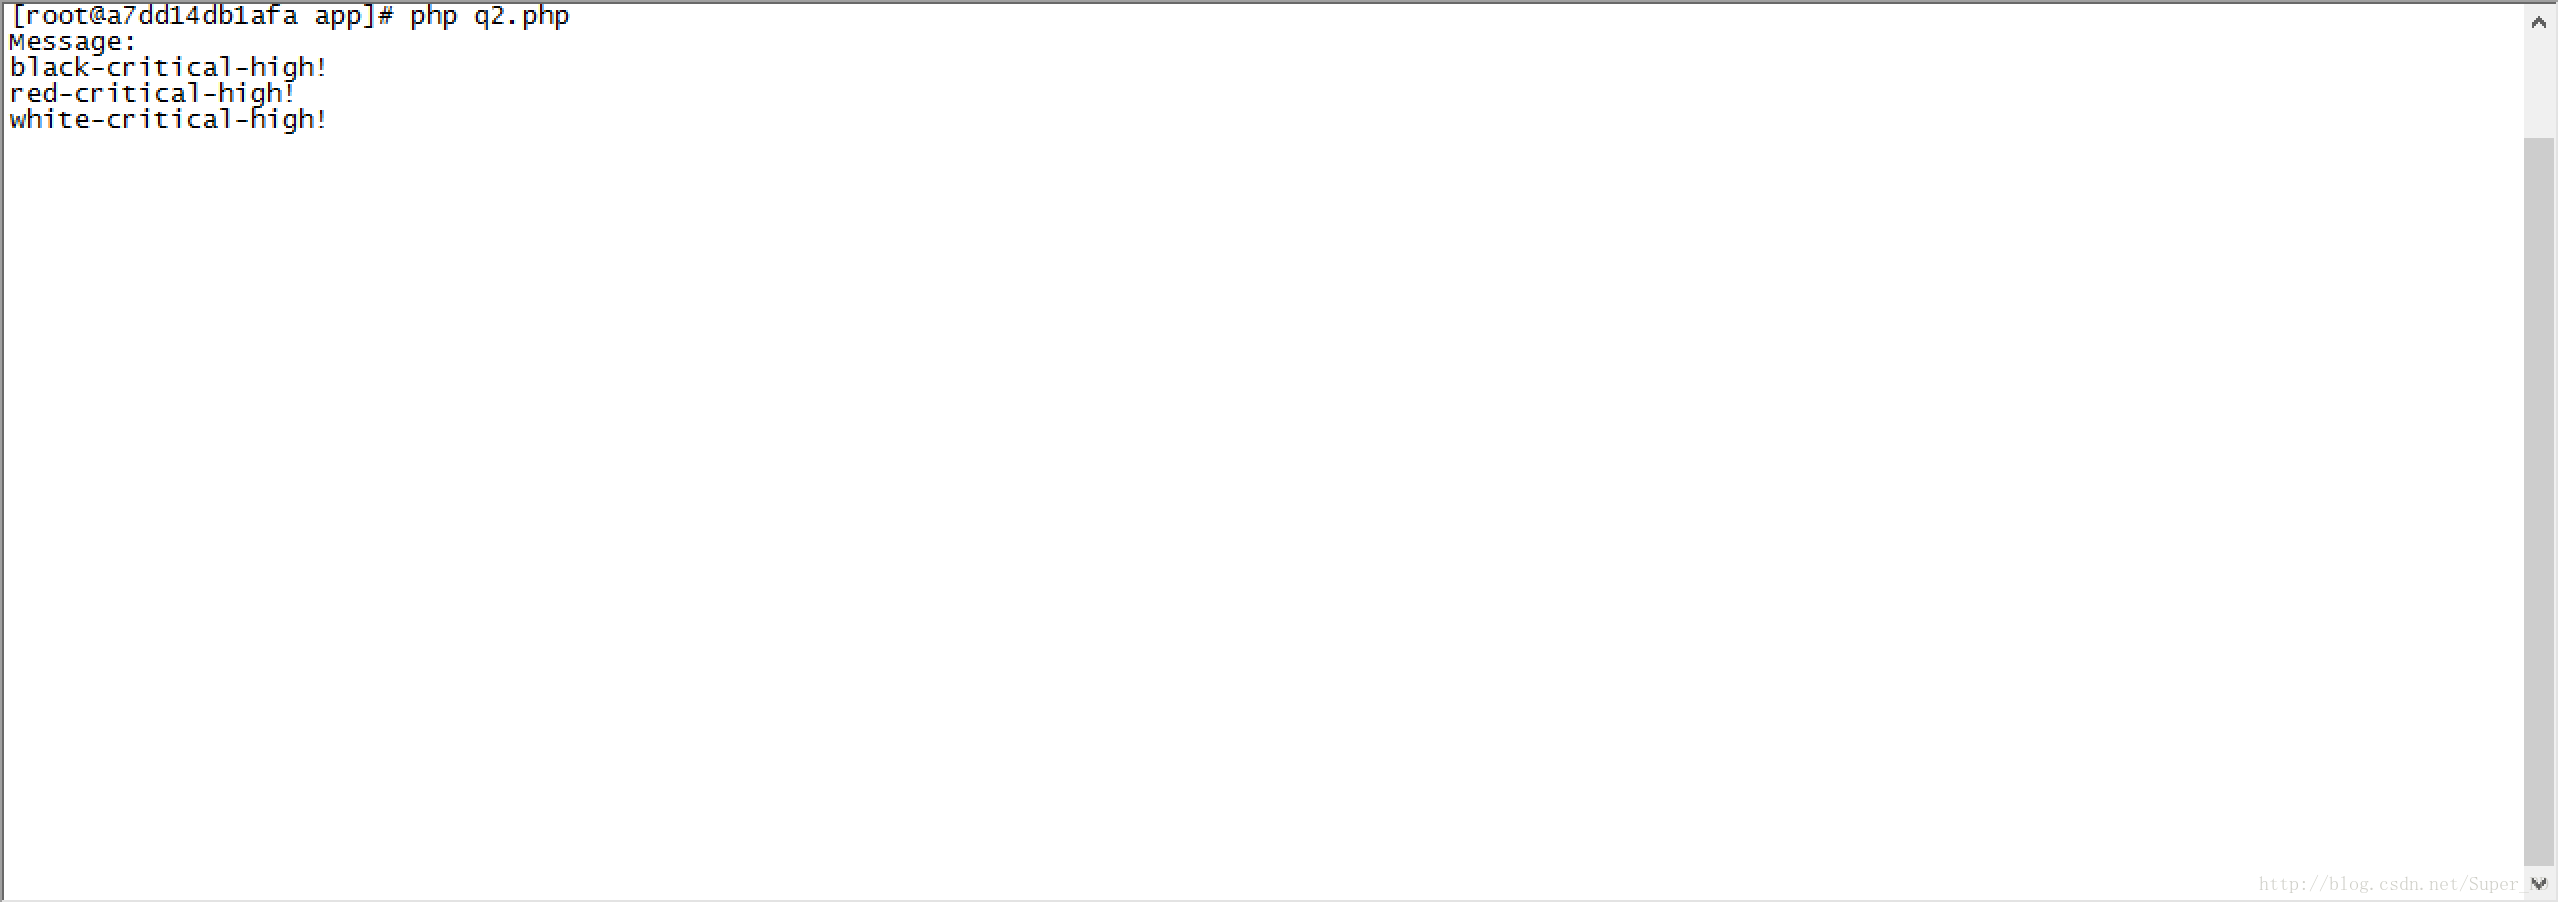
如上截图,验证了我们之前的结论。
另外还有一些特殊情况例如:
- 如果binding_key 是 “#” - 它会接收所有的Message,不管routing_key是什么,就像是fanout
exchange。 - 如果 “*” and “#” 没有被使用,那么topic exchange就变成了direct exchange。
RabbitMQ技术交流QQ群:327034977(添加时请备注RabbitMQ)