版权声明:本文为博主原创文章,转载请注明地址。 https://blog.csdn.net/huangxiaoguo1/article/details/84579898
wepy-cli 学习
1. 全局安装或更新WePY命令行工具:
npm install wepy-cli -g
2. 查看wepy版本
wepy -v
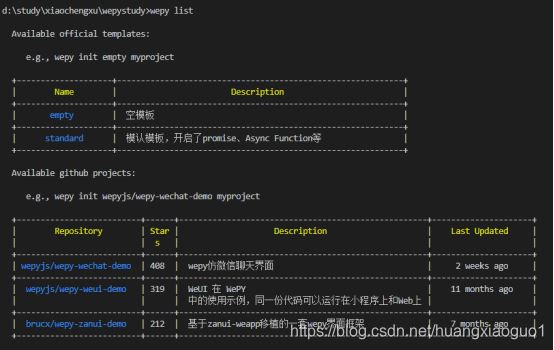
3. 查看wepy命令
wepy list
4. 创建项目
- 空项目
wepy init empty my-project
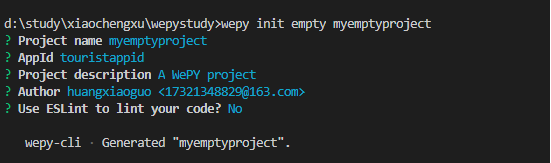
 ?Project name myemptyproject   //项目名称
? AppId touristappid   //appid可以先不写,在小程序开发工具中设置
? Project description A WePY project   //创建wepy项目 ,一般默认
? Author huangxiaoguo <[email protected]>  //开发者名称
? Use ESLint to lint your code? No   //一般不使用ESLint
- 默认标准项目
wepy init standard my-project
5. 切换至项目目录
cd myproject
6. 安装依赖
npm install
7. 开启实时编译
wepy build --watch
注意:这里有可能出现问题
peerDependencies WARNING wepy-compiler-less@^1.3.10 requires a peer of less@^3.8.1 but none was installed
Recently updated (since 2018-11-16): 2 packages (detail see file d:\study\xiaochengxu\wepystudy\my-empty-project\node_modules\.recently_updates.txt)
找不到编译器:wepy-compiler-less。
解决方案:
- 在package.json中添加:
"resolutions": {
    "wepy-compiler-less/less": "^3.8.1"
  }
然后使用 yarn 安装依赖,之后用npm或者yarn都可以
- 使用yarn安装模块
和npm功能差不多,但比npm安装的速度更快一点;
步骤:
1:将yarn安装在全局: npm install yarn -g  ;
2:安装完成后,查看当前版本号: yarn -v  ;:
3:执行yarn init -y  也会生成一个package.json的文件
4:yarn add  less 安装less 什么都不加的时候,默认安装在生产环境下。安装时增加 --dev的时候则安装在开发环境;:
5:yarn install  跑环境,跟npm的 npm install 是一样的。
6:移除: yarn remove  包
[注意]:yarn只能把模块安装在当前项目中,不能安装在全局下;只有npm才能安装全局。
执行前四步即可:将yarn安装在全局->安装完成后->执行yarn init -y ->yarn add less 安装less
然后选择最新的wepy-compiler-less版本即可
- 执行:wepy build --watch 成功
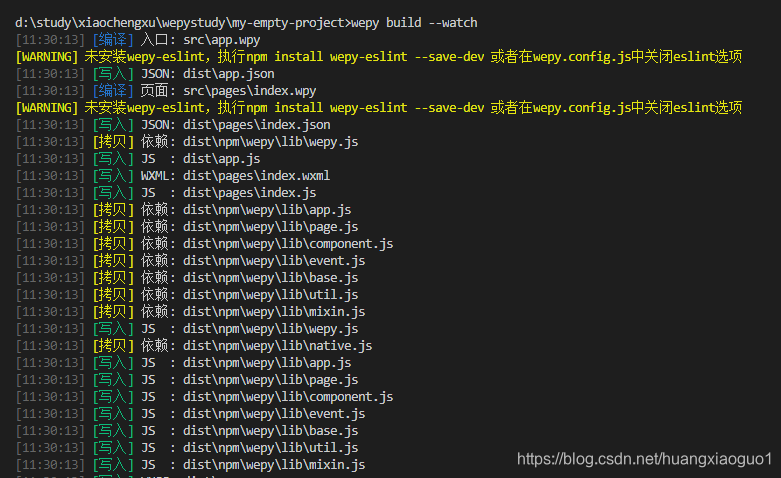
8. 未安装wepy-eslint,执行npm install wepy-eslint --save-dev 或者在wepy.config.js中关闭eslint选项

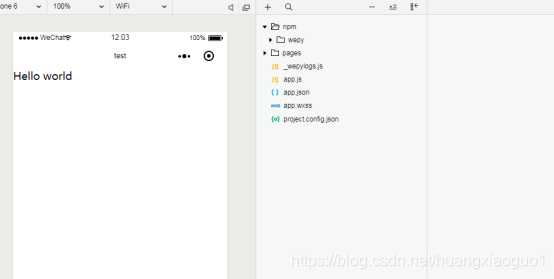
9. 使用微信开发者工具打开dist目录即为wepy生成的小程序项目
10. 关闭微信开发者工具的url校验
Project.config.json
"urlCheck": false,
11. 压缩js代码
npm install wepy-plugin-uglifyjs --save-dev
配置wepy.config.js
module.exports.plugins = {
    'uglifyjs': {
        filter: /\.js$/,
        config: {
        }
    },
};
12. 压缩图片
npm install wepy-plugin-imagemin --save-dev
配置wepy.config.js
// 压缩js
    module.exports.plugins = {
        imagemin: {
            filter: /\.(jpg|png|jpeg)$/,
            config: {
                jpg: {
                    quality: 80
                },
                png: {
                    quality: 80
                }
            }
        }
    }
13. 运行项目
@测试 npm run dev
@正式 npm run build