-
工具
本系列文章的项目代码是在Spring Tool Suite上开发的。Spring Tool Suite是一个基于Eclipse的针对Spring开发做了特殊定制的开发环境。读者可以根据个人喜好选择使用Spring Tool Suite或是Eclipse,或者读者喜好的其他开发方式。 -
环境的搭建
以Spring Tool Suite为例 -
-
-
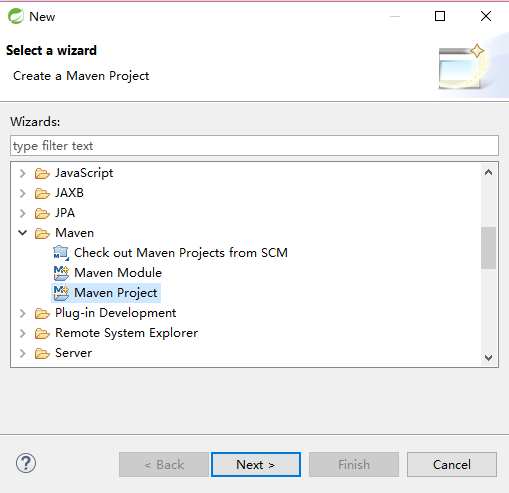
新建一个Maven Project
-
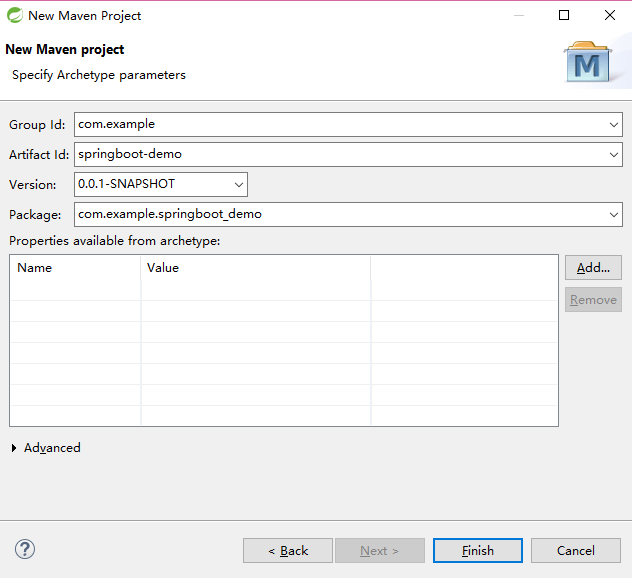
一直点“Next”直到输入项目相关信息
-
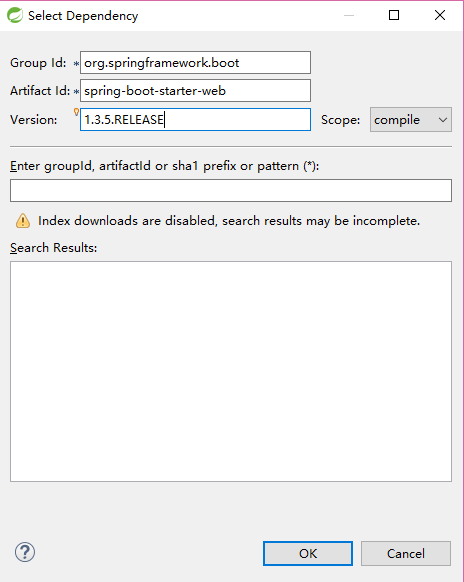
双击项目中的”pom.xml”,在编辑区中点”Dependencies”选项卡,然后点“Add”按钮添加Dependency: spring-boot-starter-web
-
同样的方法添加Dependency: spring-boot-starter-thymeleaf
-
新建Java类:HelloWorldController和Application;
新建目录:src/main/resources/templates,并在其下新建helloWorld.html
-
src/main/java/com.example.springboot_demo.HelloWorldController.java :
package com.example.springboot_demo; import org.springframework.stereotype.Controller; import org.springframework.web.bind.annotation.RequestMapping; @Controller public class HelloWorldController { @RequestMapping("/") public String helloWorld(){ return "helloWorld"; } }- 1
- 2
- 3
- 4
- 5
- 6
- 7
- 8
- 9
- 10
- 11
- 12
- 13
src/main/java/com.example.springboot_demo.Application.java :
package com.example.springboot_demo; import org.springframework.boot.SpringApplication; import org.springframework.boot.autoconfigure.SpringBootApplication; @SpringBootApplication public class Application { public static void main(String[] args) { SpringApplication.run(Application.class, args); } }- 1
- 2
- 3
- 4
- 5
- 6
- 7
- 8
- 9
- 10
- 11
- 12
- 13
- 14
src/main/resources/templates/helloWorld.html
<!DOCTYPE html> <html> <head> <meta charset="UTF-8" /> <title>Welcome.</title> </head> <body> <p>Hello World! This is your first Spring Boot Web Page!</p> </body> </html>- 1
- 2
- 3
- 4
- 5
- 6
- 7
- 8
- 9
- 10
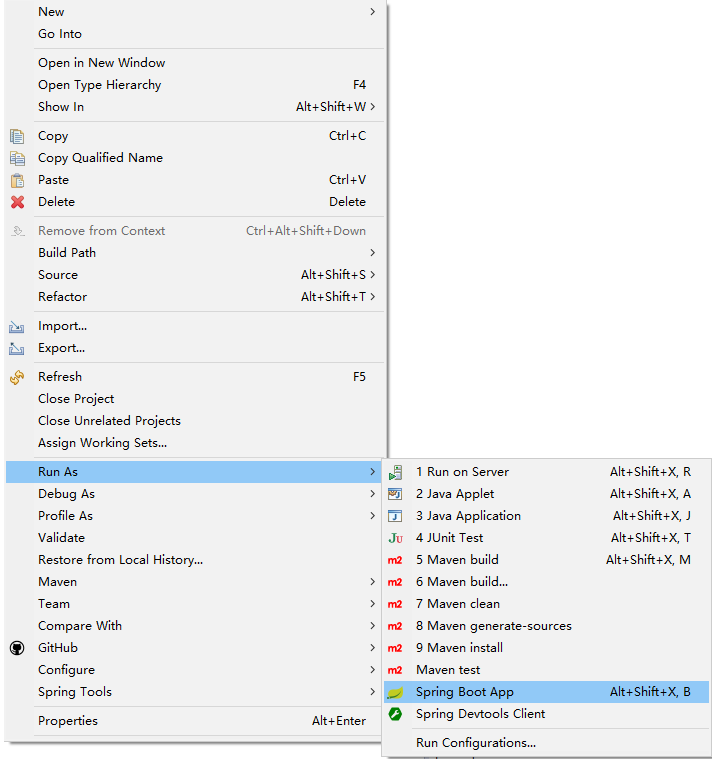
三、运行
右击项目,选择”Run As”->”Spring Boot App”
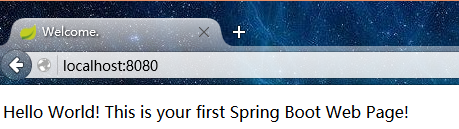
如果弹出提示选择含有main方法的类,则选择我们刚才新建的Application.class, 等控制台停止输出并且没有错误时,打开浏览器,输入localhost:8080后回车,看到如下页面则证明Spring Boot Application已经正常运行。
四、总结
可以看到,通过Spring Boot,我们不需要做太多的配置,只要遵守“约定”,我们便可以只将开发的重点放在代码和具体的业务逻辑上,而Spring Boot便会根据“约定”来设置默认的配置,比如上例中Spring Boot自己从src/main/resources/templates中去找我们需要的html文件等。
看到这里,有些读者可能会对上例中的一些代码、注解(Annotation)或者代码背后Spring帮我们处理的逻辑有些疑问。本系列文章将会在后续的章节中通过具体的例子,陆续地对这些内容做介绍。
-
spring boot MVC 小项目 -搭建环境与第一个项目

猜你喜欢
转载自blog.csdn.net/hmq995201/article/details/78084034
今日推荐
周排行