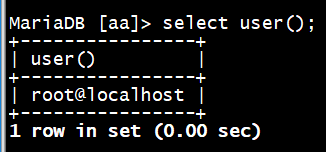
查看当前用户信息
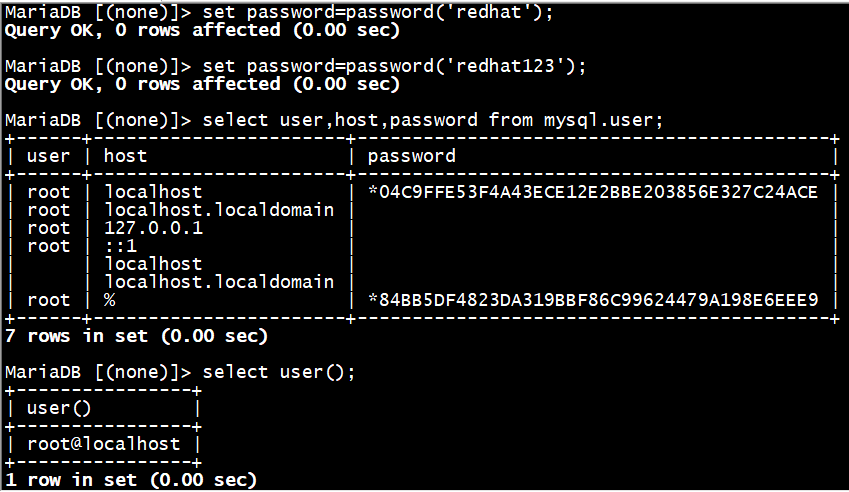
MariaDB [aa]> select user();
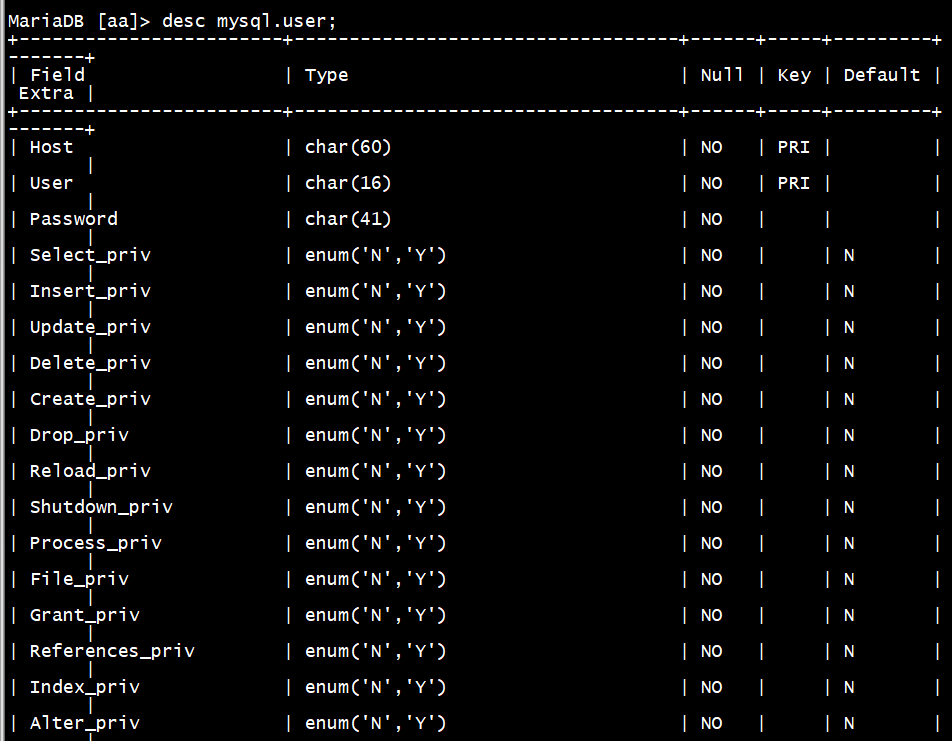
查看所有存储用户信息
MariaDB [aa]> desc mysql.user;
MariaDB [aa]> select user,host,password from mysql.user;
user@host 才是完整的用户名
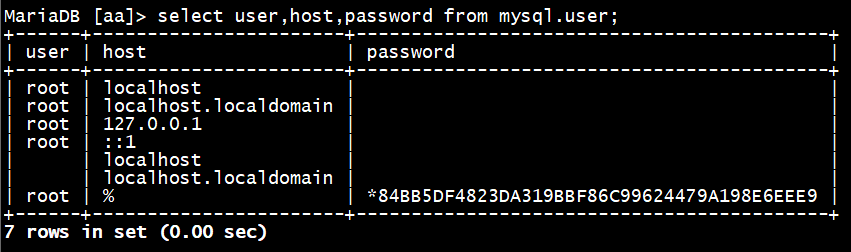
%指的是在任意地点登录

在另一个服务器上登录MySQL(IP=192.168.100.4)
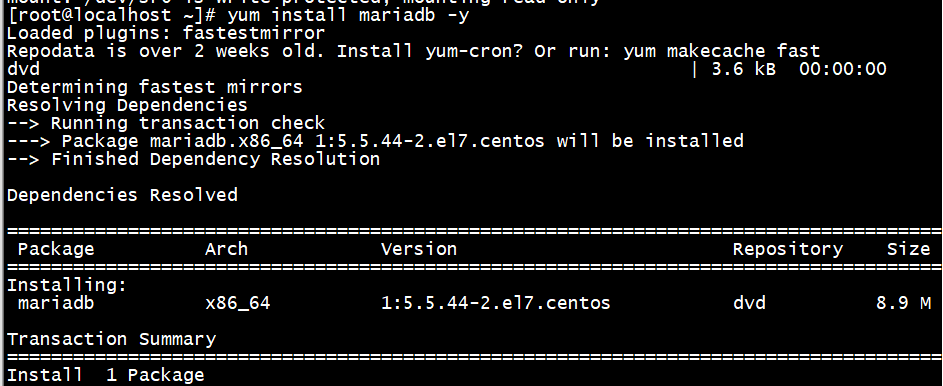
首先安装client端
# yum install mariadb -y
# mysql -uroot -p redhat -h 192.168.100.3

设置密码
第一种方法:
直接回车,密码为空
注意:-p可以不写,因为是第一次设置密码
# mysqladmin -uroot -p password 'redhat'
再次登录等不上去了
# mysql

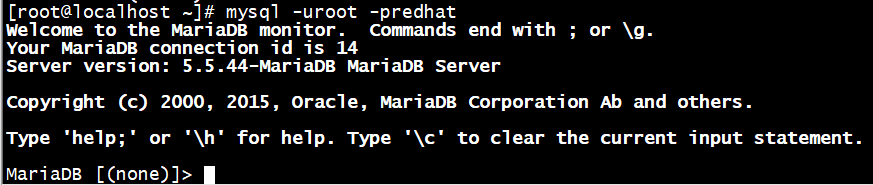
输入密码登录
# mysql -uroot -predhat
第二种方法:
为当前用户设置密码
调用password()函数
MariaDB [(none)]> set password=password('redhat123');
指明具体用户设置密码
MariaDB [(none)]> set password for root@'localhost' =password('redhat');

第三种方法:
直接更改mysql.user表中数据
注意:此方法不能临时生效,得刷新内存
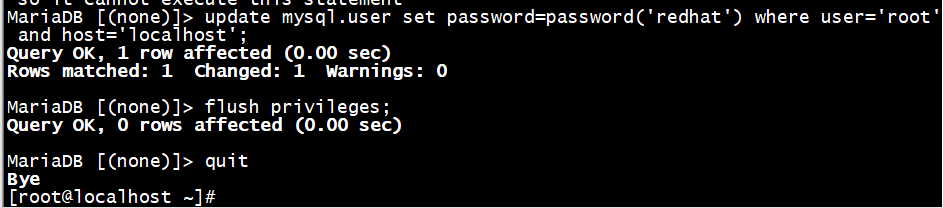
MariaDB [(none)]> update mysql.user set password=password('redhat') where user='root' and host='localhost';

刷新内存生效
MariaDB [(none)]> flush privileges;

重置MySQL密码
方法一:
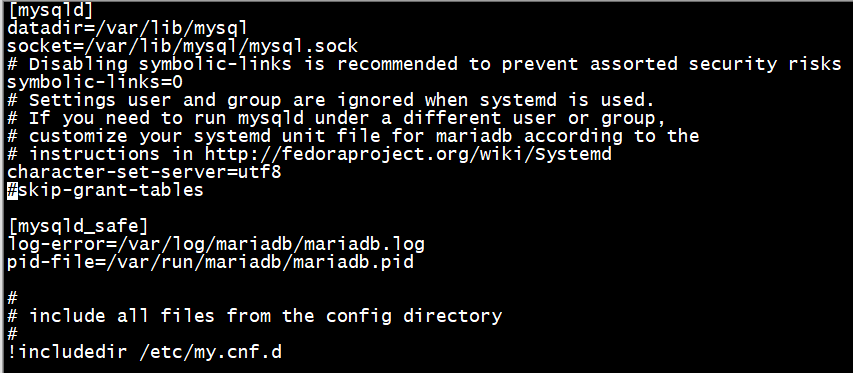
往配置文件中添加内容
#vi /etc/my.cnf
skip-grant-tables

重启服务
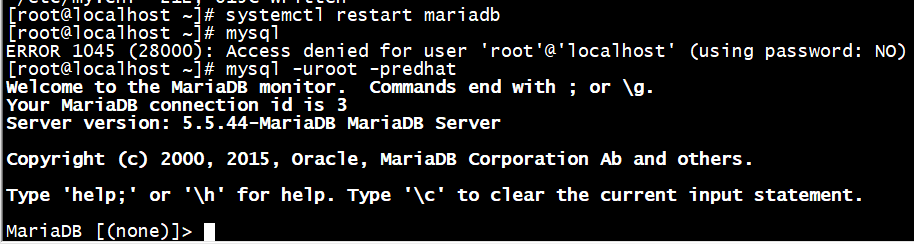
# systemctl restart mariadb
进入安全模式
# mysql
这种方法不能修改密码
MariaDB [(none)]> set password=password('redhat');

只能使用update
MariaDB [(none)]> update mysql.user set password=password('redhat') where user='root' and host='localhost';
MariaDB [(none)]> flush privileges;
注释或删除配置文件里面的内容
# vi /etc/my.cnf
# systemctl restart mariadb
方法二:
# systemctl stop mariadb
# mysqld_safe --skip-grant-tables

然后在另一个终端进入MySQL安全模式
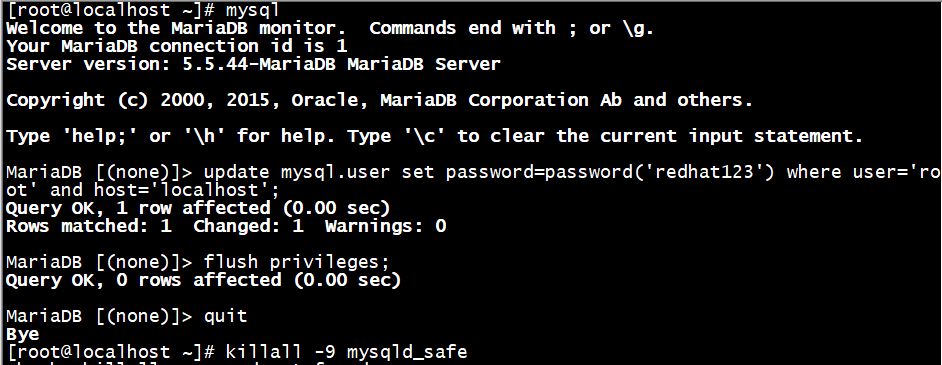
# mysql
MariaDB [(none)]> update mysql.user set password=password('redhat123') where user='root' and host='localhost';
MariaDB [(none)]> flush privileges;
MariaDB [(none)]> quit
[root@localhost ~]# killall -9 mysqld_safe
# systemctl start mariadb
管理普通用户
create user '用户名';
注意:这样添加的用户,权限是非常少的,得赋权限。(不建议使用)
创建一个普通用户
MariaDB [(none)]> create user 'tom';
MariaDB [(none)]> create user bob;
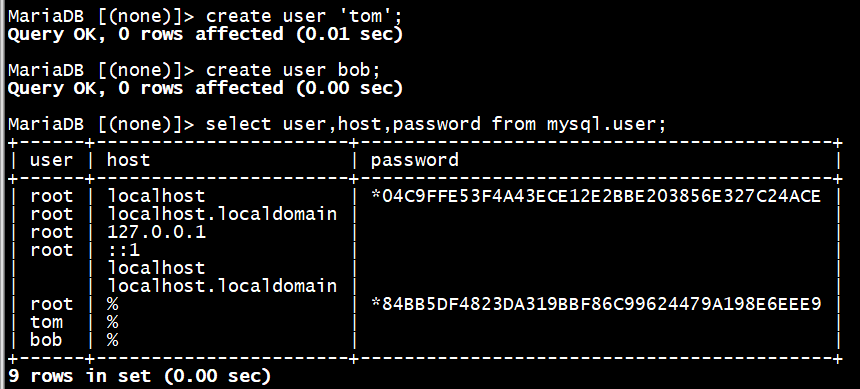
给普通用户设置密码
MariaDB [(none)]> set password for tom =password('redhat');

客户端连接
[root@localhost ~]# mysql -utom -predhat -h192.168.100.3

查看普通用户的权限
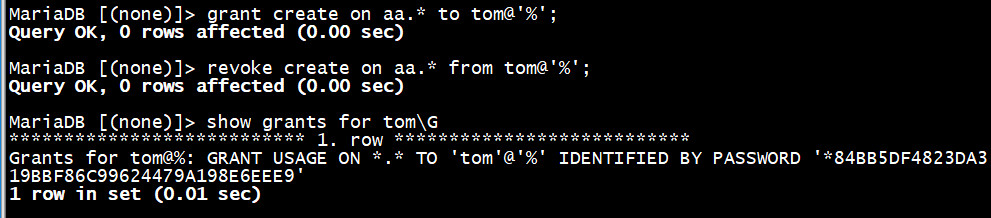
MariaDB [(none)]> show grants for tom\G

权限非常少,不提倡用create user创建用户

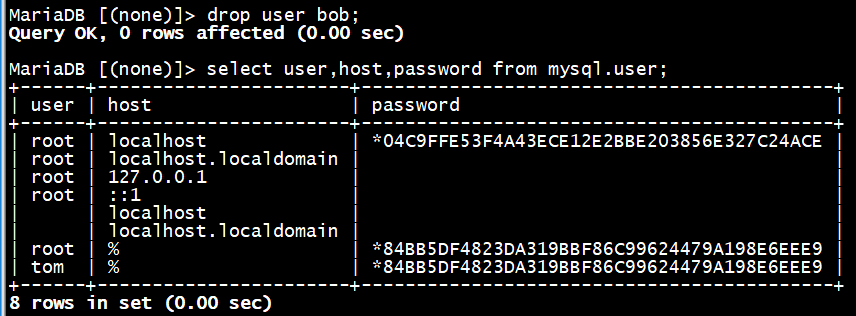
删除普通用户
MariaDB [(none)]> drop user bob;
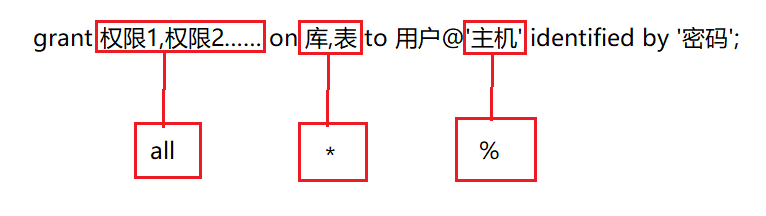
给普通用户授权
列出所有权限
MariaDB [(none)]> show privileges;

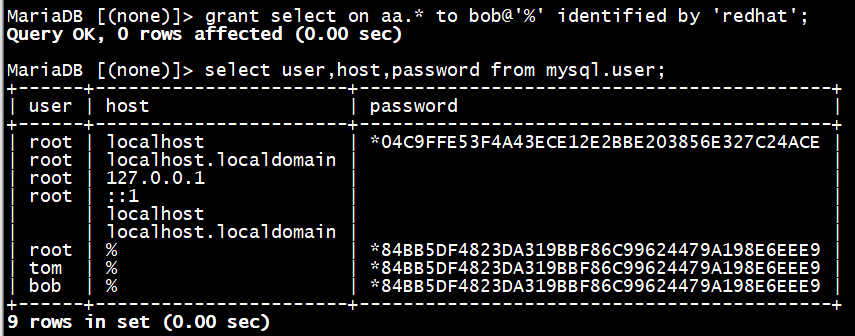
创建一个bob用户并设置密码
MariaDB [(none)]> grant select on aa.* to bob@'%' identified by 'redhat';
给bob用户在aa库中添加insert权限
MariaDB [(none)]> grant insert on aa.* to bob@'%';

客户端使用root登录
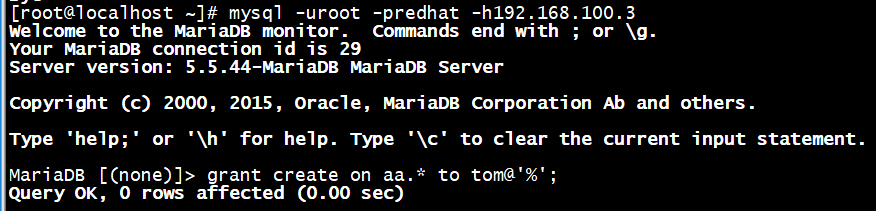
[root@localhost ~]# mysql -uroot -predhat -h192.168.100.3

对其他用户授权,被拒绝
MariaDB [(none)]> grant create on aa.* to tom@'%';

原因:root@%也是我们创建的,创建的时候,权限是不能进行传递的
设置进行权限的传递,只需要加with grant option
MariaDB [(none)]> grant all on *.* to root@'%' identified by 'redhat' with grant option;

客户端连接,并验证
收回权限
revoke 权限1,权限2,…… on 库,表 from 用户;
MariaDB [(none)]> revoke create on aa.* from tom@'%';
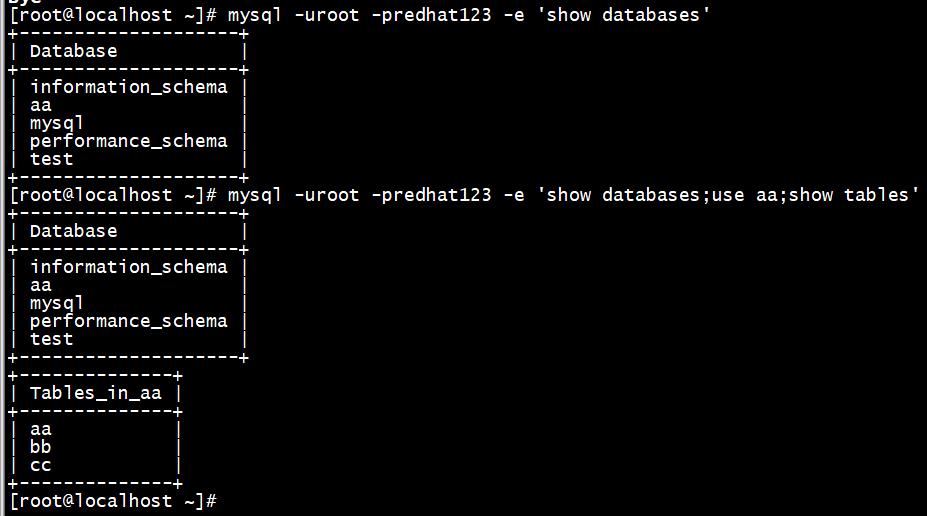
在命令行里面使用sql语句
一般用作写shell脚本
[root@localhost ~]# mysql -uroot -predhat123 -e 'show databases'
[root@localhost ~]# mysql -uroot -predhat123 -e 'show databases;use aa;show tables'
数据库的备份
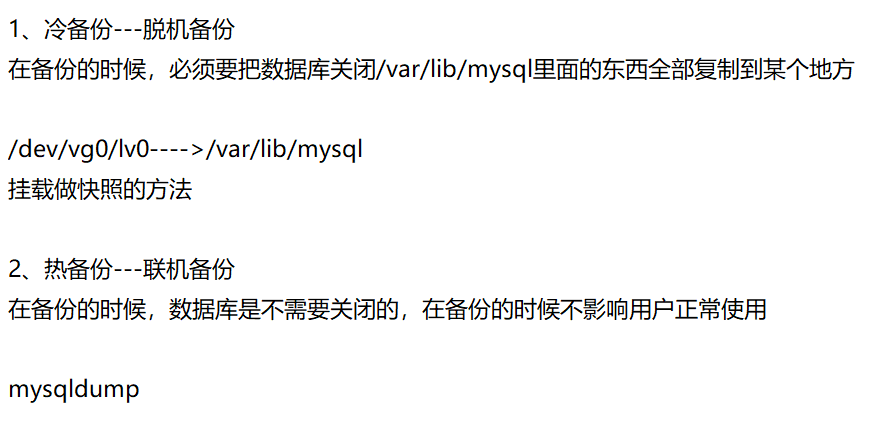
备份某库中的某张表
mysqldump -uroot -predhat 库 表
同时备份某个库中的多张表
mysqldump -uroot -predhat 库 表1 表2 表3……
备份某个库中所有的表
mysqldump -uroot -predhat 库
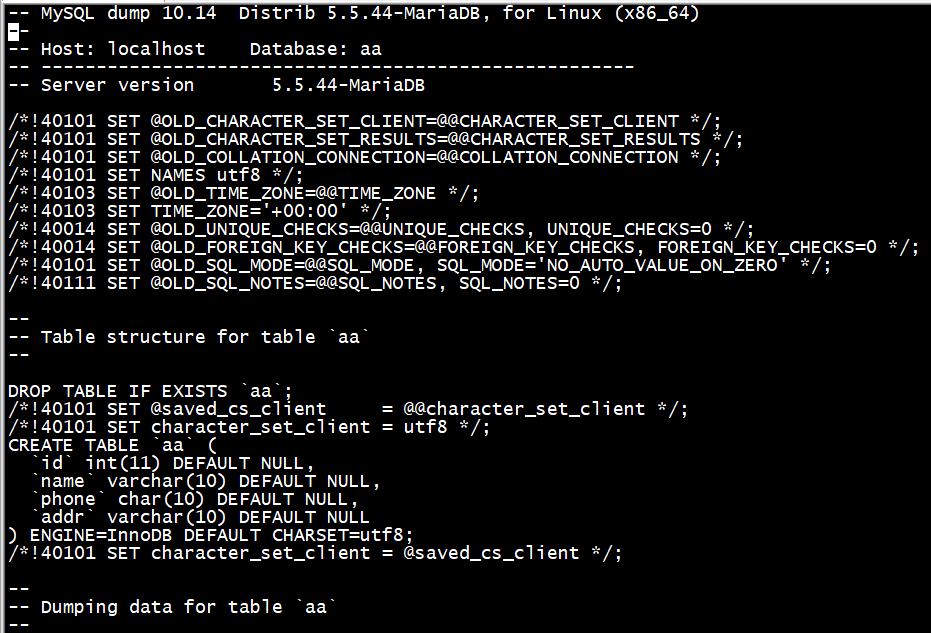
# mysqldump -uroot -predhat123 aa aa > /backup/aa.sql
mysqldump备份的原理是:备份使用过得命令,而不是复制
# vi /backup/aa.sql
\c作用是不执行输入的命令
MariaDB [aa]> show tables \c
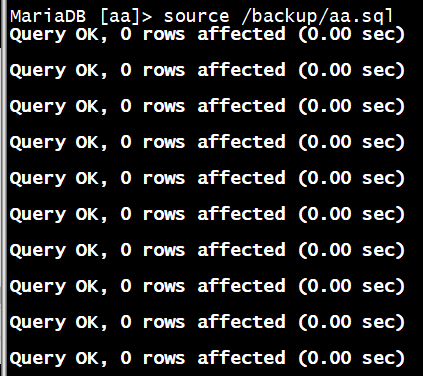
数据库的还原
MariaDB [aa]> drop table aa;

MariaDB [aa]> source /backup/aa.sql