详细参考
https://donovanmuller.blog/spring-cloud-dataflow-server-openshift/docs/1.2.1.RELEASE/reference/htmlsingle/
注意事项:
Openshift上需要部署service catalog
部署步骤
1.建立项目
#oc login -u admin
#oc new-project scdf --description="Spring Cloud Data Flow"
2.部署模板
官方材料一般都有问题
curl https://raw.githubusercontent.com/donovanmuller/spring-cloud-dataflow-server-openshift/v1.2.1.RELEASE/src/etc/openshift/install-templates.sh | bash
我的做法是,把install-templates.sh下载下来,然后按照sh脚本步骤一步一步部署
#!/usr/bin/env bash

# This script downloads the Data Flow Server for OpenShift templates and uploads them into
# a specified project. The default project is `scdf` as per the Getting Started guide from the reference
# documentation. However, the project can be specified as the first argument to this script.
#
# Usage:
#
# $ ./install-templates.sh [project name]
#
# or alternatively:
#
# $ curl -sL https://github.com/donovanmuller/spring-cloud-dataflow-server-openshift/releases/download/${version}/scdf-openshift-templates.zip \
#   | bash -s [project name] [tag/branch]
#

project=${1:-scdf}
version=${2:-v1.1.0.RELEASE}

echo "Installing OpenShift templates (${version}) into project '${project}'..."

curl -o /tmp/scdf-openshift-templates.zip -sL https://github.com/donovanmuller/spring-cloud-dataflow-server-openshift/releases/download/${version}/scdf-openshift-templates.zip
unzip -o /tmp/scdf-openshift-templates.zip -d /tmp/scdf-openshift-templates

shopt -s nullglob
for template in /tmp/scdf-openshift-templates/*.yaml
do
    echo "Installing template '$template'"
    oc replace --force=true -f $template
done

echo "Adding 'edit' role to 'scdf' Service Account..."

oc policy add-role-to-user edit system:serviceaccount:${project}:scdf

echo "Adding 'scdf' Service Account to the 'anyuid' SCC..."

oc adm policy add-scc-to-user anyuid system:serviceaccount:${project}:scdf

echo "Templates installed."
一看,说白了也就部署一堆templates,因为涉及到好几个镜像,可以按照pullimage.sh文件提供的镜像预先下载
#!/usr/bin/env bash

echo "Pulling images..."

declare -a images=(
  "mysql:5.6"
  "redis:3-alpine"
  "donovanmuller/spring-cloud-dataflow-server-openshift:1.2.0.RELEASE"
  "rabbitmq:3-management"
  "digitalwonderland/zookeeper"
  "wurstmeister/kafka:0.10.2.1"
  )

for((i=0;i<${#images[@]};i++))
do
   echo "Pulling '${images[$i]}' - `expr $i + 1` of ${#images[@]}"
   docker pull ${images[$i]}
done
因为我的OCP是个离线环境,因此下载完后push到本地的 registry
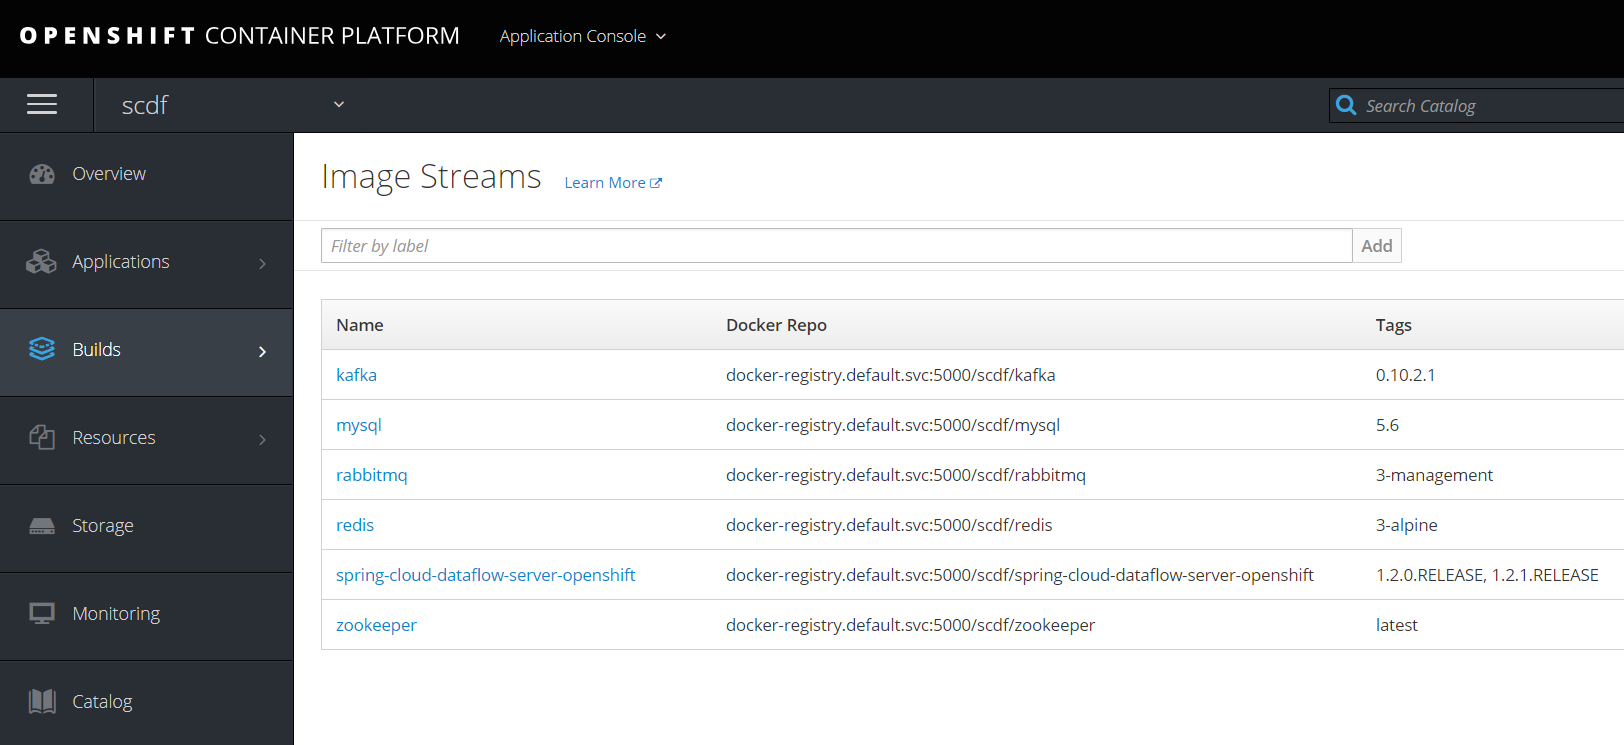
修改我们要用到的scdf-ephemeral-datasources-kafka-template.yaml,然后oc create -f,看到保证pod启动
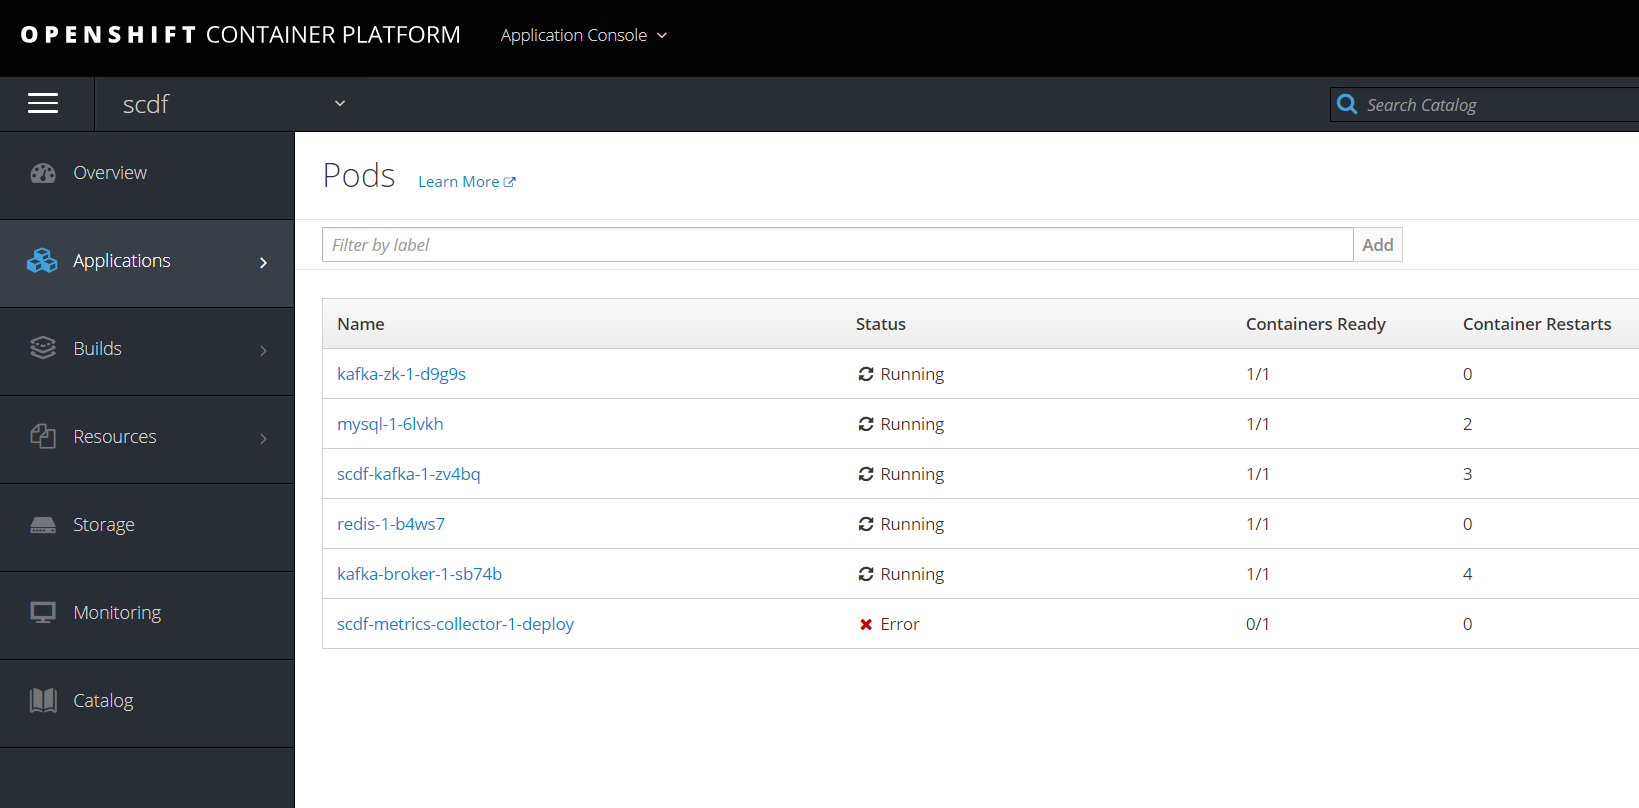
那个metrics因为没有下载镜像,所以无法启动,暂时不理。
访问
http://scdf-kafka-scdf.apps.example.com/dashboard/index.html#/apps/apps 出现主界面
授权
oc create -f scdf-sa.yaml
oc policy add-role-to-user edit system:serviceaccount:scdf:scdf
oc adm policy add-scc-to-user anyuid system:serviceaccount:scdf:scdf
创建任务
启动客户端
[root@master ~]# java -jar spring-cloud-dataflow-shell-1.2.3.RELEASE.jar
  ____                              ____ _                __
 / ___| _ __  _ __(_)_ __   __ _   / ___| | ___  _   _  __| |
 \___ \| '_ \| '__| | '_ \ / _` | | |   | |/ _ \| | | |/ _` |
  ___) | |_) | |  | | | | | (_| | | |___| | (_) | |_| | (_| |
 |____/| .__/|_|  |_|_| |_|\__, |  \____|_|\___/ \__,_|\__,_|
  ____ |_|    _          __|___/                 __________
 |  _ \  __ _| |_ __ _  |  ___| | _____      __  \ \ \ \ \ \
 | | | |/ _` | __/ _` | | |_  | |/ _ \ \ /\ / /   \ \ \ \ \ \
 | |_| | (_| | || (_| | |  _| | | (_) \ V  V /    / / / / / /
 |____/ \__,_|\__\__,_| |_|   |_|\___/ \_/\_/    /_/_/_/_/_/

1.2.3.RELEASE

Welcome to the Spring Cloud Data Flow shell. For assistance hit TAB or type "help".
server-unknown:>
server-unknown:>dataflow config server --uri http://scdf-kafka-scdf.apps.example.com --username user  --password password
Successfully targeted http://scdf-kafka-scdf.apps.example.com
这里注意要用user/password连上,用admin/welcome1是有问题的。
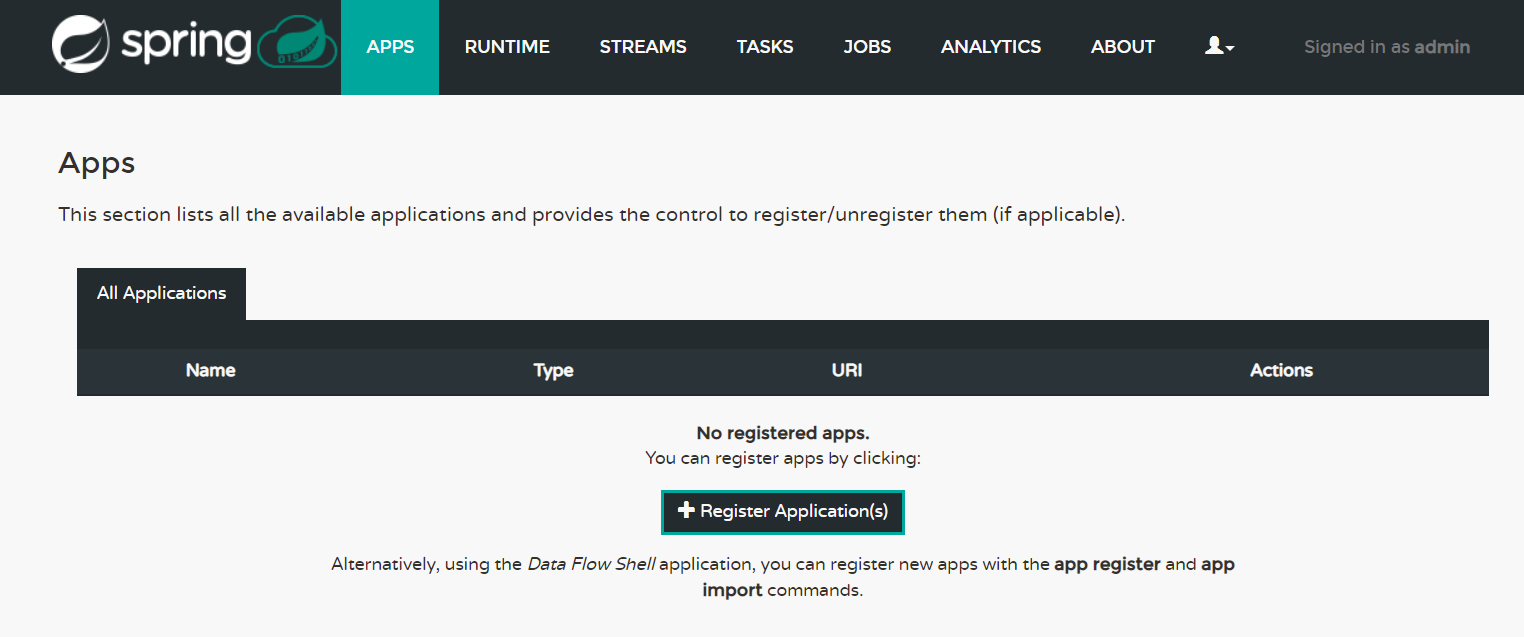
注册任务
按照官方文档,又是有问题的,后来自己下载下来然后用文件方式导入
dataflow:>app import --uri http://bit.ly/1-0-1-GA-task-applications-maven
因为只用到一个任务,所以先修改
[root@master ~]# cat timestamp1.task
task.timestamp=docker:docker-registry.default.svc:5000/scdf/timestamp-task:latest
导入
dataflow:>app import --uri file:////root/timestamp1.task
Successfully registered applications: [task.timestamp]
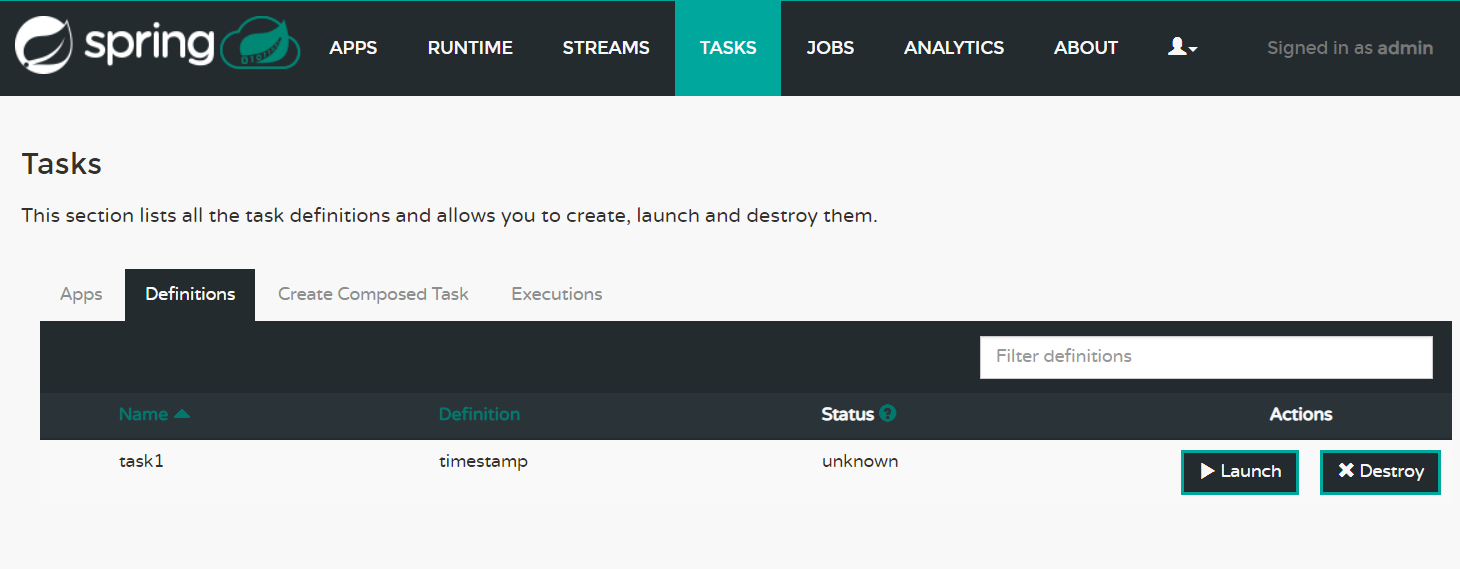
创建任务并运行
dataflow:>task create task1 --definition "timestamp"
Created new task 'task1'
dataflow:>task launch task1
Launched task 'task1'
在界面上看到一个task