版权声明:如需转载请标注 https://blog.csdn.net/weixin_40973138/article/details/84421013
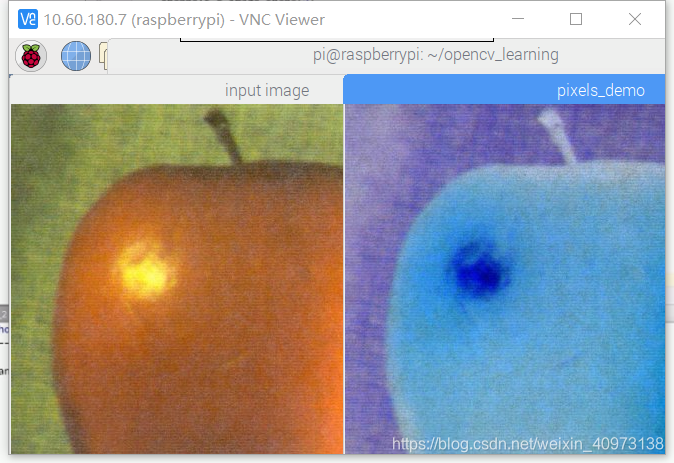
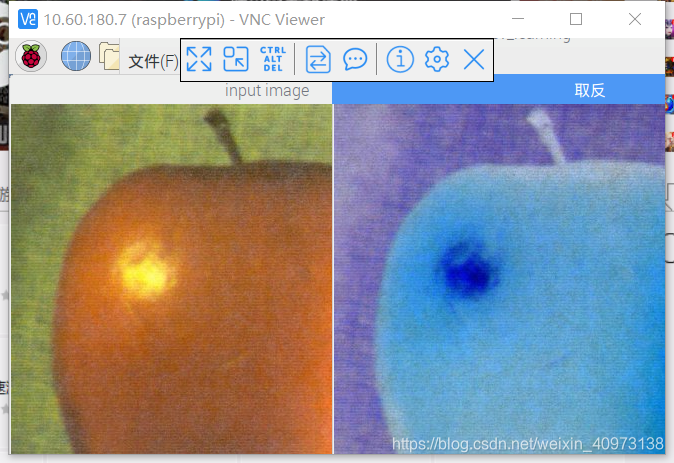
将图像像素迭代取反:
import cv2 as cv
import numpy as np


def access_pixels(image):
        print(image.shape)
        height = image.shape[0]
        width = image.shape[1]
        channels = image.shape[2]
        print('width: %s, height: %s, channels: %s'%(width, height, channels))
        for row in range(height):
                for col in range(width):
                        for c in range(channels):
                                pv = image[row, col, c]
                                image[row, col, c] = 255 - pv
        cv.imshow('pixels_demo', image)


src = cv.imread("/home/pi/Desktop/apple.jpg")
cv.namedWindow("input image", cv.WINDOW_AUTOSIZE)
cv.imshow("input image", src)
t1 = cv.getTickCount()
access_pixels(src)
t2 = cv.getTickCount()
print('time : %s' % ((t2-t1)/cv.getTickFrequency()))
cv.waitKey(0)

cv.destroyAllWindows()
整个程序跑完共耗时12s左右
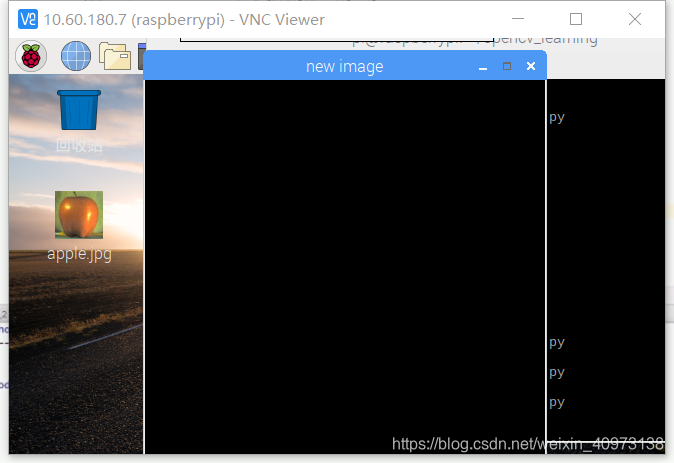
创建图像
def create_image():
        img = np.zeros([400, 400, 3], np.uint8)              #返回来一个给定形状和类型的用0填充的数组
        cv.imshow('new image', img)
对指定维数进行赋值:
def create_image():
        img = np.zeros([400, 400, 3], np.uint8)
        img[:, :, 0] = np.ones([400, 400])*255              #返回来一个给定形状和类型的用1填充的数组,再乘以255,因为0 通道是蓝色,所以乘以255 就显示蓝色
        cv.imshow('new image', img)
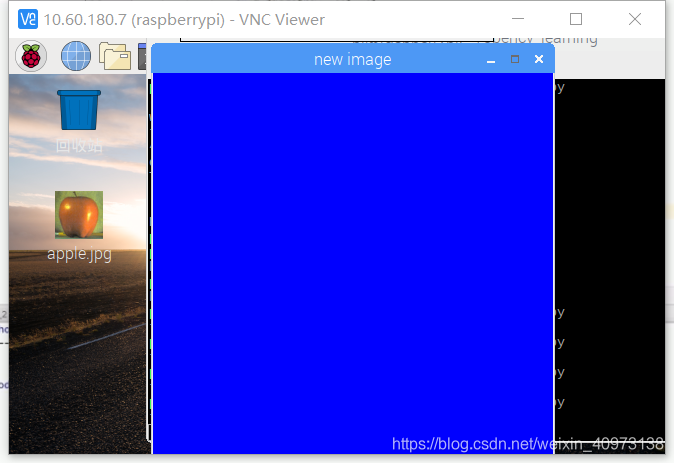
若将img[:, :, 0] 中0 改为1 或2,则输出绿色或红色图像
创建单通道图像,每个像素点都是127,即灰度图
img = np.zeros([400, 400, 1], np.uint8)
        img[:, :, 0] = np.ones([400, 400]) * 127
        cv.imshow('new image', img)
也可单独使用ones 函数:
img = np.ones([400, 400, 1], np.uint8) * 127  #一定要声明像素值类型,否则默认全为1
        cv.imshow('new image', img)
调用库函数实现像素取反:
def inverse(image):
        dst = cv.bitwise_not(image)        #二进制数据进行“非”操作
        cv.imshow("取反", dst)
该操作比对每个像素点进行取反速度快很多
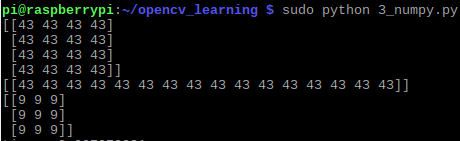
创建矩阵:
m1 = np.ones([4, 4], np.int32)
        m1.fill(43.22)
        print(m1)
        m2 = m1.reshape([1, 16])
        print(m2)
        m3 = np.array([[1,2,3], [4,5,6], [7,8,9]], np.uint32)
        m3.fill(9)
        print(m3)