版权声明:本文为博主原创文章,未经博主允许不得转载,博客地址:https://blog.csdn.net/weixin_43295278 https://blog.csdn.net/weixin_43295278/article/details/83269897
configparser模块用于生成和修改常见配置文档,当前模块的名称在 python 3.x 版本中变更为 configparser。
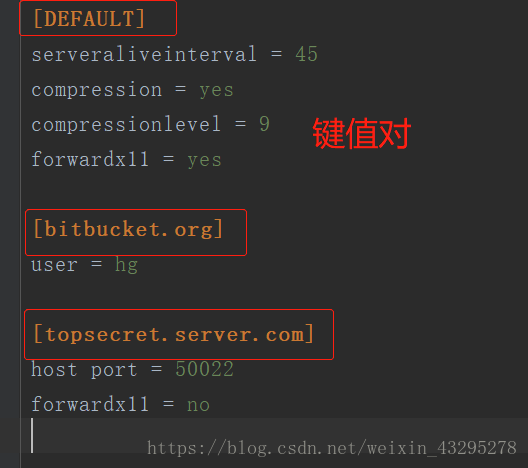
首先要写一个如下所示的配置文件:
[DEFAULT]
serveraliveinterval = 45
compression = yes
compressionlevel = 9
forwardx11 = yes

[bitbucket.org]
user = hg

[topsecret.server.com]
host port = 50022
forwardx11 = no
先分析配置文件的内容,内容的格式就像是字典中的键值对一样,所以写配置文件的方法就是用到了字典,如下所示:
# Author:南邮吴亦凡

# 在配置文件中的操作就相当于是在操作字典

import configparser  # python2中是ConfigParser

config = configparser.ConfigParser()

# 第一个节点:在配置文件中的DEFAULT部分的内容
config["DEFAULT"] = {'ServerAliveInterval': '45',
                     'Compression': 'yes',
                     'CompressionLevel': '9'}
# 第二个节点
config['bitbucket.org'] = {}
config['bitbucket.org']['User'] = 'hg'

config['topsecret.server.com'] = {}
topsecret = config['topsecret.server.com']
topsecret['Host Port'] = '50022'  # mutates the parser
topsecret['ForwardX11'] = 'no'  # same here
config['DEFAULT']['ForwardX11'] = 'yes'
with open('example_1.ini', 'w') as configfile:
    config.write(configfile)
下面是是生成的文件内容;
下面主要介绍配置文件的“读”:
我导入了刚刚创建的配置文件,并且读取其中的内容,
import configparser

conf = configparser.ConfigParser()
conf.read("example_1.ini")

print(conf.sections())  # DEFAULT部分的内容不会显示出来,因为他是配置文件中默认的部分
print(conf.defaults())
print(conf["bitbucket.org"])  # 和字典的读法一样
print(conf["bitbucket.org"]["user"])
读取结果如下所示:
