版权声明:本文为博主原创文章,未经博主允许不得转载。 https://blog.csdn.net/sunshine1_0/article/details/83662882
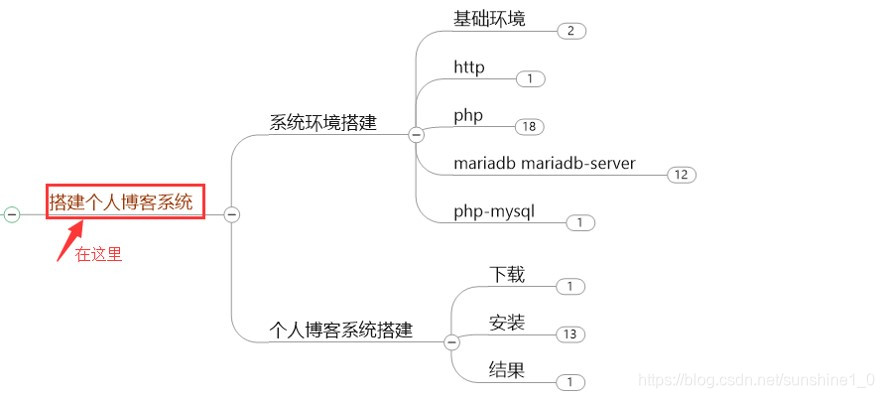
一、搭建系统环境
LAMP指的是Linux,apache,MySQL,php组成的网站系统,这是搭建网站最简单快速的组合
1. 基础环境(防火墙)
刚部署好的linux服务器默认开启了防火墙,假如你在该服务器装一个HTTP并启动,在别的机器访问该HTTP是不成功的,需要关闭服务器防火墙。
[root@tong ~]# sed -ri '/^SELINUX=/cSELINUX=disabled' /etc/selinux/config   //关闭系统防火墙
[root@tong ~]# setenforce 0
[root@tong ~]# systemctl stop firewalld.service
[root@tong ~]# systemctl status firewalld.service             //查看firewalld状态
● firewalld.service - firewalld - dynamic firewall daemon
Loaded: loaded (/usr/lib/systemd/system/firewalld.service; enabled; vendor preset: enabled)
   Active: inactive (dead) since Sat 2018-11-17 12:00:30 CST; 12s ago
     Docs: man:firewalld(1)
  Process: 757 ExecStart=/usr/sbin/firewalld --nofork --nopid $FIREWALLD_ARGS (code=exited, status=0/SUCCESS)
 Main PID: 757 (code=exited, status=0/SUCCESS)
 ....................
 [root@tong ~]# getenforce
Permissive
2. 搭建LAMP基础架构
LAMP指的是Linux,apache,MySQL,php组成的网站系统,这是搭建网站最简单快速的组合
[root@tong ~]# yum -y install httpd php mariadb mariadb-server php-mysql      //下载安装基础LAMP网站架构
Loaded plugins: fastestmirror
................
Complete!       //完成安装
3. 测试安装的环境
- 测试静态页面
[root@tong ~]# ls /var/www/html/
[root@tong ~]# echo "test html" >/var/www/html/index.html         //测试静态页面
[root@tong ~]# ls /var/www/html/
index.html
[root@tong ~]# systemctl start httpd.service   //开启http网站服务
[root@tong ~]# systemctl enable httpd.service  //启动开机自启
Created symlink from /etc/systemd/system/multi-user.target.wants/httpd.service to /usr/lib/systemd/system/httpd.service.
[root@tong ~]# systemctl status httpd.service   //查看http服务状态
● httpd.service - The Apache HTTP Server
Loaded: loaded (/usr/lib/systemd/system/httpd.service; enabled; vendor preset: disabled)
   Active: active (running) since Sat 2018-11-17 12:05:07 CST; 33s ago
     Docs: man:httpd(8)
     man:apachectl(8)
 Main PID: 2336 (httpd)
 ..................
 [root@tong ~]# ss -tnlp |grep :80   //查看端口状态
LISTEN     0      128         :::80                      :::*                   users:(("httpd",pid=2343,fd=4),("httpd",pid=2342,fd=4),("httpd",pid=2341,fd=4),("httpd",pid=2340,fd=4),("httpd",pid=2339,fd=4),("httpd",pid=2336,fd=4))
- 测试静态页面结果-成功

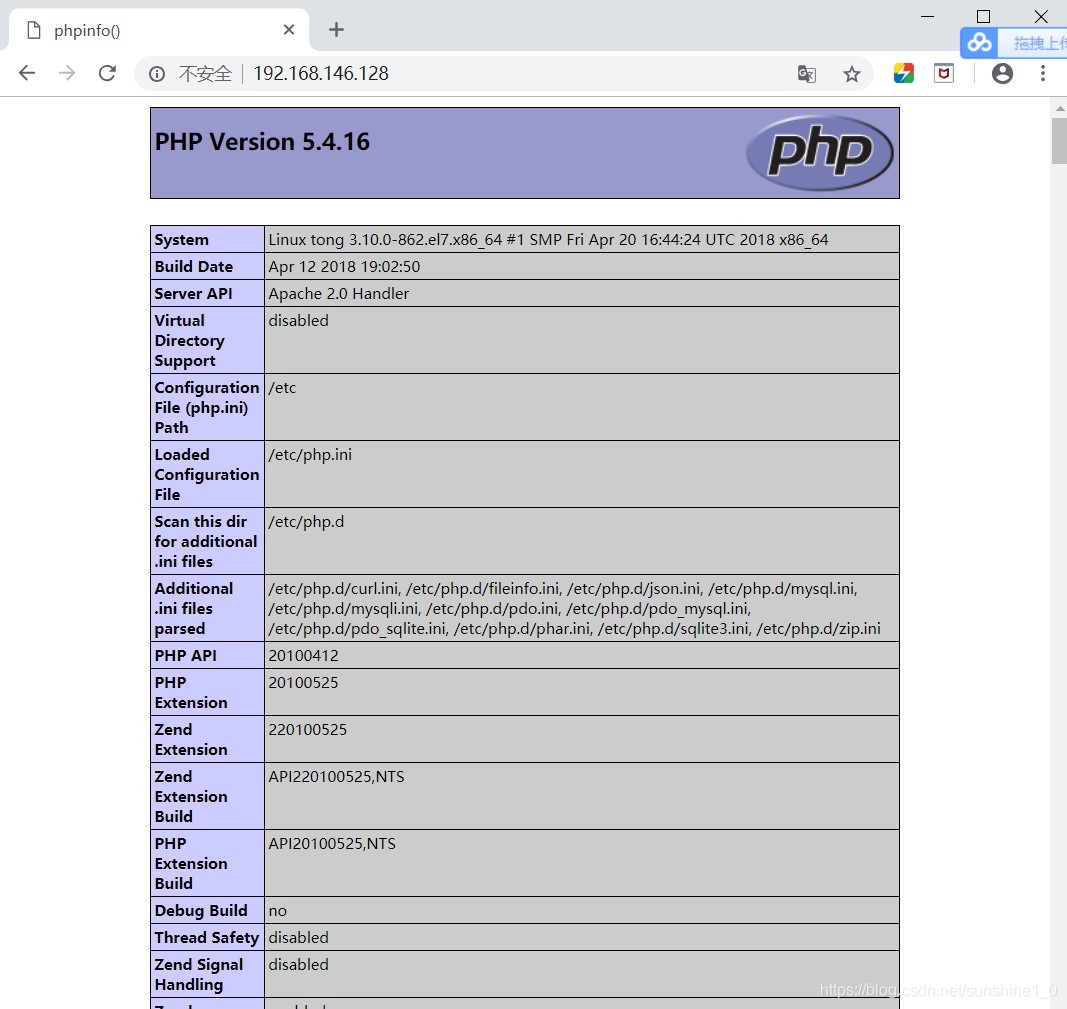
- 测试动态页面
静态页面测试完成之后,删除index.html文件,测试动态页面
[root@tong ~]# rm -rf /var/www/html/index.html
[root@tong ~]# cd /var/www/html/
[root@tong html]# ls
[[root@tong html]# vim index.html
[root@tong html]# cat index.html    //动态页面文件index.html的内容
<?php phpinfo(); ?>
- 测试动态页面结果
- 测试数据库连接情况
[root@tong html]# rm -rf index.html      //测试mysql连接情况
[root@tong html]# vim index.html    //编辑index.html内容
[root@tong html]# cat index.html    //查看index.html内容
<?php
$link=mysql_connect('localhost','root','123');
if ($link)
echo "Successfuly";
else echo "Faile";
mysql_close();
?>
[root@tong html]# systemctl start mariadb.service   //开启mysql服务
[root@tong html]# systemctl enable mariadb.service    //实行mysql开启自启
Created symlink from /etc/systemd/system/multi-user.target.wants/mariadb.service to /usr/lib/systemd/system/mariadb.service.
[root@tong html]# mysql_secure_installation   //设置MySQL安全选项
NOTE: RUNNING ALL PARTS OF THIS SCRIPT IS RECOMMENDED FOR ALL MariaDB
      SERVERS IN PRODUCTION USE!  PLEASE READ EACH STEP CAREFULLY!
.................
Set root password? [Y/n] Y     //设置新密码
New password:
Re-enter new password:
Password updated successfully!
Reloading privilege tables..
 ... Success!
 ..................
Cleaning up...
All done!  If you've completed all of the above steps, your MariaDB
installation should now be secure.
Thanks for using MariaDB!
- 测试数据库连接结果

二、个人博客系统搭建
1. 安装所需要的软件包
[root@tong html]# yum -y install wget //安装wget
Loaded plugins: fastestmirror
.........
Complete!
[root@tong html]# cd
[root@tong ~]# wget https://cn.wordpress.org/wordpress-4.9.4-zh_CN.tar.gz //获取wordpress软件包
--2018-11-17 12:21:25-- https://cn.wordpress.org/wordpress-4.9.4-zh_CN.tar.gz
Resolving cn.wordpress.org (cn.wordpress.org)... 198.143.164.252
Connecting to cn.wordpress.org (cn.wordpress.org)|198.143.164.252|:443... connected.
HTTP request sent, awaiting response... 200 OK
Length: 9082696 (8.7M) [application/octet-stream]
Saving to: ‘wordpress-4.9.4-zh_CN.tar.gz’
.............. //下载成功
[root@tong ~]# rm -rf /var/www/html/* //删除前面测试的index.html文件
[root@tong ~]# ls /var/www/html/
[root@tong ~]# tar xf wordpress-4.9.4-zh_CN.tar.gz //解压wordpress文件
[root@tong ~]# ls
wordpress-4.9.4-zh_CN.tar.gz wordpress
[root@tong ~]# cp -rf wordpress/* /var/www/html/ //把解压的wordpress文件复制到/var/www/html下
[root@tong ~]# systemctl restart httpd.service //重启HTTP服务
[root@tong ~]# chown -R apache.apache /var/www/html/
[root@tong ~]# mysql -uroot -p123 //登陆mysql系统(-uroot:以root身份登陆 -p123:登陆密码为123)
Welcome to the MariaDB monitor. Commands end with ; or \g.
Your MariaDB connection id is 12
Server version: 5.5.60-MariaDB MariaDB Server
Copyright (c) 2000, 2018, Oracle, MariaDB Corporation Ab and others.
Type 'help;' or '\h' for help. Type '\c' to clear the current input statement.
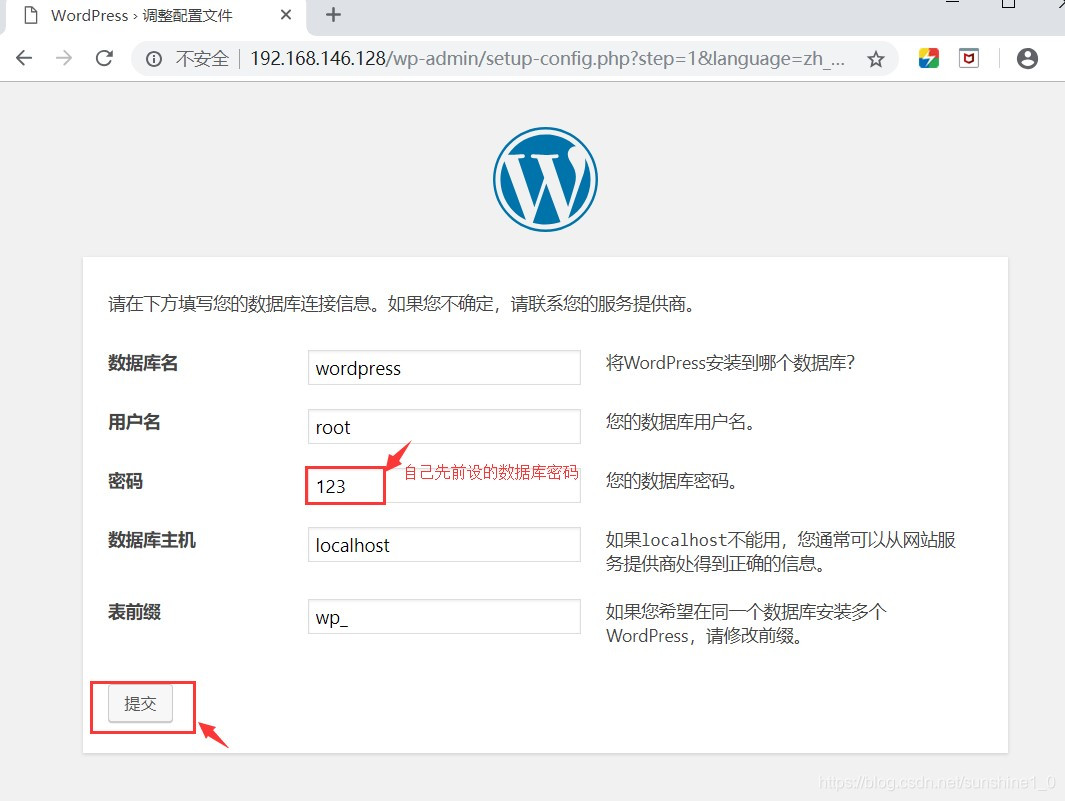
MariaDB [(none)]> create database wordpress; //创建wordpress数据库
Query OK, 1 row affected (0.00 sec)
MariaDB [(none)]> show databases; //显示所有数据库
+--------------------+
| Database |
+--------------------+
| information_schema |
| mysql |
| performance_schema |
| wordpress |
+--------------------+
4 rows in set (0.00 sec)
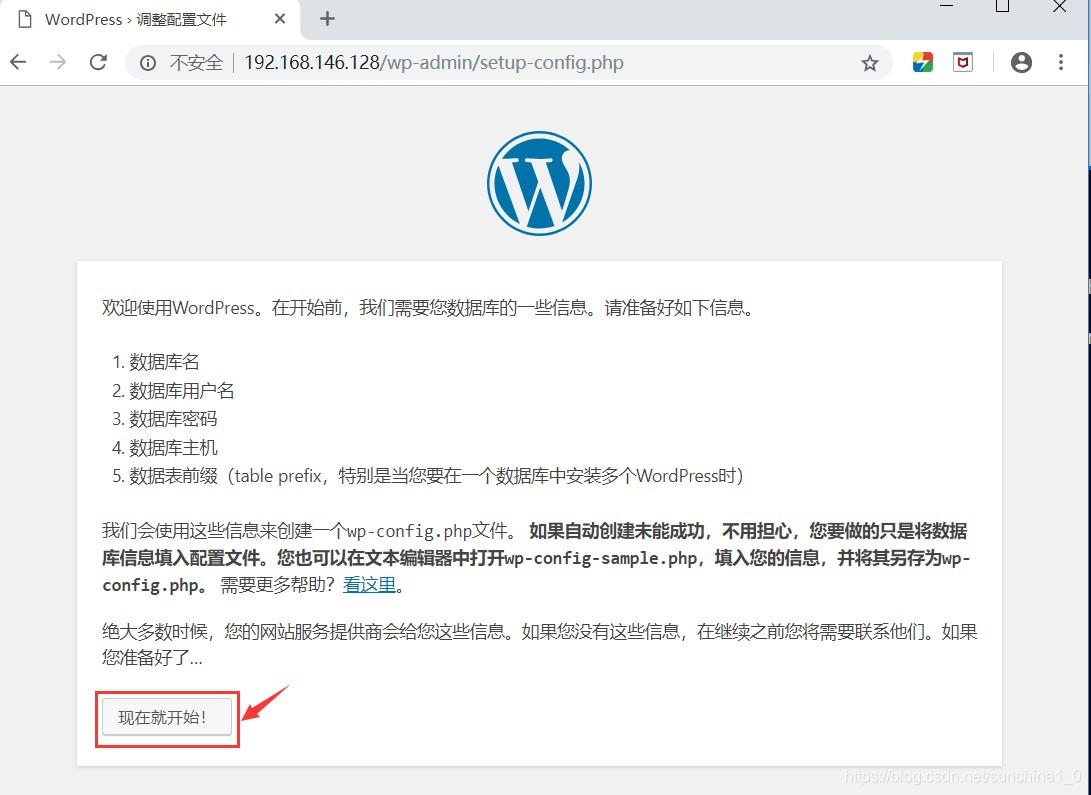
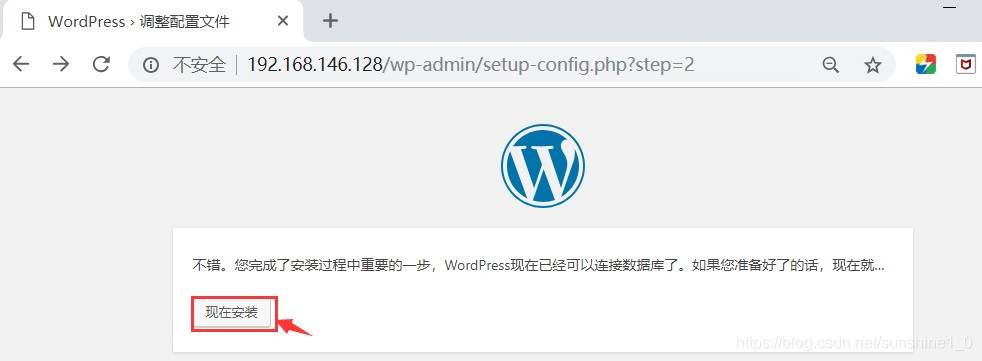
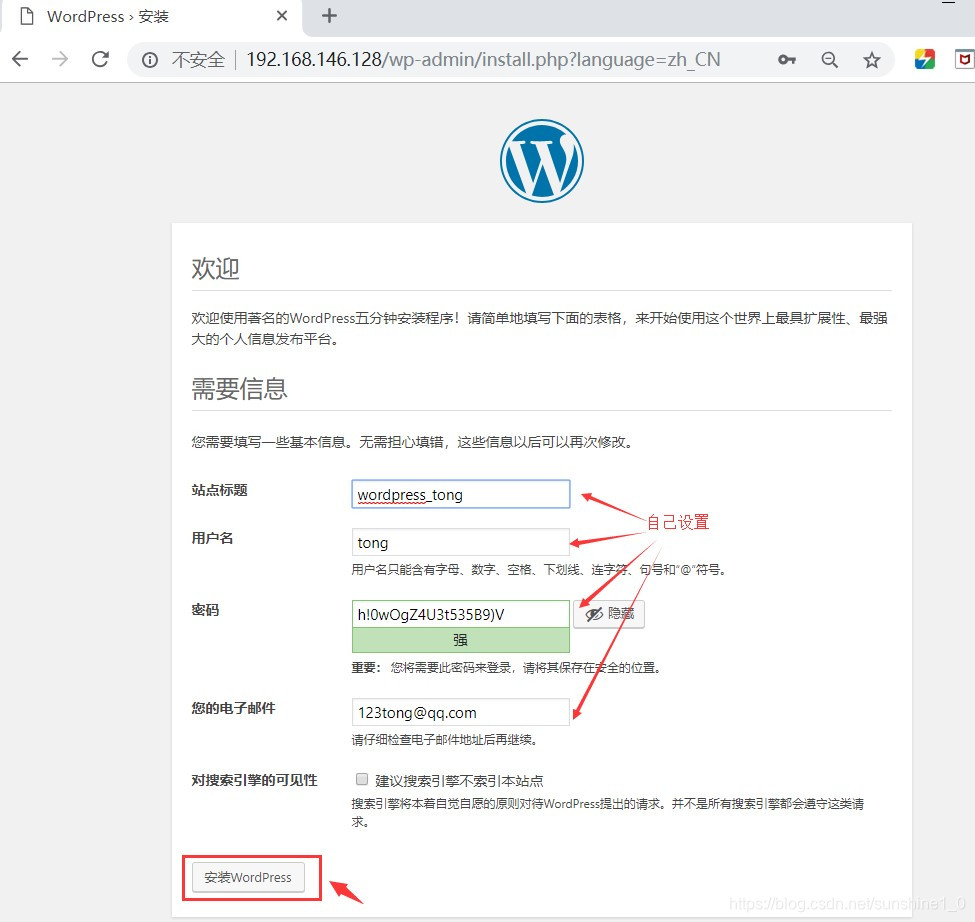
2. 后续安装
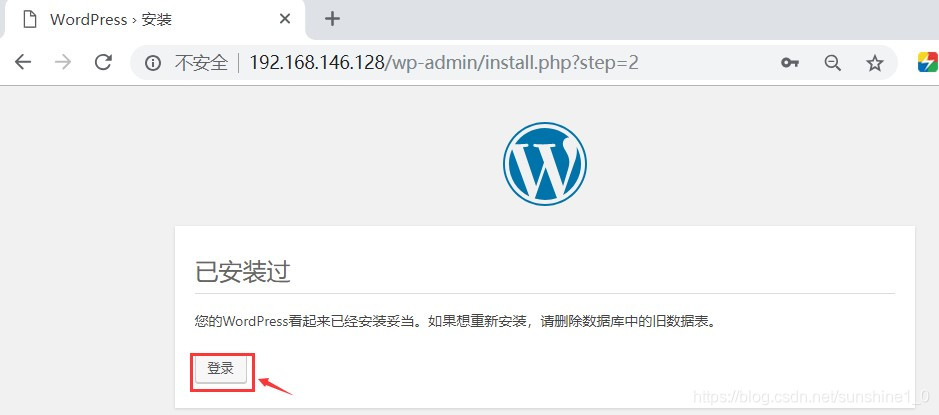
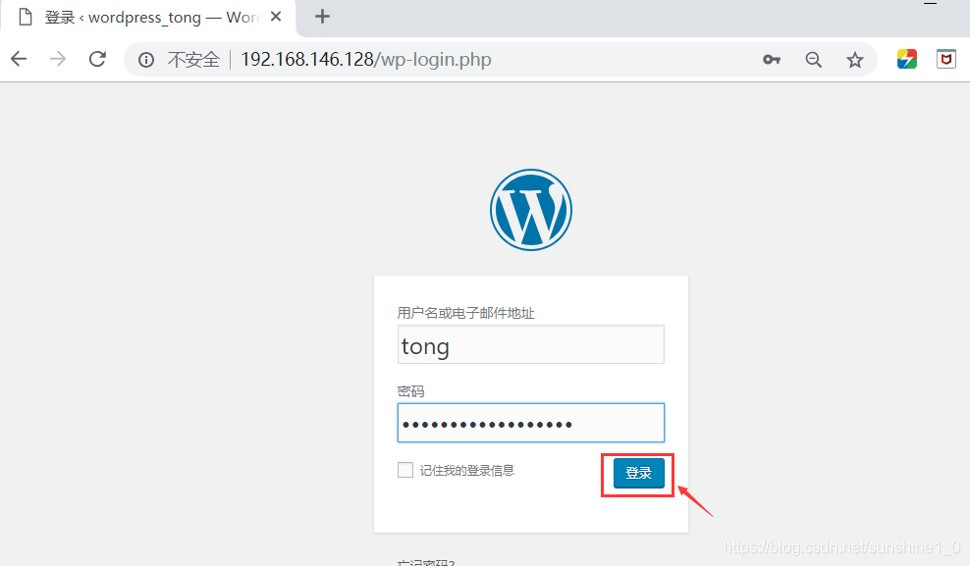
三、结果
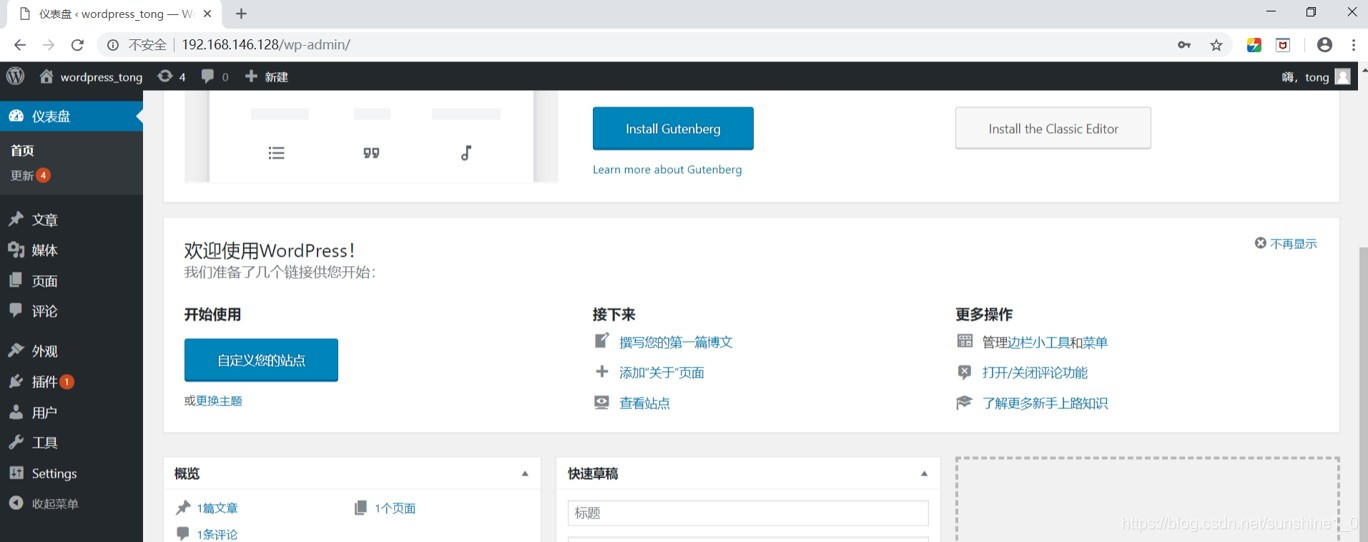

好了,那基础的博客系统搭建就成功了。