原理:
通过Python3的qqBot开源库,基于腾讯的smartQQ协议登录个人QQ,实现监控、收集QQ消息,进而通过图灵机器人API接入方式实现自动聊天。
零、前期准备:
1、Python3
2、qqBot & requests & re
3、申请图灵机器人
一、安装Python3的3个库:
Windows下打开cmd命令提示符,进入python,尝试import导入一下库。若均已安装,则显示如下:
 1 Microsoft Windows [版本 10.0.17134.407]
 2 (c) 2018 Microsoft Corporation。保留所有权利。
 3
 4 C:\Users\20173>python
 5 Python 3.7.0 (v3.7.0:1bf9cc5093, Jun 27 2018, 04:59:51) [MSC v.1914 64 bit (AMD64)] on win32
 6 Type "help", "copyright", "credits" or "license" for more information.
 7 >>> import qqbot
 8 >>> import requests
 9 >>> import re
10 >>>
若未安装,则可直接输入pip安装
C:\Users\20173>pip install qqbot
...
C:\Users\20173>pip install requests
...
C:\Users\20173>pip install re
...
二、关于qqBot:
若成功安装qqBot后,安装路径应该在Python安装路径的 \Lib\site-packages\qqbot 里
此时进入qqbot下的 plugins 子目录下,并直接修改 sample.py 插件文件
原始sample.py插件内容如下:
 1 # -*- coding: utf-8 -*-
 2
 3 # 插件加载方法:
 4 # 先运行 qqbot ,启动成功后,在另一个命令行窗口输入: qq plug qqbot.plugins.sample
 5
 6 def onQQMessage(bot, contact, member, content):
 7     if content == '-hello':
 8         bot.SendTo(contact, '你好,我是QQ机器人')
 9     elif content == '-stop':
10         bot.SendTo(contact, 'QQ机器人已关闭')
11         bot.Stop()
可以容易得知,contact参数代表联系人(qq好友、群、临时会话),content代表接受的消息内容。
他们的实际意义如下:
1 bot     : QQBot   对象,提供 List/SendTo/Stop/Restart 等接口,详见本文档第五节
2 contact : QContact 对象,消息的发送者,具有 ctype/qq/uin/nick/mark/card/name 等属性
3 member  : QContact 对象,仅当本消息为“群消息”或“讨论组消息”时有效,代表实际发消息的成员(群成员)
4 content : str    对象,接受的消息内容
若想详细了解可参考Github源码地址:https://github.com/pandolia/qqbot
由此,我们可以知道,我们只需对str对象类型的 content 参数进行处理,并把结果通过调用 bot.SendTo(contact, "要回复内容") 即可
三、关于图灵机器人及调用的API:
首先是接入说明(详细说明:https://www.kancloud.cn/turing/www-tuling123-com/718227):
-->API V2.0是基于图灵机器人平台语义理解、深度学习等核心技术,为广大开发者和企业提供的在线服务和开发接口。
-->编码方式 UTF-8(调用图灵API的各个环节的编码方式均为UTF-8)
-->接口地址 http://openapi.tuling123.com/openapi/api/v2
-->请求方式 HTTP POST
-->请求参数 请求参数格式为 json
也就是说,我们只需把上一步的 content 内容写到指定位置的 json 里,然后把发到接口地址,再从响应的内容里提取所要的回复内容即可。
四、代码实现:
以下即为sample.py文件内容:
# -*- coding: utf-8 -*-
import json
import requests
import re
# 插件加载方法:
# 先在命令行运行 qqbot ,
# 启动成功后,在另一个命令行窗口输入: qq plug qqbot.plugins.sample
def answerMessage(ask_message):
    url = 'http://openapi.tuling123.com/openapi/api/v2'
    body = {
        "reqType":0,
        "perception": {
            "inputText": {
                "text": ""
            }
        },
        "userInfo": {
            "apiKey": "此处填机器人的APIKey(32位16进制数字)",
            "userId": "此处填图灵机器人的用户名(六位数字)"
        }
    }
    body['perception']['inputText']['text'] = ask_message
    data = json.dumps(body)

    response = requests.post(url, data = data)
    retext = response.text

    answ_text = re.findall((re.compile('{.*?results":.*?values.*?text":"(.*?)"}', re.S)), retext)
    text = str(answ_text[0])
    try:
        answ_shows = re.findall((re.compile('{.*?showtext":"(.*?)",', re.S)), retext)
        return str(answ_shows[0])
    except IndexError:
        answ_names = re.findall((re.compile('{.*?name":"(.*?)",', re.S)), retext)
        answ_urls = re.findall((re.compile('{.*?detailurl":"(.*?)"}', re.S)), retext)
        try:
            for index in range(3):
                text = text+"\n原标题"+str(index+1)+":"+str(answ_names[index])+"\n链接地址:"+str(answ_urls[index])
            return (text)
        except IndexError:
            return (str(answ_text[0]))

def onQQMessage(bot, contact, member, content):
        answer = answerMessage(content)
        bot.SendTo(contact, answer)
这里我有对新闻资讯和查询天气做了处理,中间有几个异常处理,想简单的话可分析下API说明,不用这么多也行的。

五、启动方式
  首先启动qqbot:
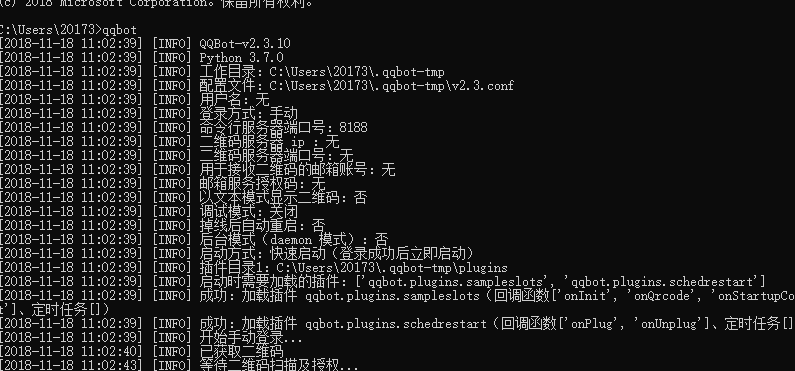
  这是不出意外的话会弹出照片窗口,扫描二维码即可登录;
  若长时间不弹出二维码,请自行找到地址(如上图,我的是:C:\Users\20173\.qqbot-tmp\plugins),手动打开并扫描登陆。
  成功后继续显示如下:
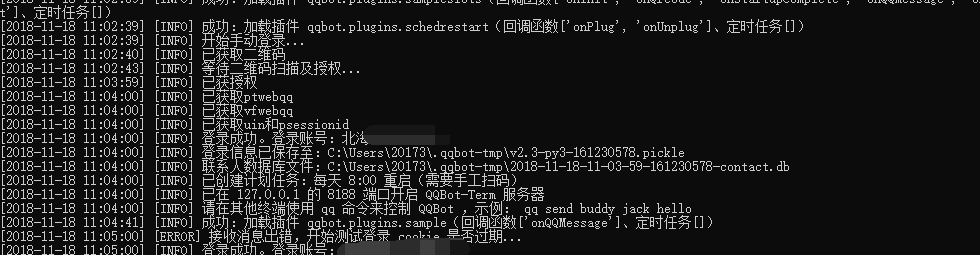
  其次加载sample.py插件:
  再打开一个终端(上买启动那个不要关闭),输入:qq plug qqbot.plugins.sample

拓展:有兴趣可研究下.json文件用处及用法,还有re,requests等。
  另外这里也可对此机器人回复内容等进行进一步的探索和拓展。
***每天进步一点点***
===感激并前行着===