版权声明:本文为博主原创文章,未经博主允许不得转载。 https://blog.csdn.net/huangjun0210/article/details/83894546
SpringBoot之WEB(五)
1. 异常页面
编写模拟异常抛出代码如下:
import org.springframework.web.bind.annotation.RequestMapping;
import org.springframework.web.bind.annotation.RestController;

/**
 * Created by HuangJun
 * 14:06 2018/11/9
 */
@RestController
public class ExceptionController {
    @RequestMapping("/exception")
    public Object exception() throws Exception{
        /***
         * 模拟异常抛出
         */
        throw new Exception("My Exception");
    }
}
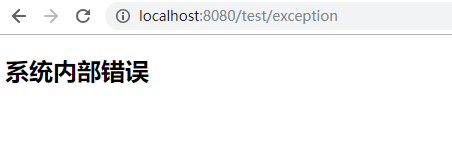
浏览器访问http://localhost:8080/test/exception,运行结果如下图

该页面的内容对用户来说不友好,我们可以自定义一个友好的提示系统异常的页面。
在 src/main/resources 下创建 /public/error,在该目录下再创建一个名为 5xx.html 文件,该页面的内容就是当系统报错时返回给用户浏览的内容:
<!DOCTYPE html>
<html lang="zh">
<head>
    <meta charset="UTF-8">
    <title>系统错误</title>
</head>
<body>
<div>
    <h2>系统内部错误</h2>
</div>
</body>
</html>
500异常返回页面效果
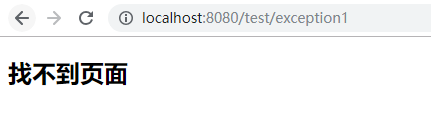
再自定义一个404返回页面,在 /public/error 目录下再创建一个名为 404.html 的文件:
<!DOCTYPE html>
<html lang="zh">
<head>
    <meta charset="UTF-8">
    <title>访问异常</title>
</head>
<body>
<div>
    <h2>找不到页面</h2>
</div>
</body>
</html>
404异常返回页面效果:
2. 全局异常捕获
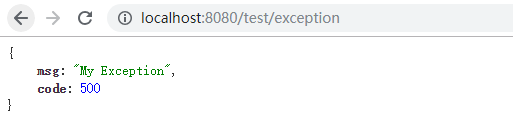
假设项目前后端是通过 JSON 进行数据通信,编写一个充当全局异常的处理类GlobalDefaultExceptionHandler,需要使用 @ControllerAdvice 和 @ExceptionHandler 注解:
import com.springboot.web.exception.MyException;
import org.springframework.web.bind.annotation.ControllerAdvice;
import org.springframework.web.bind.annotation.ExceptionHandler;
import org.springframework.web.bind.annotation.ResponseBody;
import org.springframework.web.servlet.ModelAndView;

import java.util.HashMap;
import java.util.Map;

/**
 * Created by HuangJun
 * 14:34 2018/11/9
 */
@ControllerAdvice
public class GlobalDefaultExceptionHandler {

    @ExceptionHandler(Exception.class)
    @ResponseBody
    public Map<String,Object> defaultExceptionHandler(Exception e) {

        Map<String,Object> map = new HashMap<String,Object>();
        map.put("code", 500);
        map.put("msg", e.getMessage());
        return map;
    }

}
其中,方法名为任意名,入参一般使用 Exception 异常类,方法返回值可自定义。
3. 自定义异常
3.1 创建一个自定义异常类
import lombok.AllArgsConstructor;
import lombok.Data;
import lombok.NoArgsConstructor;

/**
 * Created by HuangJun
 * 14:39 2018/11/9
 */
@Data
@AllArgsConstructor
@NoArgsConstructor
public class MyException extends RuntimeException{

    private String code;  //异常状态码

    private String message;  //异常信息

    private String method;   //发生的方法,位置等

    private String descinfo;   //描述
}
3.2 在GlobalDefaultExceptionHandler.java文件中添加MyException处理
 /***
     * 自定义异常
     * @param myex
     * @return
     */
    @ExceptionHandler(value = MyException.class)
    public Object myExceptionHandler(MyException myex){
        Map<String,Object> map  = new HashMap<String,Object>();
        map.put("code",myex.getCode());
        map.put("message",myex.getMessage());
        map.put("method",myex.getMethod());
        map.put("descinfo",myex.getDescinfo());

        ModelAndView modelAndView = new ModelAndView();
        modelAndView.setViewName("myException");
        modelAndView.addObject("ex", map);
        return modelAndView;

    }
3.3 新建MyException异常处理返回页面,在目录resources\templates下创建myException.ftl
<!DOCTYPE html>
<html lang="zh">
<head>
    <meta charset="UTF-8">
    <title>我的异常页</title>
</head>
<body>
<div class="container">
    <h2>我的异常页</h2>
    <ul>
        <li>code: ${ex.code}</li>
        <li>message: ${ex.message}</li>
        <li>method: ${ex.method}</li>
        <li>descinfo: ${ex.descinfo}</li>
    </ul>
    </table>
</div>

</body>
</html>
3.4 模拟MyException异常抛出
  @RequestMapping(value = "/myException")
    public String myException(HttpServletRequest request ) throws Exception{
        String name =  "";
        if(StringUtils.isEmpty(name)){
            System.out.println(request.getRequestURL());
            throw new MyException("1001","empty",request.getRequestURL().toString(),"在获取用户名字的时候为空");
        }
        return name;
    }
3.5 运行结果
浏览器访问http://localhost:8080/test/myException,运行结果如下:

4. 源码下载
源码下载地址:https://download.csdn.net/download/huangjun0210/10775125