一、如何渲染jinja2模板
- 模板放在
templates文件夹下 - 从
flask中导入render_template函数 - 在视图函数中,使用
render_template函数渲染模板。注意:只需要填写模板的名字,不需要填写templates这个文件夹的路径。如果templates这个文件夹下面有目录,那么需要在填写模板名字的时候加上这个路径。
二、模板传参
- 如果只有一个或者几个少量参数,可以直接在
render_template函数中添加关键字参数就可以了; - 如果有多个参数的时候,那么可以先把所有的参数放在字典中,然后在
render_template中,使用**(两个星号),把字典转化成关键参数传递进去,这样的代码更加方便管理和使用。
三、关键代码
I.使用模板代码
1.首先在templates 目录下面创建一个index.html:
<!DOCTYPE html>
<html lang="en">
<head>
    <meta charset="UTF-8">
    <title>首页</title>
</head>
<body>
    html页面作为templates文件夹下的模板!
</body>
</html>2.在template.py中使用模板:
# encoding:utf-8
from flask import Flask,render_template

app = Flask(__name__)

@app.route('/')
def index():
     return render_template('index.html')


if __name__ == '__main__':
    app.run(debug=True)
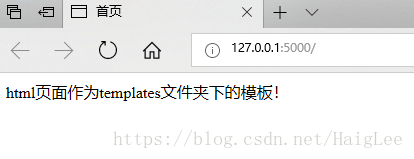
3.运行效果图
II. 模板中参数的传递
A.传递一个或者少量参数
1.传递一个或者少量参数index.hml代码
<!DOCTYPE html>
<html lang="en">
<head>
    <meta charset="UTF-8">
    <title>首页</title>
</head>
<body>
    html页面作为templates文件夹下的模板!
    <p>博客用户名:{{ username }}</p>
    <p>博客密码:{{ password }}</p>
    <P>博客级别:{{ level }}</P>
</body>
</html>2.传递一个或者少量参数template.py代码
# encoding:utf-8
from flask import Flask,render_template

app = Flask(__name__)

@app.route('/')
def index():
     return render_template('index.html', username="csdnABC", password="123456", level="博客专家")


if __name__ == '__main__':
    app.run(debug=True)
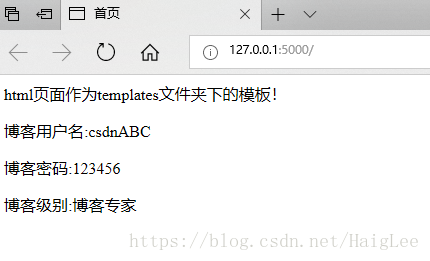
3.传递一个或者少量参数运行效果图
B.传递大量参数
1.传递大量参数index.hml代码
<!DOCTYPE html>
<html lang="en">
<head>
    <meta charset="UTF-8">
    <title>首页</title>
</head>
<body>
    html页面作为templates文件夹下的模板!
    <p>博客用户名:{{ username }}</p>
    <p>博客密码:{{ password }}</p>
    <P>博客级别:{{ level }}</P>
    <p>博主性别:{{ gender }}</p>
    <p>博主博文数:{{ number }}</p>
</body>
</html>2.传递大量参数template.py代码
# encoding:utf-8
from flask import Flask,render_template

app = Flask(__name__)

@app.route('/')
def index():
    context = {
        'username': u'csdnABC',
        'password': u'123456',
        'level': u'博客专家',
        'gender': u'男',
        'number': u'1000'
    }
    return render_template('index.html', **context)


if __name__ == '__main__':
    app.run(debug=True)
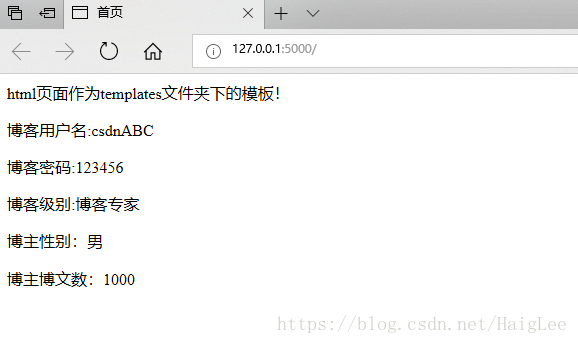
3.传递大量参数运行效果图